
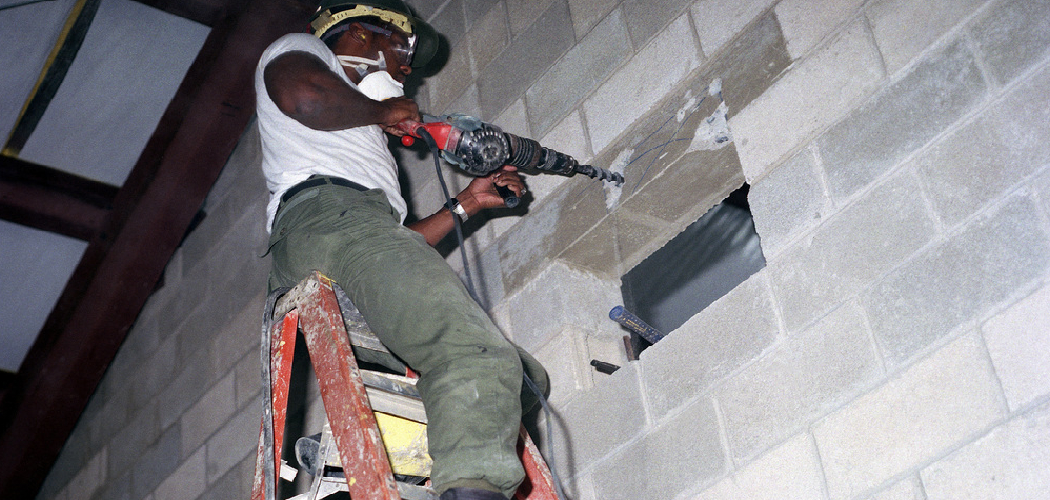
That moment when you’re holding a shelf, a mount, or a mailbox bracket against a solid block wall — and you realize your regular drill just spins and squeals against the surface. Frustrating, right? Learning how to drill through cinder block is one of those skills that feels intimidating until you actually do it. Then it clicks, and suddenly hanging heavy things on masonry walls feels easy.
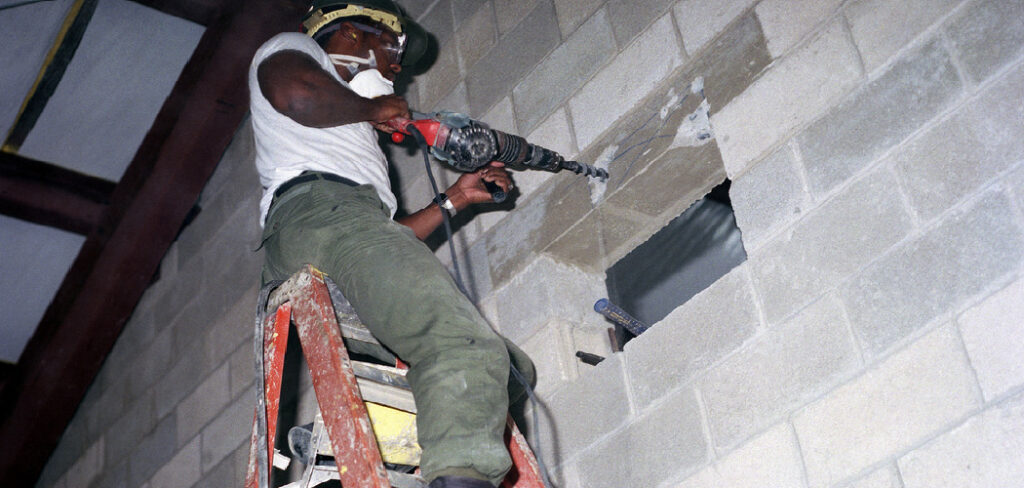
In this guide, you’ll learn exactly what tools you need, the step-by-step process for clean holes, and a few pro tips that save time and drill bits. We’ll also tackle the questions folks ask most often. Whether you’re mounting a TV, installing a railing, or hanging outdoor lights, this walkthrough has you covered. Grab your safety glasses and let’s get into it.
What You’ll Need
Before you start making holes, round up your gear. Having everything within reach keeps the job smooth and safe.
- A hammer drill — or a regular drill for lighter work, though a hammer drill makes a big difference
- A masonry drill bit — sized to match your anchor or screw
- A tape measure and pencil — for marking your spots
- Painter’s tape — to mark depth and reduce chipping
- A level — so your holes line up straight
- Wall anchors or masonry screws — matched to your project’s weight
- A shop vacuum or compressed air — to clear dust from the holes
- Safety glasses and a dust mask — masonry dust is no joke
- Work gloves — for a better grip and protection
- A stud finder or wire detector — to avoid hidden pipes and wiring
Step-by-Step Guide on How to Drill Through Cinder Block
Step 1: Mark Your Drilling Spots
Start by measuring and marking exactly where each hole needs to go. Use a pencil to draw a small “X” at every point, then check your alignment with a level. Straight, evenly spaced holes make everything you mount look clean and professional. Rushing this step is the number one reason shelves end up crooked.
If you’re mounting something with multiple holes, hold the item against the wall and mark through its openings. This guarantees your holes match the bracket perfectly. Double-check your measurements before you touch the drill.
Step 2: Check for Hidden Hazards
Before you drill, make sure nothing dangerous hides behind that wall. Run a stud finder with wire and pipe detection over your marked spots. Cinder block walls sometimes hide electrical conduit, water lines, or rebar inside their hollow cores. Hitting one of those turns a simple job into an expensive repair — or a safety scare.
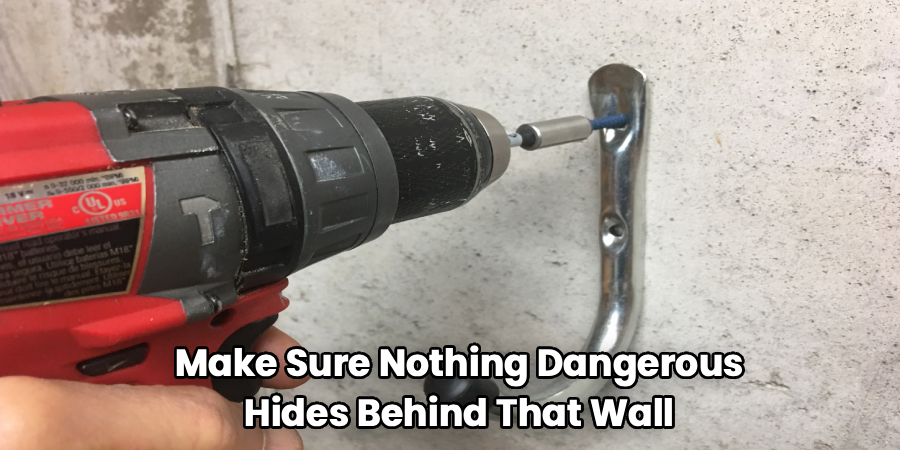
Pay extra attention near outlets, switches, and plumbing fixtures. If you’re unsure, drill shallow first and go slow. A little caution here protects both you and your walls.
Step 3: Choose and Load the Right Bit
Grab a masonry drill bit that matches the diameter of your anchor or screw. These bits have a distinctive arrow-shaped carbide tip built to chew through hard concrete block. Never use a standard wood or metal bit — it’ll dull instantly and get you nowhere. Insert the bit firmly into the chuck and tighten it well.
Give the bit a gentle tug to confirm it’s locked in place. A loose bit wobbles and creates messy, oversized holes. Matching the bit to your hardware is the secret to a snug, strong hold.
Step 4: Set Your Depth Marker
Figure out how deep your hole needs to be, usually the length of your anchor plus a little extra. Wrap a strip of painter’s tape around the bit at that depth. Now you have a clear visual cue that tells you when to stop. This simple trick prevents you from drilling too far or not far enough.
For most wall anchors, add about a quarter inch beyond the anchor length. That extra space gives dust somewhere to sit. Skipping this step often leads to anchors that won’t seat properly.
Step 5: Start Slow to Create a Pilot Hole
Position the tip of your bit right on your marked “X.” Start drilling at a low speed with light pressure to create a small pilot hole. This starter hole keeps the bit from wandering across the smooth block surface. Once you’ve got a shallow divot, you can pick up the pace with confidence.
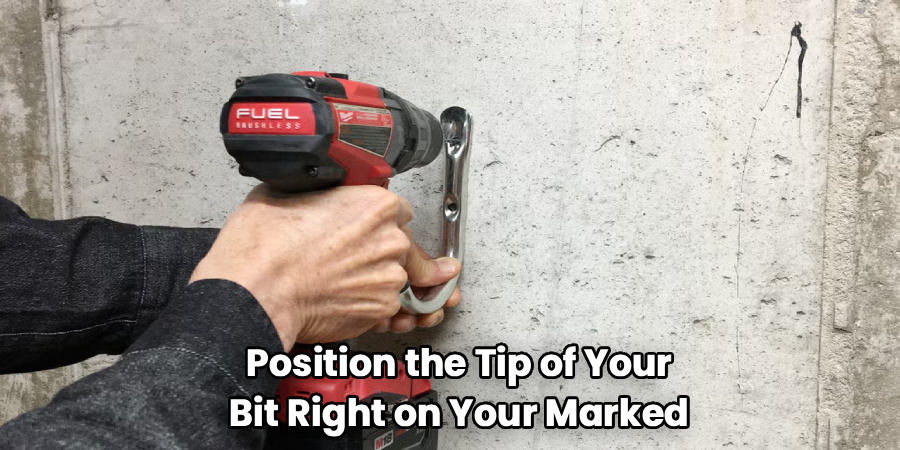
Hold the drill perfectly straight — a 90-degree angle to the wall — for a clean, accurate hole. Wandering bits leave ugly scratches and off-center holes. Patience in these first few seconds pays off big.
Step 6: Engage the Hammer Function and Drill
If you’re using a hammer drill, switch it to hammer mode now. This adds a rapid pounding motion that helps the masonry drill bit break through the tough concrete block. Apply steady, moderate pressure and let the tool do the work. Forcing it won’t speed things up — it just overheats the bit and tires your arm.
Keep the drill level and watch your tape marker as you go. If the bit stalls, ease off and pull back slightly to clear debris. Smooth, consistent pressure gives you the cleanest results.
Step 7: Clear the Dust as You Go
Cinder block produces a surprising amount of fine dust. Every so often, pull the bit out and let the hole clear. Blow out the debris with compressed air or suck it up with a shop vacuum. Packed dust makes drilling harder and can stop your anchor from seating fully.
Cleaning as you go also keeps the bit cooler and cutting efficiently. Wear your dust mask during this step, since the particles float everywhere. A clean hole is the difference between a wobbly anchor and a rock-solid one.
Step 8: Finish the Hole and Test the Depth
Once you reach your tape marker, ease off the trigger and pull the bit straight out. Give the hole one last blast of air to remove any lingering dust. Test the depth by inserting your anchor or a matching screw. It should slide in with a little room to spare.
If it won’t fit, drill a touch deeper or widen slightly with the same bit. Don’t force hardware into a tight hole — you’ll crack the block. A quick test now saves frustration during mounting.
Step 9: Insert Your Anchor and Mount
Tap a wall anchor into the hole with a light hammer tap until it sits flush. For masonry screws, you can drive them straight in without a separate anchor. Line up your fixture, then drive the screw home with your drill or a screwdriver. The anchor expands as you tighten, gripping the surrounding block firmly.
Don’t overtighten, or you risk stripping the anchor or cracking the wall. Give the mounted item a gentle wiggle to confirm it’s secure. Now step back and admire your handiwork.
Tips for Best Results
Want to go beyond the basics? These insider pointers make every job smoother.
- Let the bit cool between holes. Masonry work builds serious heat, and an overheated bit dulls fast. Pause for a moment or dip the tip in water on big jobs. A cool bit cuts faster and lasts far longer.
- Aim for the solid webbing, not the hollow core. Cinder blocks have hollow centers and solid walls between them. Anchoring into the solid sections gives you a much stronger hold. For heavy items, this small choice makes a huge difference.
- Use two speeds strategically. Start slow to place the hole accurately, then ramp up once you’re set. This combo gives you precision and speed without the wandering. It’s a habit that separates clean jobs from messy ones.
- Keep a backup bit on hand. Carbide tips wear down, especially on dense block. Having a spare means you won’t stop mid-project. Fresh bits cut cleaner and reduce your effort.
- Match your anchor to the load. Light frames need simple plastic anchors, while heavy shelves demand sleeve or wedge anchors. Check the weight rating before you buy. The right hardware keeps everything safely in place.
Frequently Asked Questions
Do I Need a Hammer Drill to Drill Through Cinder Block?
A hammer drill makes the job much easier, but it isn’t strictly required for lighter work. A regular drill paired with a quality masonry drill bit can handle a few small holes, just slower and with more effort. For multiple holes or dense concrete block, a hammer drill saves real time and wear on your bit. If you drill masonry often, it’s a worthwhile tool to own.
What Kind of Drill Bit Should I Use?
Always reach for a carbide-tipped masonry drill bit. These bits have a hardened, arrow-shaped tip designed to grind through hard block and concrete. Standard wood or metal bits dull almost instantly and won’t make progress. Match the bit diameter to your anchor size for the best, snuggest fit.
How Deep Should I Drill Into a Cinder Block?
Drill deep enough for your anchor plus about a quarter inch of extra room for dust. Marking your bit with painter’s tape gives you a reliable depth guide. Going too shallow keeps the anchor from seating, while going too deep can weaken thin block walls. Test-fit your anchor before mounting to confirm the depth is right.
Can I Drill Into the Hollow Part of a Cinder Block?
You can, but the solid sections give you a stronger, more reliable hold. Hollow cores don’t grip standard anchors well, so heavy items may pull loose over time. If you must anchor into a hollow area, use a specialty toggle or sleeve anchor designed for it. For anything heavy, always aim for the solid webbing when you can.
Why Does My Bit Keep Slipping on the Surface?
Slipping usually happens when you start too fast on the smooth block face. Begin at a low speed with light pressure to carve out a small pilot hole first. That starter divot anchors the bit and stops it from wandering. Keeping the drill perfectly straight also helps you stay on your mark.
Conclusion
Drilling clean, strong holes in masonry is completely doable with the right approach. Once you understand how to drill through cinder block, the process becomes second nature — mark your spots, use a sharp masonry bit, start slow, and clear the dust as you go. The right anchor seals the deal.
If you haven’t picked up the right gear yet, check out our recommended products section above for our top drill and bit picks. Now go tackle that project with confidence — and when you’re ready for your next job, explore our other tool guides and how-tos on the site. Happy drilling!
