
That old garage floor has seen better days. Paint splatters, glue residue from a rug you pulled up years ago, and rough patches that catch your shoe every time you walk through. Grabbing a mop won’t fix any of that. A concrete grinder will. This powerful tool strips away coatings, smooths out bumps, and preps your floor for whatever comes next, whether that’s epoxy, polish, or a fresh sealer.

In this guide, you’ll learn exactly how to use a concrete grinder. We’ll cover the gear you need, walk through each step, and share pro tips that keep your results smooth and even. Whether you’re tackling your first project or refining your technique, you’ll finish feeling ready. Let’s get that concrete surface looking sharp.
What Is a Concrete Grinder?
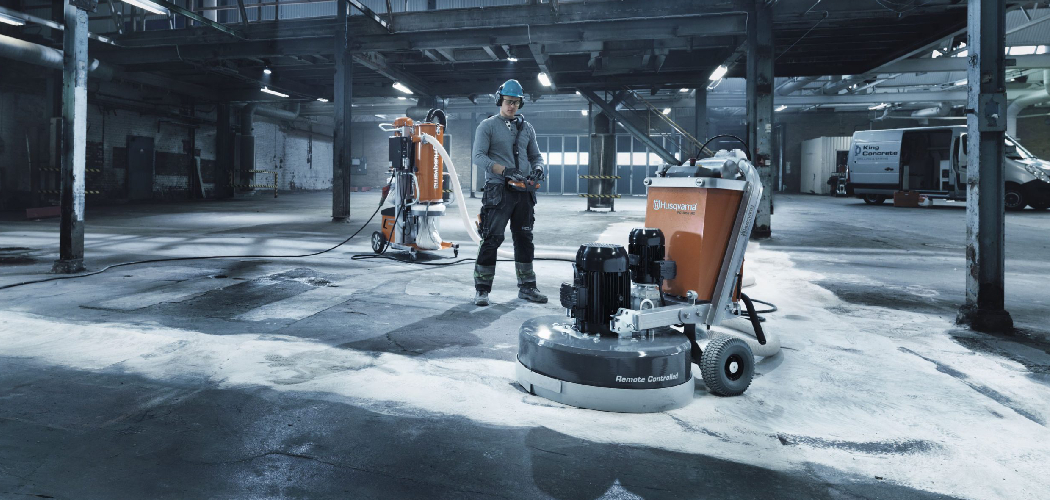
A concrete grinder is a heavy-duty power tool that uses rotating discs to level, smooth, and clean hard surfaces. It spins a diamond grinding disc against the floor to shave down high spots, remove old coatings, and open the pores of the concrete. You’ll find handheld models for tight spots and walk-behind machines for large areas. Contractors rely on them for surface prep before applying epoxy, stains, or polished finishes.
What You’ll Need
Round up these items before you start so you’re not scrambling halfway through the job.
- The concrete grinder (handheld or walk-behind)
- The right diamond grinding disc for your task
- A shop vacuum with a fine dust filter
- Safety glasses and a dust mask or respirator
- Ear protection
- Work gloves
- Knee pads (for handheld work)
- A broom and dustpan
- A patching compound for any deep cracks
- Water source (if you’re wet grinding)
- Extension cord rated for the machine’s power
- Painter’s tape and plastic sheeting to seal off the area
Double-check that your discs match the job. A coarse grit removes coatings fast, while a finer grit gives you that smooth polished look.
9 Step-by-Step Guide on How to Use a Concrete Grinder
Take your time with the prep work here. A little patience up front saves you from uneven spots, swirl marks, and a cloud of dust in your face later.
Step 1: Clear and Clean the Space
Start by emptying the room of everything you can move. Furniture, tools, and boxes all need to go so you have a clear path. Sweep the floor thoroughly to pick up loose dirt, gravel, and debris.
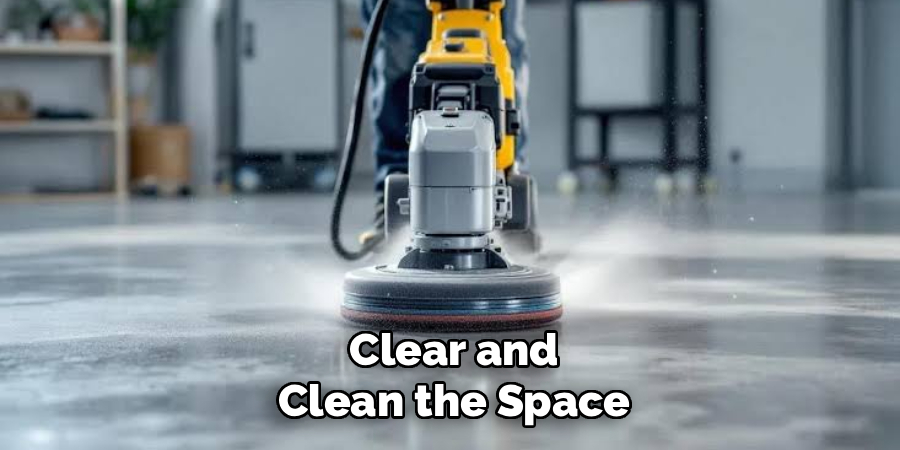
Any grit left behind can scratch your surface or gum up the disc. Seal off doorways and vents with plastic sheeting to keep dust from spreading through your home. This first step feels basic, but skipping it makes the whole job messier and slower.
Step 2: Inspect and Patch the Concrete Surface
Walk the floor and look for cracks, chips, or crumbling spots. Fill any deep gaps with a patching compound and let it cure fully before you grind. Trying to smooth over a broken section just spreads the damage around. Mark high spots and stubborn stains with chalk so you know where to focus. A quick inspection now helps you plan your passes and avoid surprises. Fixing problems early gives you a flatter, more even result.
Step 3: Gear Up for Safety
Grinding kicks up fine silica dust that’s harmful to breathe, so protection matters. Put on your safety glasses, a proper respirator or dust mask, and ear protection before the machine turns on. Wear gloves for grip and knee pads if you’re using a handheld model. Loose clothing can catch on moving parts, so keep sleeves tight and remove jewelry. These few minutes of prep protect your lungs, ears, and hands. Never treat safety gear as optional with a tool this powerful.
Step 4: Attach the Right Diamond Grinding Disc
Pick the disc that matches your goal and lock it onto the machine. Use a coarse grit to strip old paint, glue, or epoxy from the concrete surface. Switch to a medium or fine grit when you want to smooth and refine. Make sure the disc snaps firmly into place so it won’t wobble during use. A loose grinding wheel creates uneven marks and can be dangerous. Check the manufacturer’s guide if you’re unsure which grit fits your project.
Step 5: Set Up Dust Control
Connect your shop vacuum to the machine’s dust port if it has one. Good dust control keeps the air breathable and your visibility clear. If your model supports wet grinding, add water to trap the fine particles instead. Wet grinding cuts down airborne dust dramatically and can extend the life of your disc. Just be ready to manage the slurry it creates afterward. Either way, never grind dry without some kind of dust capture in an enclosed space.
Step 6: Start Grinding in Overlapping Passes
Power on the machine and lower the disc gently onto the floor. Move the concrete grinder in slow, steady lines across the surface. Overlap each pass by a few inches so you don’t leave untouched strips behind. Keep the machine moving at all times, since pausing in one spot digs a dip into the floor. Work in a consistent direction first, then make a second pass at a right angle for an even finish. Let the weight of the tool do the work rather than forcing it down.
Step 7: Handle Edges and Corners
The main machine won’t reach every baseboard or tight corner, so plan for those spots. Switch to a handheld grinder or an edge attachment to clean up the perimeter. Take your time here, since these areas are easy to gouge if you rush. Match the grit you used on the main floor so the texture blends seamlessly. Pay attention around door frames and along walls where buildup loves to hide. A careful edge job is what makes your work look truly professional.
Step 8: Progress Through Finer Grits
If you want a polished or refined result, don’t stop at one grit. Move up through progressively finer diamond grinding disc grits, grinding the whole floor at each stage. Each pass removes the scratches left by the coarser disc before it.
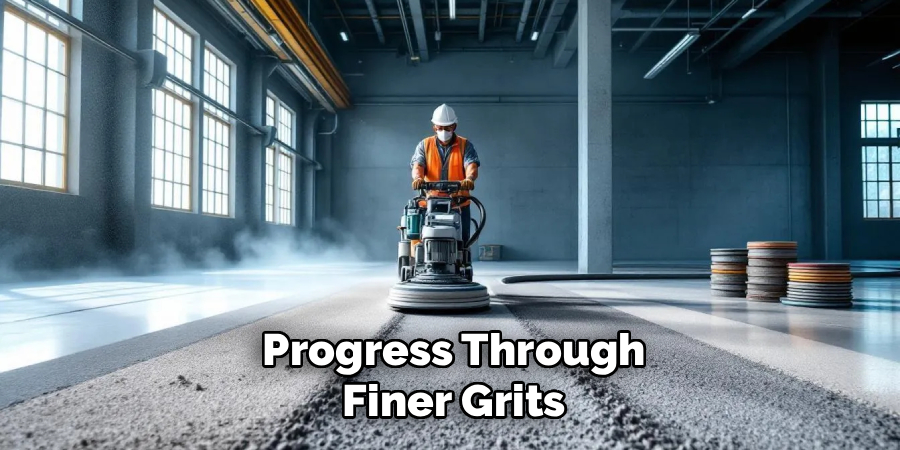
Skipping a grit leaves swirl marks that show up clearly under coatings or sealer. Vacuum between stages so leftover grit doesn’t scratch your fresh surface. This gradual approach is the secret behind those glossy, mirror-like concrete floors.
Step 9: Clean Up and Inspect Your Work
Once you finish grinding, vacuum the entire floor to remove every trace of dust. If you used water, mop up the slurry and let the surface dry completely. Walk the room and check for missed spots, uneven areas, or lingering stains under good lighting. Touch up anything that needs another pass while your gear is still out. Wipe down the machine, remove the disc, and store everything properly. A clean floor and a well-kept tool both pay off on your next project.
Tips for Best Results
Want your floor to look like a contractor handled it? These insider pointers go beyond the basic steps.
- Test in a hidden corner first. Before committing to the whole room, grind a small out-of-the-way patch. This shows you how the concrete reacts and whether your grit choice is right.
- Keep the machine moving constantly. Even a few seconds in one place carves a low spot you’ll fight to fix later. Steady motion gives you a flat, uniform surface every time.
- Match your grit progression to your finish. Stripping a coating needs coarse diamonds, while polishing demands a full climb through finer grits. Jumping ahead always leaves visible marks.
- Prioritize wet grinding for big jobs. It slashes dust, keeps discs cooler, and often speeds up the work. Just plan how you’ll clean up the slurry before you start.
- Replace worn discs early. A dull grinding wheel works slower and heats up fast. Swapping it out saves time and protects your machine’s motor.
Frequently Asked Questions
What Is a Concrete Grinder Used For?
A concrete grinder smooths, levels, and cleans hard surfaces far faster than any hand tool. People use it to strip old paint, glue, and epoxy, and to prep floors before applying new coatings. It also grinds down high spots and rough patches for a flat, even surface. Contractors and homeowners both rely on it for polishing floors to a glossy finish.
Can I Use a Concrete Grinder on a Wet Surface?
Yes, and wet grinding is often the smarter choice for large or dusty jobs. Adding water traps fine silica particles, keeps your disc cooler, and extends its life. Just make sure your specific model supports wet use before you add any water. You’ll also need a plan to clean up the slurry that forms afterward.
Is It Safe to Grind Concrete Indoors?
It can be safe as long as you control the dust and protect yourself. Always wear a respirator, connect a shop vacuum, or use wet grinding to capture airborne particles. Seal off doorways and vents so dust doesn’t spread through your home. Silica dust is harmful to breathe, so never grind indoors without proper protection.
How Do I Prevent Swirl Marks on My Floor?
Swirl marks usually come from skipping grits or moving the machine too quickly. Work through each grit in order, and never jump straight from coarse to fine. Make overlapping passes and finish with a pass at a right angle to the last one. Vacuuming between stages also stops leftover grit from scratching your fresh surface.
How Do I Choose the Right Diamond Grinding Disc?
Match the disc grit to the task at hand. Coarse grits remove tough coatings and level rough concrete quickly, while finer grits smooth and polish. Check whether your project calls for a hard or soft bond based on how hard your concrete is. When in doubt, the manufacturer’s guide points you toward the right pairing.
Do I Need to Patch Cracks Before Grinding?
Yes, filling deep cracks and chips first gives you a much better result. Grinding over damaged spots only spreads the problem and leaves an uneven surface. Use a patching compound and let it cure fully before you run the machine. A little prep here means a smoother, more professional-looking floor once you’re done.
Conclusion
Running a concrete grinder gets easy once you know the routine. Clear the room, patch the cracks, gear up for safety, then grind in slow overlapping passes through the right grits. Follow those steps and you’ll turn a rough, stained floor into a smooth surface that’s ready for whatever finish you choose.
If you haven’t picked one up yet, check out our recommended picks above to find a model that suits your space. Want to sharpen your skills even more? Browse our other tool guides and how-to tutorials to keep every project looking its best.
