
You’ve got a weekend project lined up: maybe a new fence post, a garden path, or a small patio slab. Then you stare at the pile of dry cement and gravel and wonder how anyone mixes this stuff by hand without wrecking their back. Learning how to use concrete mixer machines takes that headache away completely. A good mixer does the heavy lifting, giving you smooth, even concrete every single time.
In this guide, you’ll learn how to use a concrete mixer in the right order, nail the water-to-cement ratio, and pour a batch that sets strong. We’ll cover the gear you need, a clear step-by-step walkthrough, and pro tips that separate messy results from professional ones. By the end, you’ll mix like you’ve done it for years.
What You’ll Need
Get everything ready before you flip the switch. Once the drum starts turning, you won’t want to run back to the shed.
- A concrete mixer (electric mixer or petrol drum mixer)
- Portland cement
- Sharp sand and gravel (or a pre-blended concrete mix)
- A clean water source and a bucket
- A wheelbarrow to catch and move the concrete
- A shovel or spade for loading
- A bucket or scoop for measuring materials
- Safety glasses to guard against splashes
- Waterproof gloves to protect your skin from wet cement
- A dust mask for handling dry cement powder
- Sturdy boots and old clothes
- A hose and stiff brush for cleanup
Match the machine to the job. A small electric mixer handles fence posts and paths, while a larger drum mixer earns its keep on slabs and driveways.
Step-by-Step Guide on How to Use a Concrete Mixer
Follow these steps in order. Great concrete comes down to the right loading sequence, a balanced water-to-cement ratio, and enough drum rotation to blend it fully. Rush the mix, and you get weak, crumbly results. Take your time, and your finished pour will look and last like a pro’s.
Step 1: Set Up on Level, Stable Ground
Place your mixer on firm, flat ground before you add anything. A wobbly base makes the whole machine shake and can tip a loaded drum. Position it close to your work area but with room to swing a wheelbarrow underneath the chute. If you’re using an electric model, check that your extension cord is rated for outdoor use and kept clear of any water.
Give yourself space to shovel freely on one side. Lock the wheels or chock them if your mixer has them. A steady setup keeps the drum rotation smooth and your batch consistent. It also keeps you safe while everything spins.
Step 2: Gather and Measure Your Materials
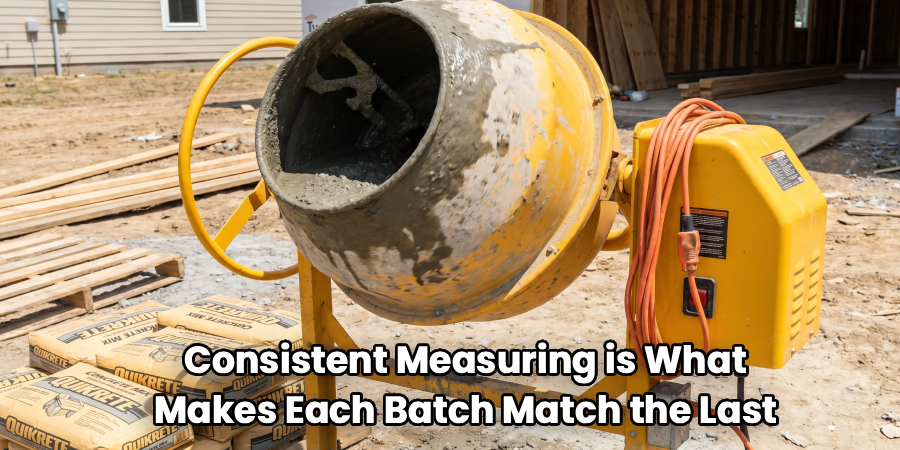
Line up your cement, sand, and gravel within arm’s reach. A common mix for general jobs is one part cement, two parts sand, and three parts gravel, but always check your project’s requirements. Use the same bucket or scoop to measure each ingredient so your proportions stay accurate. Consistent measuring is what makes each batch match the last.
Keep your dry cement covered until you need it. Even a little rain or damp air can start it hardening early. Measure out your water too, so you’re not guessing mid-mix. Preparation here saves you from a lumpy, uneven concrete mix.
Step 3: Do a Quick Safety and Machine Check
Before you power up, run your eyes over the whole machine. Make sure the drum spins freely, the guards are in place, and there’s no debris stuck inside. For an electric mixer, inspect the cord and plug for any damage. For a petrol model, check the oil and fuel levels.
Put on your gloves, glasses, and dust mask now. Wet cement is caustic and can irritate or burn your skin, so cover up properly. Keep loose sleeves and drawstrings away from moving parts. A two-minute check prevents most accidents before they happen.
Step 4: Start the Drum and Add Water First
Switch on the machine and let the drum reach a steady spin. Pour in about three-quarters of your measured water before any dry material goes in. Starting with water stops cement from caking on the bottom of the drum and makes the whole mix blend more easily. This one habit saves you loads of scraping and scrubbing later.
Keep the rest of the water in reserve to adjust the mix. Never add dry ingredients to an empty, spinning drum. Let the water swirl for a moment first. This wet start is a small trick that pros swear by.
Step 5: Add Your Dry Materials in the Right Order
With the water spinning, add half your gravel, then the sand, then the cement, and finally the rest of the gravel. This layering stops the cement from clumping and helps everything combine smoothly. Shovel it in slowly and let each addition mix for a few seconds before the next. Dumping it all in at once creates dry pockets that never fully blend.
Watch the mix as it turns. It should start looking uniform and gray, without dry streaks. Add material in small loads rather than big heaps. Patience here gives you a strong, even concrete mix every time.
Step 6: Adjust the Water-to-Cement Ratio
Now dial in the consistency using your reserved water. You want a mix that holds its shape but still slides off the shovel smoothly, like thick oatmeal. Add water a little at a time, since it’s easy to overshoot and turn your batch soupy. A wet, sloppy mix might feel easier to pour, but it dries weak and cracks.

Aim for good workability without excess water. If you go too far, add a touch more cement and sand to firm it up. Let it turn for a minute after each adjustment so you can judge it fairly. Getting the water-to-cement ratio right is the single biggest factor in strong concrete.
Step 7: Let It Mix Fully
Once everything’s in, keep the drum rotating for another two to three minutes. This gives the ingredients time to fully coat and bind together. Under-mixing leaves weak spots, while a proper blend makes the concrete uniform and reliable. You’ll see the color and texture even out as it turns.
Resist the urge to rush this stage. A few extra turns of the drum cost you nothing but pay off in strength. Watch for a smooth, glossy surface with no dry lumps. When it looks consistent all the way through, you’re ready to pour.
Step 8: Pour and Empty the Drum
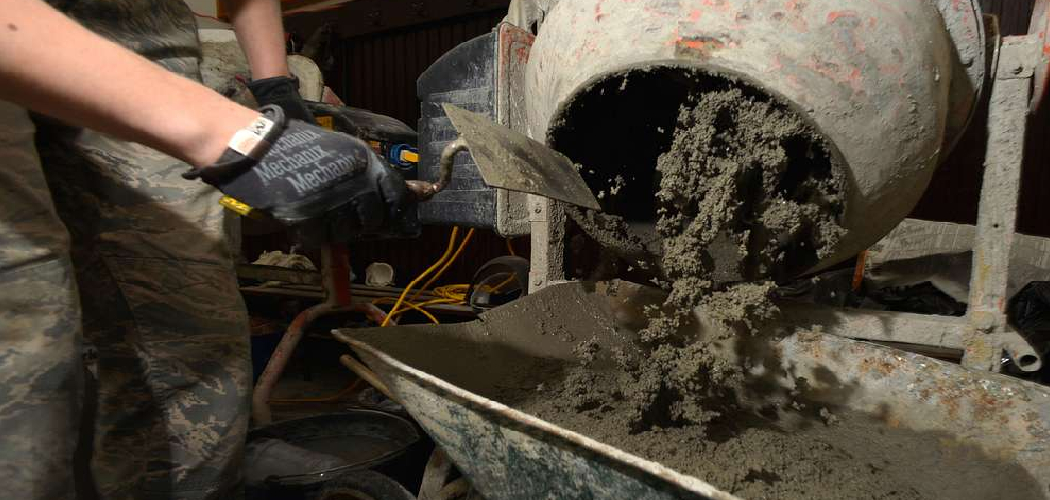
Position your wheelbarrow right under the chute. Tilt the drum slowly with the machine still running, so the concrete flows out cleanly. Pour in controlled amounts to avoid spilling over the sides. If you’re working on a larger area, ferry each load to the site and empty it before it starts to stiffen.
Keep the drum turning until it’s empty so nothing sets inside. Never reach into a moving drum to scoop material out. Work steadily, since fresh concrete only stays workable for so long. A smooth pour finishes the job you set up so carefully.
Step 9: Clean the Mixer Right Away
Cleanup can’t wait. Add a few shovels of gravel and some water to the drum, then let it spin for a couple of minutes to scour off any residue. Tip that out, then rinse the drum with a hose and scrub any stubborn spots with a stiff brush. Dried concrete inside the drum is a nightmare to remove and can ruin future batches.
Wipe down the outside and chute too. Coil and store the cord safely on an electric model. A clean machine lasts far longer and works better. Ten minutes now saves hours of chipping later.
Tips for Best Results
Want your mixes to come out flawless every time? These pointers go past the basics.
- Always add water first, then layer your dry goods. This simple order stops caking, blends faster, and makes cleanup a breeze. It’s the habit that separates smooth batches from lumpy ones.
- Mix small, consistent batches. A drum overloaded past capacity won’t blend properly and strains the motor. Smaller loads give you better control and a more uniform concrete mix.
- Watch the weather. Hot, dry days make concrete stiffen fast, so work quickly and keep a little extra water handy. In cold weather, avoid mixing if there’s any risk of frost before it cures.
- Do a slump test with your shovel. Scoop some mix and tilt the blade; it should slide off slowly and hold a rough shape. This quick check keeps your workability spot-on without fancy tools.
- Keep a spare bag of cement nearby. If a batch turns too wet, a little dry cement and sand rescues it fast. It’s cheaper than tossing a whole batch and starting over.
Frequently Asked Questions
What Is the Best Water-to-Cement Ratio for Mixing Concrete?
A good general starting point is around 0.5 parts water to 1 part cement by weight, which gives strong, workable concrete. Too much water weakens the final result and leads to cracking, while too little makes it hard to pour and finish. Add water gradually and judge the mix by feel, aiming for a thick, moldable texture. Every project differs, so always check your specific mix requirements before you start.
Can I Use a Concrete Mixer to Make Mortar?
Yes, you can mix mortar in the same machine, and many people do. Mortar uses cement, sand, and water without the gravel, so you’ll load fewer materials and aim for a stickier, smoother consistency. Add water first, then sand and cement, and let the drum rotation blend it for a couple of minutes. Just clean the drum thoroughly afterward so leftover mortar doesn’t harden inside.
How Long Should I Run the Drum to Mix a Batch?
After all your materials are in, let the drum turn for about two to three minutes. This gives the cement enough time to coat every particle and bind the batch together evenly. Under-mixing leaves dry pockets and weak spots, so don’t cut this short. You’ll know it’s ready when the color and texture look uniform with no dry streaks.
Is It Safe to Use an Electric Concrete Mixer Outdoors?
An electric mixer is safe outdoors when you take a few precautions. Keep the cord and plug well away from water, and use an outdoor-rated extension lead with a residual current device for shock protection. Set the machine on stable ground and never touch electrical parts with wet hands. If it starts to rain heavily, pause and cover your setup to stay safe.
How Do I Stop Concrete From Setting Inside the Drum?
The trick is to clean it immediately after every use. Toss in some gravel and water, spin the drum for a few minutes to scour the walls, then rinse it out with a hose. Never leave leftover concrete sitting inside, since it hardens fast and becomes a real chore to chip away. A quick rinse after each batch keeps the drum smooth and ready for next time.
Conclusion
You’re all set to tackle your next project with confidence. The key takeaway is simple: add water first, measure your materials carefully, and give the drum enough time to blend a strong, even batch. Nail the water-to-cement ratio, and your concrete will set solid and last for years.
If you haven’t picked up a machine yet, check out our recommended picks above to match one to your project. Now roll out that mixer and put these steps to work. When you’re ready for more, explore our other tool guides for your next build.
