
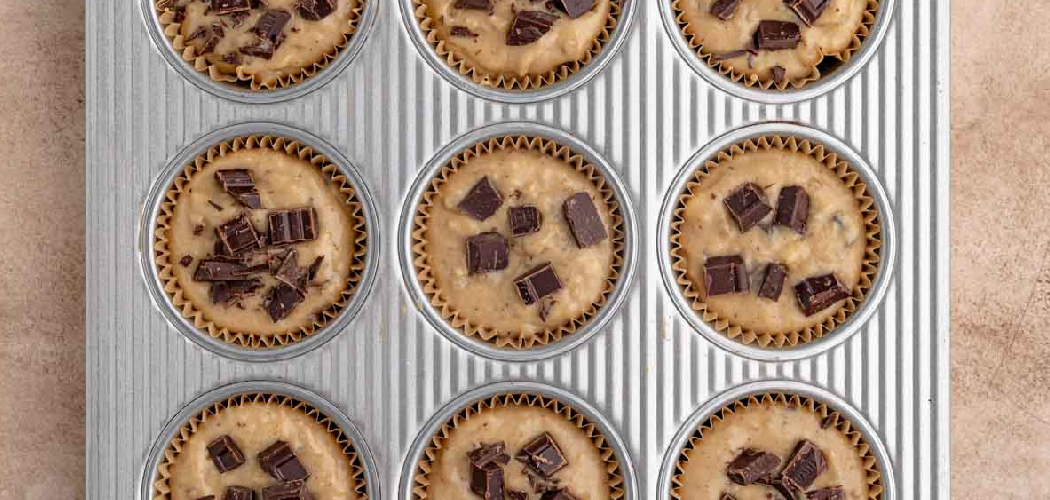
You pull a batch of muffins from the oven, flip the tray, and half of them stay stuck inside. The bottoms crumble, the edges tear, and your beautiful bake turns into a snack you’ll eat quietly over the sink. If that scene feels familiar, how to use silicone baking pans might just change your kitchen life. These flexible molds pop your treats right out with a gentle push, no greasing marathon required.
In this guide, you’ll learn how to prep, fill, bake, and clean these handy pans the right way. We’ll walk through each step so your first bake comes out clean and golden. You’ll also grab a few insider tips and answers to common questions. By the end, you’ll feel confident reaching for silicone every time you turn on the oven.
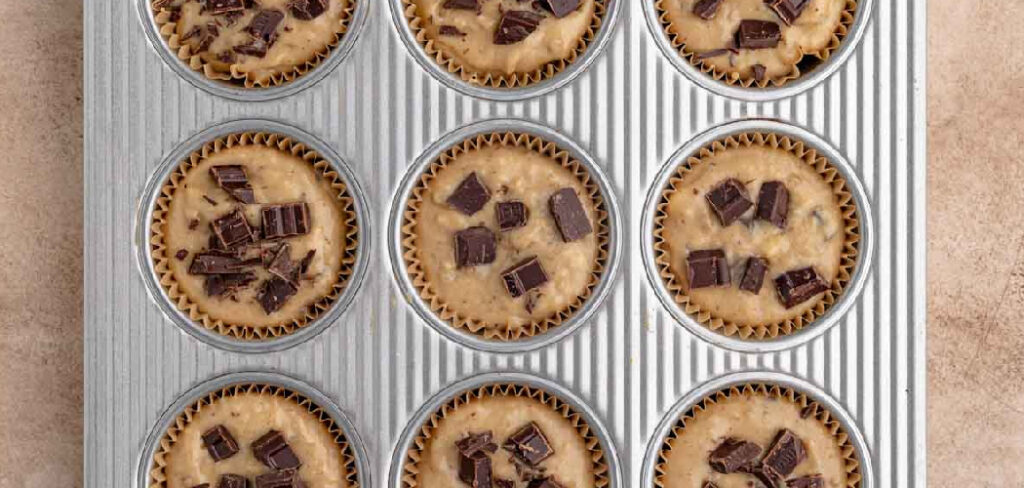
What You’ll Need
Getting your gear together first makes baking day so much smoother. Here’s your quick checklist:
- A food-grade silicone pan in your chosen shape or size
- A sturdy baking sheet or metal tray for support
- A light coat of oil or cooking spray (optional for tricky recipes)
- Your favorite batter, dough, or mix
- A rubber spatula for scooping and scraping
- Oven mitts or heat-resistant gloves
- A cooling rack for finished bakes
- Mild dish soap and a soft sponge for cleanup
Most of these already live in your kitchen. The pan itself is the only new item you might need, and it’s an easy one to love.
Step-by-Step Guide on How to Use Silicone Baking Pans
Step 1: Wash Your New Pan First
Before that very first bake, give your pan a quick wash. New molds sometimes carry a faint factory smell or a light residue from packaging. Warm water, a little mild soap, and a soft sponge clear it right away. Rinse well, then dry it fully with a clean towel. This small habit sets you up for fresh-tasting results and keeps your bakes clean from the start.
Step 2: Place the Pan on a Sturdy Tray
Flexible molds are wonderfully bendy, which is great for release but tricky for transport. A pan full of runny batter can flop the moment you lift it. Set your silicone mold on a firm metal baking sheet before you fill it. This gives you a flat, stable base to carry to the oven without spills. Trust me, this one move saves you from a batter disaster on the way.
Step 3: Decide Whether to Grease It
Here’s the beauty of this non-stick bakeware: most of the time, you skip the grease entirely. Cakes, muffins, and breads usually slide out on their own thanks to the naturally slick surface. Still, for sticky recipes like caramel-topped treats or delicate custards, a light spray of oil adds insurance. When in doubt, a quick mist never hurts. Just avoid heavy globs of butter, which can leave a greasy film behind.
Step 4: Fill the Molds Evenly
Now for the fun part. Spoon or pour your batter into each cavity, filling them about two-thirds full. This leaves room for rising without any messy overflow. Use a rubber spatula to scrape every bit from your mixing bowl. Try to keep the amounts even so everything bakes at the same rate. Uneven fills lead to some pieces baking faster than others, which nobody wants.
Step 5: Bake at the Right Temperature
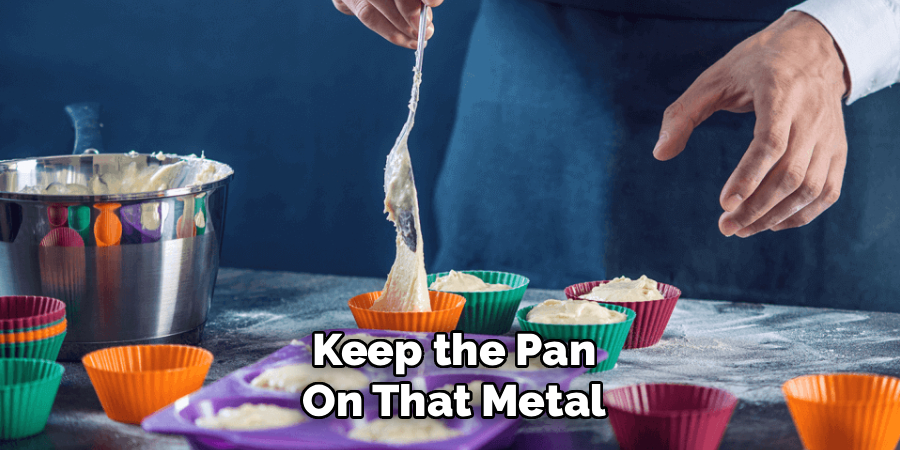
Slide the whole setup, tray and all, into a preheated oven. Silicone is oven-safe across a wide range, usually up to around 425°F, so most recipes work perfectly. Keep the pan on that metal sheet the entire time for even heat and easy handling. Because silicone conducts heat a bit differently than metal, your edges may brown less. Check for doneness a few minutes early, since baking times can shift slightly.
Step 6: Remove It Carefully
When the timer beeps, grab your oven mitts and lift the tray out as one unit. Remember, the silicone itself gets hot and stays flexible, so it won’t offer the firm grip a metal pan does. Set everything on a heat-safe surface right away. Give it a moment before you touch the mold directly. Rushing this step is the fastest way to earn a small burn, so take your time.
Step 7: Let It Cool Before Release
Patience pays off big here. Let your bakes rest in the pan for about ten minutes before you try to remove them. This short cooling window lets the structure firm up so pieces hold their shape. If you flip too soon, warm cake can slump or split. Once cooled, the release becomes almost magical, which brings us to the next step.
Step 8: Pop Out Your Treats
This is where these flexible molds truly shine. Gently push up from the bottom of each cavity with your thumb. Your muffins, cakes, or breads should lift right out with a clean, smooth edge. For larger cakes, peel the sides of the pan away first, then invert onto a plate. No knives, no tapping, no crumbling messes to scrape out.
Step 9: Clean and Store Properly
Cleanup is refreshingly simple. Most food-grade silicone rinses clean with warm, soapy water and a soft sponge. It’s also top-rack dishwasher safe, so you can skip the scrubbing altogether. Dry it fully, then store it flat or rolled to save space. Avoid stacking heavy pots on top, which can leave dents that fade slowly over time.
Tips for Best Results
- Reach for darker molds when you want more browning. Light-colored silicone reflects heat and can leave crusts pale. A darker pan absorbs a bit more warmth, giving cakes and breads a nicer golden finish.
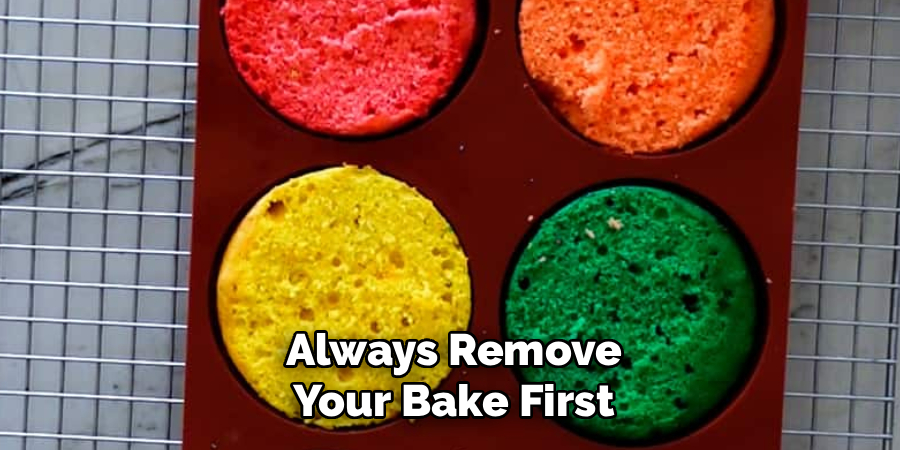
- Never cut inside the pan. A knife or metal utensil can slice the surface and ruin the non-stick quality. Always remove your bake first, then slice it on a board.
- Use the same silicone for savory dishes too. These molds handle egg bites, mini meatloaves, and frozen treats beautifully. One flexible pan easily doubles as a freezer mold, so you get year-round value.
- Pair it with a silicone baking mat for cookies. While molds shine for cakes, a flat baking mat gives you the same easy release for cookies and roasted veggies. Together, they cover almost every recipe you’ll try.
- Skip the broiler and direct flame. Silicone loves the oven but not open heat sources. Keep it away from stovetop burners and the broiler element to protect its lifespan.
Frequently Asked Questions
Are Silicone Baking Pans Safe to Use in the Oven?
Yes, food-grade silicone is designed for oven use and handles high heat with ease. Most pans stay oven-safe up to about 425°F, though you should always check your product’s label. Just keep the mold away from direct flames, the broiler, and stovetop burners. Used correctly, it’s a safe and reliable choice for everyday baking.
Do I Need to Grease Silicone Molds?
Usually not, since the naturally slick surface releases most bakes on its own. Muffins, cakes, and breads slide right out with a gentle push from below. For extra-sticky recipes, a light mist of oil gives you peace of mind. Avoid heavy butter, which can build up a residue over time.
Why Are My Bakes Not Browning Properly?
Silicone conducts heat differently than metal, so it often browns edges less. Light-colored molds reflect even more heat, which can leave crusts pale. Try a darker pan for better color, or move your rack slightly lower in the oven. A few extra minutes of baking time can also help without drying things out.
Can I Put Silicone Pans in the Dishwasher?
Absolutely, most silicone bakeware is top-rack dishwasher safe. For a quick clean, warm soapy water and a soft sponge work just as well. Make sure the pan dries fully before you store it away. Steer clear of abrasive scrubbers, which can wear down the smooth non-stick surface.
How Do I Store Flexible Molds Without Damaging Them?
Store your pans flat or gently rolled to keep their shape. Avoid piling heavy cookware on top, since dents can take a while to relax back out. A drawer or open shelf works perfectly for keeping them ready. Treated well, a quality mold lasts for years of happy baking.
What Else Can I Make Besides Cakes?
Plenty. These molds handle egg bites, mini quiches, cornbread, and even homemade granola bars with ease. They also work as freezer molds for ice cubes, frozen yogurt bites, and homemade popsicles. That flexibility makes them one of the most useful tools in your kitchen.
Conclusion
Baking should feel joyful, not like a wrestling match with a stuck pan. Once you learn the simple rhythm of prep, fill, bake, cool, and release, silicone baking pans make every batch easier and cleaner. Remember the golden rule: always set your mold on a sturdy tray before it goes in the oven. If you haven’t added one to your kitchen yet, check out our recommended picks above to find the perfect fit. Ready to bake even smarter? Explore our other kitchen tool guides on the site and keep growing your skills.
