
Picture this: you’re standing on the bank of a quiet lake, watching your bait sink straight to the bottom while the fish cruise happily a few feet above it. Frustrating, right? That’s exactly the problem how to use slip bobbers solve. These clever little floats let you present your bait at any depth, from just below the surface to way down deep.
Whether you’re chasing panfish, walleye, or crappie, learning this technique will change your game. In this guide, you’ll learn what these floats do, what gear you need, and a simple step-by-step process to set one up. By the end, you’ll cast with confidence and catch more fish.
What Is a Slip Bobber?
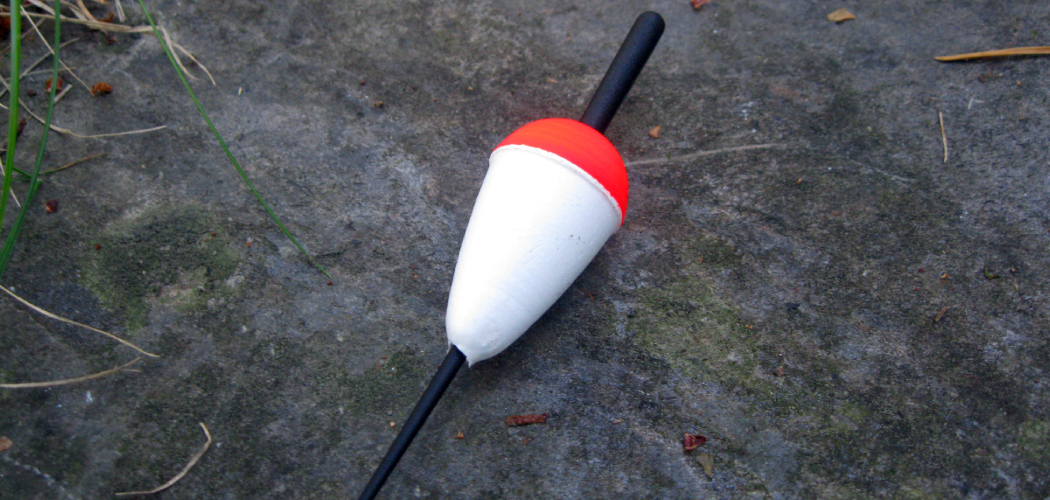
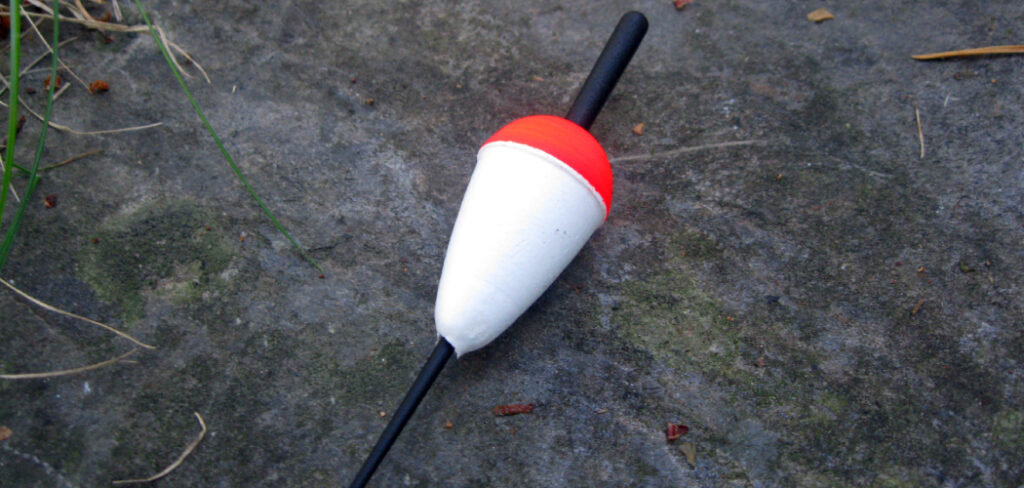
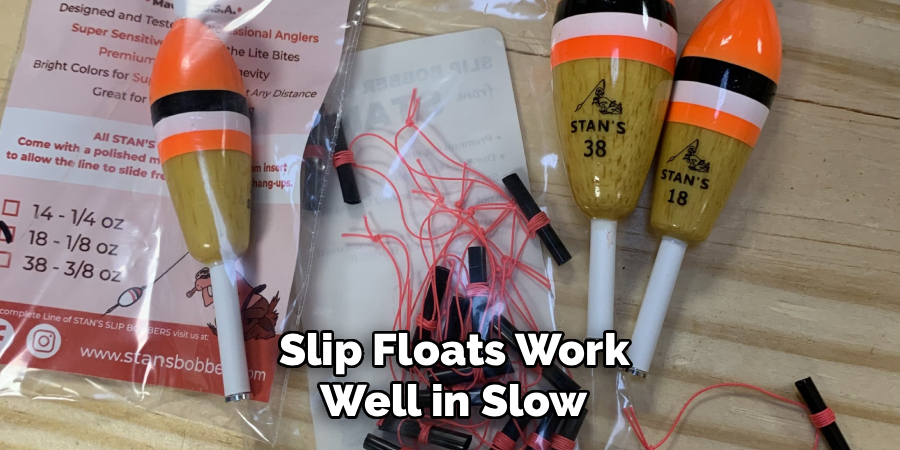
A slip bobber is a float with a hollow center that slides freely along your fishing line. Unlike a fixed float, it moves up and down until it hits a small stopper, letting you fish at precise depths. This makes it perfect for casting long distances and reaching fish holding deep below the surface. Anglers love it for its versatility across many freshwater fishing situations.
What You’ll Need
Before you head to the water, gather these basics:
- A slip float (round or pencil style, sized for your bait)
- Bobber stops (string or rubber type)
- A small plastic bead
- Fishing line (monofilament works great)
- A hook suited to your target fish
- Split shot sinkers for balance
- Live bait such as worms, minnows, or leeches
- A rod and reel combo
- Needle-nose pliers for adjustments
Having everything laid out saves time and keeps your setup smooth.
Step-by-Step Guide on How to Use Slip Bobbers
Step 1: Thread the Bobber Stop Onto Your Line
Start by sliding a bobber stop onto your fishing line. This tiny knot or rubber piece controls how deep your bait will hang. If your stop comes on a small tube, thread your line through the tube, then slide the stop off and onto your line. Position it loosely for now, since you’ll adjust the depth later. A common mistake is skipping this step, which turns your slip float into a fixed one. Take your time here to get it right.
Step 2: Add a Bead Below the Stop
Next, slide a small plastic bead down your line right below the bobber stop. The bead acts as a buffer between the stop and the float. Without it, the stop can slip right through the hole in your float, ruining the whole setup. Choose a bead that’s large enough to catch on the float but small enough to slide freely. This little piece often gets overlooked by beginners. Don’t skip it, or you’ll wonder why your depth won’t hold.
Step 3: Slide On the Slip Float
Now thread your line through the center of the float. The line should move freely through the hollow tube. Give it a gentle tug to make sure nothing sticks or catches. If the float drags or binds, check that your line isn’t twisted. A smooth-sliding float is the key to casting far and setting depth easily. Test it before moving on to save yourself frustration later.
Step 4: Attach a Split Shot Sinker
Below the float, pinch a small split shot sinker onto your line. This weight pulls your bait down and helps your float stand upright in the water. Place the sinker about a foot above your hook for a natural presentation. Use just enough weight so the float sits low but doesn’t sink. Too much weight drags everything under, while too little leaves your float lying flat. A properly balanced float tips vertically when a fish bites.
Step 5: Tie On Your Hook
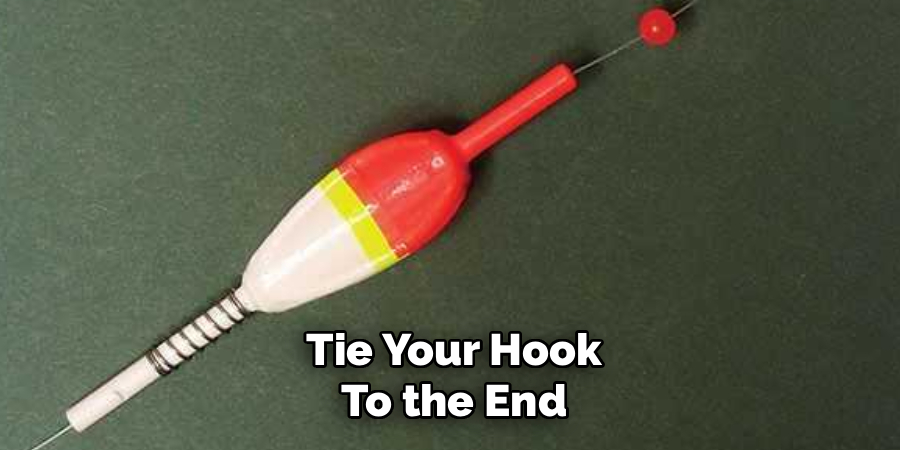
Tie your hook to the end of your line using a reliable knot like the improved clinch. Trim any extra tag ends so they don’t spook fish or catch weeds. Match your hook size to the bait and species you’re targeting. A hook that’s too big scares off small panfish, while a tiny one won’t hold a big walleye. Wet the knot before tightening to keep the line strong. Give it a firm pull to test the connection.
Step 6: Set Your Fishing Depth
Here’s where the magic happens. Slide the bobber stop up or down your line to control how deep your bait hangs. Want to fish six feet down? Set the stop six feet above your hook. This depth adjustment is what makes these floats so powerful. Start near the bottom if fish aren’t biting, then work your way up. Experiment until you find where the fish are holding that day.
Step 7: Bait Your Hook
Add your live bait to the hook, whether it’s a nightcrawler, minnow, or leech. Hook worms so they wiggle naturally and tempt nearby fish. For minnows, hook them just behind the dorsal fin so they swim freely. Fresh, lively bait always outperforms tired or dead offerings. Change your bait often to keep it looking natural. A little movement goes a long way in triggering strikes.
Step 8: Cast and Watch Your Strike Indicator
Cast your rig out gently to avoid tangling the line. Once it lands, the float slides up to the bobber stop and settles into position. Your float now works as a strike indicator, showing you every nibble. Watch for it to twitch, dip, or disappear under the surface. When it goes down, reel in the slack and set the hook with a smooth upward motion. Stay patient and keep your eyes on that float.
Tips for Best Results
- Match your float size to conditions. On windy days, a larger float rides the chop better. In calm water, a small, sensitive float shows subtle bites you’d otherwise miss.
- Use string-style bobber stops for smoother casting. They slide through your rod guides more easily than bulky rubber stops, letting you reach distant fish holding spots.
- Adjust depth often. Fish move throughout the day based on temperature and light. If you’re not getting bites, change your depth by a foot or two before switching baits.
- Keep your line clean and untwisted. A twisted line binds inside the float and kills your casting distance. Run your fingers along it between casts to catch problems early.
- Downsize your hook and bait for finicky fish. When bites are light, a smaller offering often seals the deal, especially with wary panfish.
Frequently Asked Questions
What Depth Should I Set My Slip Float?
Start by fishing near the bottom, then work your way up until you find fish. Most species hold at different depths depending on the season and time of day. In summer, fish often go deeper to find cooler water. Adjust your bobber stop until you get consistent bites.
Can I Use a Slip Float in Rivers?
Yes, slip floats work well in slow to moderate current. Position your bait so it drifts naturally with the flow past likely holding spots. In faster water, add a bit more weight to keep your bait down. Just watch your float carefully, since current can create false movements that look like bites.
How Much Weight Should I Add?
Use just enough split shot so your float sits low and stands upright. If the float lies flat, you need more weight; if it sinks, you have too much. Balance is everything for detecting light strikes. Test your setup in shallow water before casting out to fine-tune the weight.
Is It Better Than a Fixed Bobber?
For deep water and long casts, a sliding float wins hands down. A fixed bobber is fine for shallow spots close to shore. But once you need to fish more than a few feet deep, a fixed float becomes hard to cast. That’s where the sliding style really shines.
What Bait Works Best?
Live bait like worms, minnows, and leeches produces excellent results under a float. The natural movement of live offerings triggers strikes from curious fish. Match your bait to the species you’re chasing for the best odds. Fresh bait almost always beats artificial options in this setup.
Why Won’t My Float Stand Upright?
If your float lies on its side, you probably need more weight below it. Add a small split shot and check again. The float should stand tall with just its tip showing above the water. This upright position makes it easy to spot even the gentlest bite.
Conclusion
Getting comfortable with slip bobbers takes just a little practice, and the payoff is huge. You now know how to build your rig, set your depth, and read every bite like a pro. Don’t worry if your first few casts feel clumsy — every angler starts somewhere. Grab your gear and get out on the water this weekend. If you haven’t picked up your supplies yet, check out our picks above to get started. Ready for more? Explore our other fishing guides on the site and keep leveling up your skills. Tight lines!
