
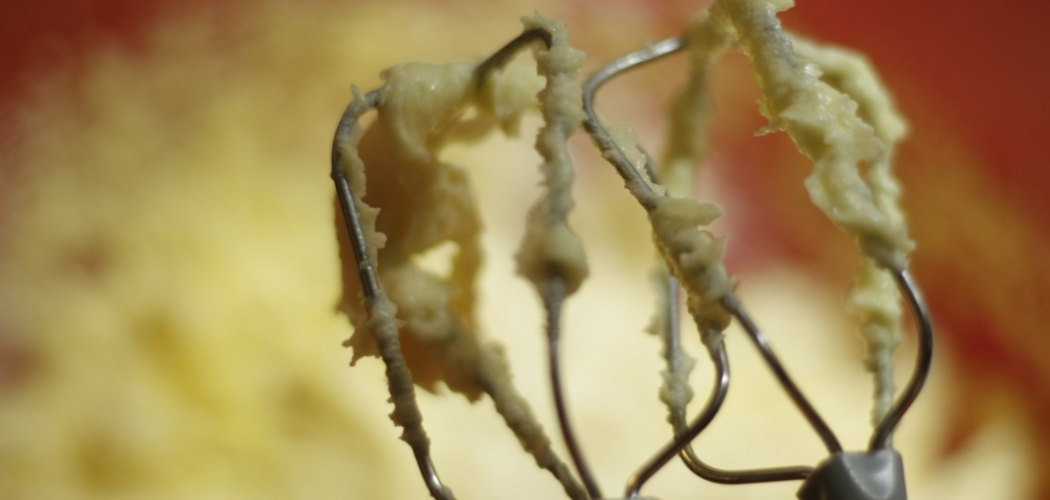
Your hands are covered in sticky flour, your arms are aching, and that ball of bread dough still refuses to come together. Kneading by hand has its charms, but on baking day it can wear you out fast. That’s where the dough hook comes in. Learning how to use a dough hook lets your stand mixer do the heavy lifting while you sip your coffee.
In this guide, you’ll learn what this handy attachment is, how to set it up, and how to knead everything from pizza crust to soft dinner rolls. We’ll walk through each step, share a few insider tips, and answer the questions bakers ask most. By the end, you’ll knead like a pro without breaking a sweat. Let’s get mixing.
What Is a Dough Hook?
A dough hook is a curved or spiral attachment that clips onto your stand mixer in place of the beaters. Its job is to imitate the push-and-fold motion of hand kneading, stretching the dough to build gluten and structure. You’ll usually see two shapes: a classic C-style hook and a spiral hook, both designed to pull dough off the sides of the bowl. It’s the go-to tool for bread, pizza, and any recipe that needs a good workout.
What You’ll Need
A little prep makes kneading smooth and mess-free. Grab these before you start.
- A stand mixer with enough power for bread work
- The dough attachment that fits your model
- A clean mixing bowl, usually the one that came with your mixer
- Your recipe ingredients, measured and ready
- A kitchen scale for accurate flour and water amounts
- A silicone spatula to scrape down the sides
- A little extra flour for dusting
- A timer so you don’t over-knead
- A damp towel to cover the dough while it rests
Having everything within reach means you won’t scramble mid-mix with flour on your hands.
Step-by-Step Guide on How to Use a Dough Hook
Step 1: Attach the Hook Correctly
Start by unplugging your mixer, just to be safe. Slide the hook onto the shaft, then twist and lock it into place until it clicks or seats fully. Different brands lock a little differently, so give it a gentle tug to confirm it’s secure. A loose attachment can wobble and knock against the bowl, which damages both. Once it’s locked, lower the head and check that the hook clears the bottom without scraping. This quick setup keeps your kneading smooth from the first turn.
Step 2: Measure and Add Your Ingredients
Good bread starts with accurate measurements. Weigh your flour and liquids with a scale rather than scooping, since packed flour throws off the ratio. Add the dry ingredients to the mixing bowl first, then make a small well for your wet ingredients. If your recipe uses yeast, keep the salt away from it until mixing begins, as direct contact can slow the rise. Pour everything in gently to avoid a flour cloud. A little care here sets you up for perfectly balanced bread dough.
Step 3: Start on the Lowest Speed
Always begin mixing slow. Set your machine to its lowest setting so the flour and liquid combine without spraying everywhere. Let the ingredients come together into a shaggy, rough mass before you think about speeding up. Rushing to high speed at the start is a classic mistake that coats your whole kitchen in flour. Keep the speed gentle for the first minute or two. Once the dough forms a rough ball, you’re ready to move on.
Step 4: Increase to a Medium Kneading Speed
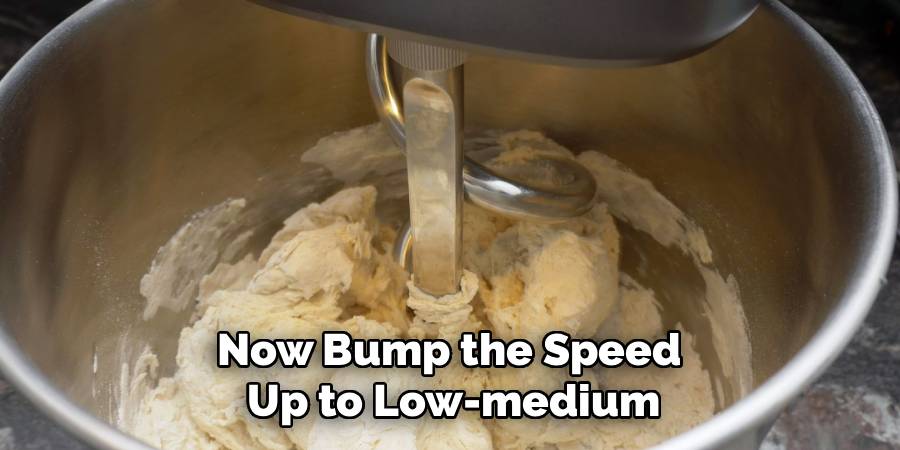
Now bump the speed up to low-medium, which most manuals recommend for kneading. Higher speeds can strain the motor and toss the dough around instead of working it. Watch how the dough behaves: it should start climbing the hook and slapping the sides of the bowl. That rhythmic thwack-thwack sound tells you the gluten development is underway. Resist the urge to crank it to max. Steady, moderate kneading builds the strong, stretchy structure your bread needs.
Step 5: Watch the Dough Come Together
This is where the magic happens. After a few minutes, the dough should pull away from the sides and gather around the hook in a smooth ball. A little stickiness at the bottom is fine, but the sides of the bowl should look mostly clean. If the dough stays soupy, add flour a tablespoon at a time. If it looks dry and cracked, drizzle in a teaspoon of water. Small adjustments now save you from dense, tough loaves later.
Step 6: Check for Proper Gluten Development
Don’t just trust the clock; test the dough itself. Stop the mixer and pinch off a small piece, then stretch it slowly between your fingers. If it forms a thin, translucent sheet without tearing, your gluten is ready. This is the famous windowpane test, and it’s the best way to know you’re done. If the dough rips right away, knead for another minute or two and test again. Enriched dough with butter and eggs may take a touch longer to reach this point.
Step 7: Scrape Down the Bowl as Needed
Every so often, pause and scrape. Turn off the mixer, then use your spatula to push any stray flour or stuck dough back toward the center. This helps everything mix evenly and stops dry patches from hiding at the bottom. Never scrape while the machine is running, since the hook can catch the spatula. A quick scrape once or twice during kneading makes a noticeable difference. It’s a small habit that leads to a more uniform, silky dough.
Step 8: Remove the Dough and Let It Rest
When the dough passes the windowpane test, you’re done kneading. Turn off and unplug the mixer, then lift the head and twist the hook free. Use floured hands or your spatula to coax the dough out, shaping it into a loose ball. Place it in a lightly oiled bowl and cover it with a damp towel. Let it rise in a warm spot until it doubles in size. This rest is when the yeast works its flavor magic.
Step 9: Clean the Hook and Bowl
A quick cleanup keeps your gear in top shape. Most hooks and bowls are dishwasher safe, but check your manual first to be sure. Soak off any dried-on dough in warm water rather than scraping hard, which can scratch the finish. Dry the attachment fully before storing it to prevent any rust or buildup. Wipe down the mixer body with a soft cloth too. Clean tools today mean effortless baking tomorrow.
Tips for Best Results
Ready to knead like someone who bakes every weekend? These pointers go beyond the basics.
- Respect the max capacity. Overloading the bowl strains the motor and gives you uneven kneading. Split large batches in two rather than forcing a double recipe through at once.
- Chill your bowl for enriched dough. Buttery, egg-rich doughs warm up fast under a working hook. A cold mixing bowl keeps the butter from melting too soon and helps the dough hold its shape.
- Let the hydration rest first. Mixing your flour and water for five minutes before kneading, then pausing, gives the flour time to absorb moisture. This autolyse trick makes the dough easier to work and improves the final crumb.
- Listen to your mixer. If the motor sounds strained or the base starts to walk across the counter, lower the speed. A steady hum means happy kneading; a labored groan means back off.
- Don’t over-knead. Machines work faster than hands, so it’s easy to go too far. Over-kneaded dough turns slack and tears easily, so test early and stop as soon as it passes the windowpane.
Frequently Asked Questions
What Is a Dough Hook Used For?
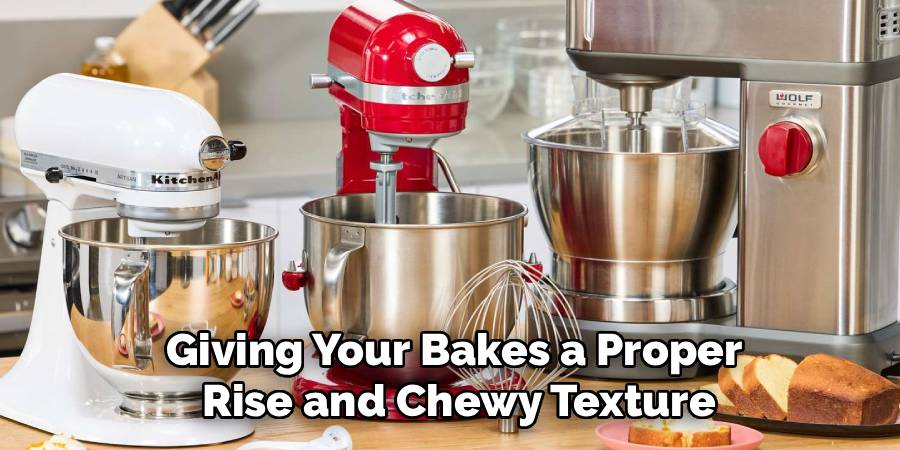
A dough hook kneads thick, heavy doughs that would tire out your arms by hand. You’ll reach for it when making bread, pizza crust, bagels, and dinner rolls. It stretches and folds the dough to build gluten, giving your bakes a proper rise and chewy texture. For thin batters or whipped mixtures, you’d use the paddle or whisk instead.
How Long Should I Knead Dough With a Stand Mixer?
Most bread doughs need about five to eight minutes on low-medium speed. Enriched doughs with butter and eggs can take a little longer to develop fully. Rather than watching the clock alone, use the windowpane test to check the gluten. Stop as soon as the dough stretches thin without tearing, since over-kneading weakens the structure.
Can I Knead by Hand Instead of Using the Hook?
Absolutely, and many bakers enjoy the feel of hand kneading. It just takes more time and effort, usually ten to fifteen minutes of steady work. The hook simply speeds things up and saves your arms on big batches. If you love the hands-on connection, do a quick finish knead by hand after the mixer does the heavy work.
Why Is My Dough Climbing Up the Hook?
A little climbing is normal, but too much usually means the dough is too dry or the speed is too high. Try lowering the speed and adding a splash of water to loosen it. Stopping to push the dough back down with a spatula helps too. A well-hydrated dough tends to slap the bowl rather than crawl up the shaft.
Is a Spiral Hook Better Than a C-Shaped One?
Both work well, but they suit different jobs. A spiral hook pulls dough down and through more efficiently, which many bakers prefer for stiff, high-hydration bread. The classic C-style hook is versatile and handles most home recipes just fine. If your mixer came with one style, it’s designed to match your machine’s power, so start there.
Conclusion
Kneading no longer has to leave you floury and worn out. Once you get the hang of your dough hook, everything from soft rolls to crusty artisan loaves becomes a breeze. Just remember the essentials: lock the attachment securely, start slow, keep the speed moderate, and trust the windowpane test over the timer. Nail those habits and you’ll bake with real confidence.
If you haven’t found the right attachment yet, check out our recommended picks above to match your mixer. Hungry for more? Explore our other baking and kitchen tool guides, and keep those loaves rising!
