
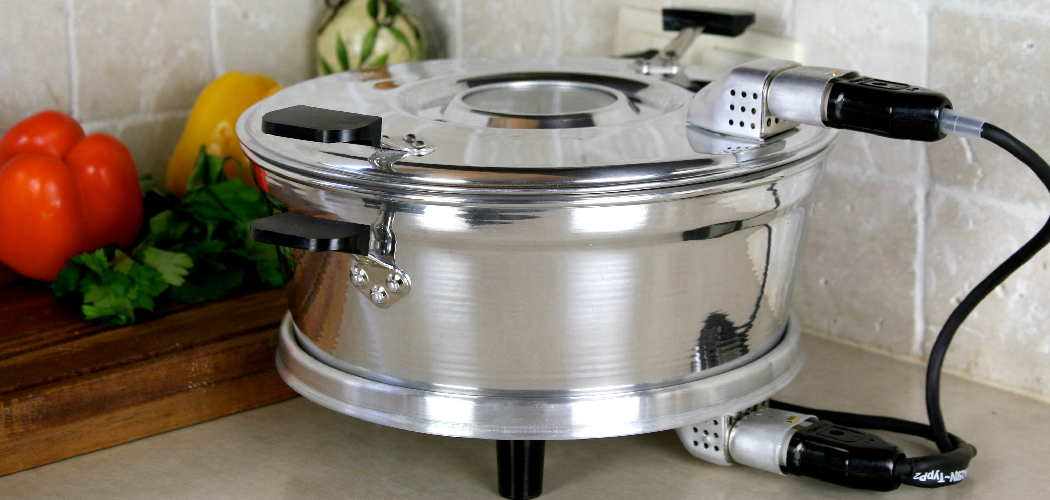
Picture this: it’s 7 a.m., you’re already running late, and dinner is the last thing you have time to think about. Then you come home to a warm meal that practically cooked itself. That’s the magic of a slow cooker. This countertop hero simmers your ingredients low and slow while you get on with your day.
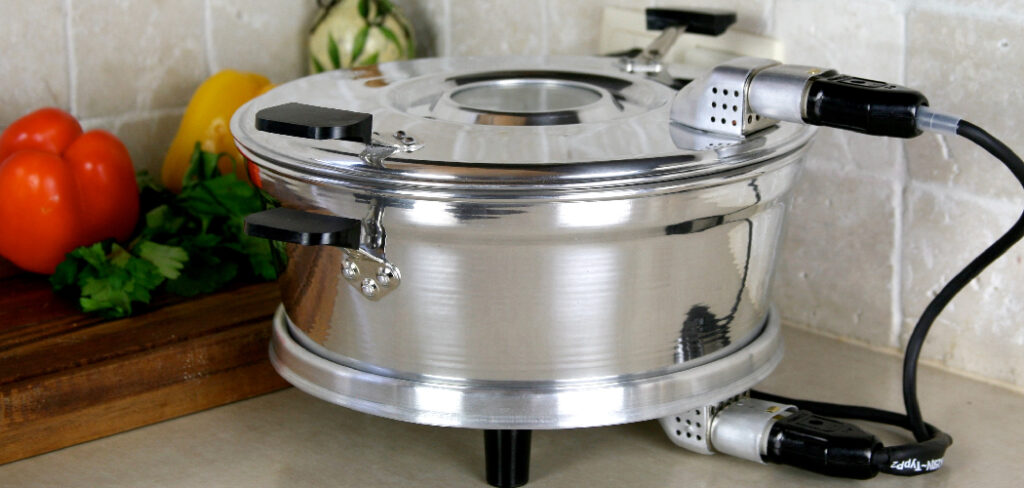
In this guide, you’ll learn exactly How to Use Slow Cooker. We’ll cover the gear you need, a clear step-by-step process, and a few insider tricks that make a big difference. Whether you’re chasing fall-apart tender meat or a hearty soup, you’ll finish knowing how to layer, time, and clean like a pro. Let’s get cooking.
What You’ll Need
Gather these items before you begin. A little prep keeps the whole process smooth and stress-free.
- A slow cooker (3-quart for small households, 6-quart for families)
- Your recipe and all its ingredients
- A cutting board and a sharp knife
- A skillet for browning meat (optional but worth it)
- Measuring cups and spoons
- A wooden spoon or silicone spatula
- Oven mitts or heat-resistant gloves
- A meat thermometer for safety
- Airtight containers for leftovers
Step-by-Step Guide on How to Use Slow Cooker
Follow these steps in order. After one or two meals, the routine will feel completely natural.
Step 1: Read Your Recipe First
Give your recipe a full read before you touch a single ingredient. This helps you spot the right cook time and heat setting up front. Some dishes need eight hours on low, while others finish in four on high. Knowing this early stops you from starting a slow-cooked roast at noon and expecting it by one. Check whether any steps, like browning, come before everything goes in the pot. A quick scan now saves you scrambling later.
Step 2: Prep and Chop Your Ingredients
Wash, peel, and chop everything to a similar size. Even pieces cook at the same rate, so nothing turns to mush while other bits stay hard. Cut root vegetables like carrots and potatoes a little smaller, since they take longer to soften. Trim excess fat from your meat to avoid a greasy final dish. Keep your cuts consistent and you’ll get an even, well-cooked meal. This step is where good texture really begins.
Step 3: Brown Your Meat for Extra Flavor
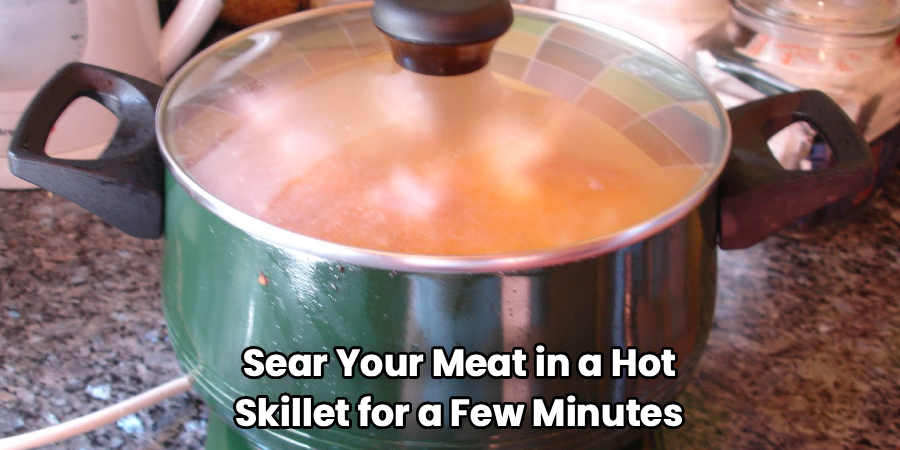
This step is optional, but it pays off big. Sear your meat in a hot skillet for a few minutes on each side before it goes in the pot. That golden crust adds deep, rich flavor you can’t get from braising alone. Deglaze the pan with a splash of broth and pour it in too, since those browned bits are pure gold. Skip this only when you’re truly pressed for time. Your taste buds will notice the difference.
Step 4: Layer Ingredients in the Right Order
Order matters more than you’d think. Place dense vegetables like potatoes and carrots at the bottom, closest to the heat. Set your meat on top of that bed of veggies. Pour in your liquids and seasonings last so everything mingles as it cooks. This layering helps tough ingredients soften properly while delicate ones stay intact. Get the order right and every bite comes out just how you want it.
Step 5: Add the Right Amount of Liquid
Resist the urge to drown your food. A slow cooker traps steam under the lid, so liquids don’t evaporate like they do on the stove. Most recipes need less liquid than you expect, often just a cup or two. Too much broth leaves you with a watery, bland result. If a soup or stew calls for more, follow the recipe closely. When in doubt, start light — you can always thicken or add more later.
Step 6: Choose Low or High Heat
Pick your setting based on your schedule and dish. Low heat runs around 190°F and works best for tough cuts that need long, gentle braising. High cooks faster, closer to 300°F, and suits quicker meals. As a rule, one hour on high roughly equals two hours on low. For the most tender meat, low and slow almost always wins. Match the setting to the time you actually have that day.
Step 7: Keep the Lid On While It Cooks
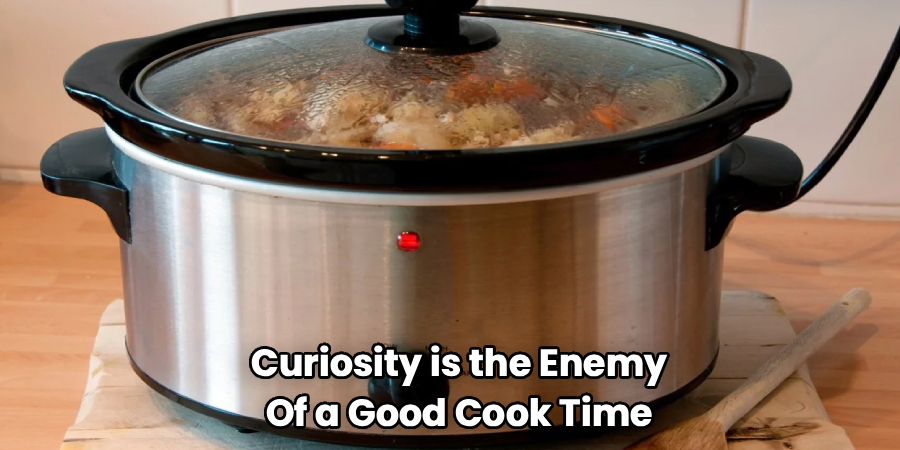
Curiosity is the enemy of a good cook time. Every time you lift the lid, you release built-up heat and steam. That can add 20 to 30 minutes to your total cooking time. Trust the process and let it do its thing. This hands-off, set-and-forget style is the whole point. Only peek near the end when you’re checking for doneness.
Step 8: Check for Doneness Safely
Test your food before you dig in. Use a meat thermometer to confirm poultry hits 165°F and other meats reach a safe internal temp. The meat should feel tender and pull apart easily with a fork. Vegetables should be soft but not falling apart. If something needs more time, cover it back up and give it another 30 minutes. Better safe than sorry when it comes to food safety.
Step 9: Serve and Store Leftovers
Once everything’s cooked, serve it up while it’s hot. Move any leftovers into airtight containers within two hours to keep them safe. Most slow-cooked meals taste even better the next day as the flavors settle. Refrigerate for up to four days or freeze for longer storage. Never store food in the ceramic insert, since it can crack from sudden temperature swings. Cool, pack, and enjoy round two later.
Step 10: Clean the Pot the Easy Way
Let the ceramic insert cool before washing to avoid cracks. Warm, soapy water and a soft sponge handle most messes with ease. For stuck-on bits, soak the pot for 20 minutes first instead of scrubbing hard. Wipe the heating base with a damp cloth, but never submerge it in water. Many inserts are dishwasher-safe too, so check your manual. A little care keeps your crockpot working for years.
Tips for Best Results
These extra pointers come from real kitchen experience. They’ll take your meals from good to genuinely great.
- Fill the pot the right amount. Aim to fill it between half and two-thirds full. Too empty and food burns; too full and it won’t cook evenly.
- Add dairy and fresh herbs at the end. Milk, cream, and cheese can curdle over long cook times. Stir them in during the last 30 minutes for a smooth finish.
- Thicken sauces near the end. If your dish looks watery, remove the lid for the final hour or stir in a cornstarch slurry. This concentrates the flavor beautifully.
- Don’t add frozen meat. Thaw meat fully before cooking. Frozen cuts sit too long in the unsafe temperature zone where bacteria thrive.
- Use a liner for easy cleanup. A disposable liner or a light spray of oil makes washing up almost effortless after a sticky, saucy meal.
Frequently Asked Questions
Can I Leave a Slow Cooker On All Day?
Yes, these appliances are built for long, unattended cooking. Most models can safely run for eight to ten hours on the low setting. Still, place it on a heat-safe surface away from walls and never leave it running when you’re away for days. Modern units also switch to a “keep warm” mode once cooking finishes.
Do I Need to Add Water to a Slow Cooker?
Not always — it depends on your recipe. Many dishes release their own juices as they cook, so you need less added liquid than on a stovetop. Soups and stews will call for broth or water, but a roast may need very little. Adding too much can leave you with a watery, flavorless meal.
Is It Safe to Cook Raw Meat in a Slow Cooker?
Absolutely, as long as you follow safe temperatures. The steady heat cooks raw meat through, but you should always thaw it first for even results. Use a thermometer to confirm poultry reaches 165°F and other meats hit their safe mark. Browning the meat beforehand also adds flavor and extra peace of mind.
Why Is My Food Coming Out Watery?
The trapped steam has nowhere to go, so liquids build up over time. Try using less broth than the recipe suggests next time. To fix a watery batch, remove the lid for the last hour or stir in a cornstarch slurry. Both tricks thicken your sauce and boost the flavor.
Can I Cook Rice or Pasta in It?
You can, but timing takes care. Rice and pasta cook fast, so they turn mushy over long hours. Add pasta in the final 20 to 30 minutes and use extra liquid for rice. For best texture, many cooks prefer to make these on the side and stir them in at the end.
Conclusion
Cooking hearty, homemade meals shouldn’t mean hours stuck at the stove. With a slow cooker, you just prep, layer, set the heat, and walk away. Remember the essentials: chop evenly, go easy on the liquid, keep that lid closed, and check for doneness before serving. That’s really all it takes to enjoy tender meat and rich flavors on autopilot.
If you haven’t picked one up yet, check out our recommended picks above to find the right size for your kitchen. Hungry for more? Browse our other how-to guides on the site for simple, hands-on tips. Happy cooking.
