
You just finished splicing two wires, and now you’ve got a bare, twisted joint staring back at you. It looks messy, it feels fragile, and you know one good tug could ruin all your work. That’s exactly how to use shrink tubing comes in. This simple little sleeve wraps around your connection, then hugs it tight with a bit of heat, giving you a clean, protected finish that lasts for years.
In this guide, you’ll learn exactly what this material is and why it beats electrical tape almost every time. We’ll cover the tools you need, then walk through each step so your first attempt looks like a pro did it. You’ll also grab a few insider tips and answers to the questions people ask most. By the end, you’ll wrap wires with total confidence.
What Is Shrink Tubing?
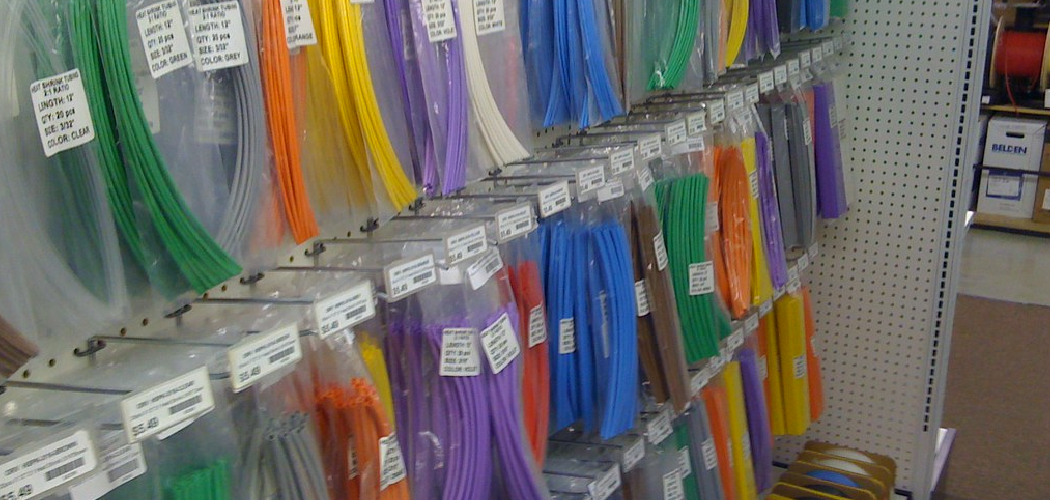
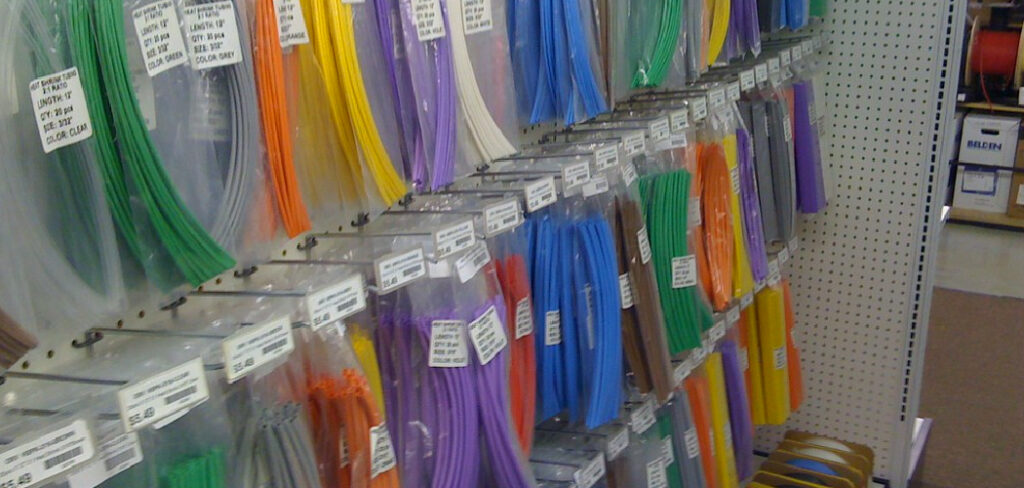
Shrink tubing is a hollow plastic sleeve that shrinks tightly around wires and cables when you apply heat. Most of it is made from polyolefin, a durable plastic that stays flexible and resists heat, moisture, and abrasion. You slide it over a wire, warm it up, and it collapses to hug the surface snugly. People use it for wire insulation, bundling cables, sealing connections, and adding a protective layer to exposed ends.
What You’ll Need
Gathering your supplies first makes the whole job smoother. Here’s your quick checklist before you start:
- Heat shrink sleeves in the right diameter and color
- A heat gun (the ideal tool for even, controlled heat)
- A lighter or hair dryer as a backup heat source
- Wire strippers for prepping cable ends
- A pair of scissors or a sharp utility knife
- A soldering iron and solder, if you’re joining wires
- A tape measure or ruler for accurate cuts
- A heat-resistant surface or work mat
- Safety glasses and gloves for protection
That’s everything. Most of this already lives in your toolbox, so you likely won’t spend much to get started.
Step-by-Step Guide on How to Use Shrink Tubing
Step 1: Choose the Right Size and Type
Sizing is where most beginners slip up, so start here. Pick a sleeve with an inner diameter slightly larger than the wire or connector it covers. You want it to slide on easily, then shrink down firmly. Check the shrink ratio too, since a 2:1 tube shrinks to half its size while a 3:1 shrinks even more. For extra protection against water, look for adhesive-lined tubing that seals as it heats.
Step 2: Measure and Cut Your Length
Now measure how much you need for the job. As a rule, cut a piece that covers your connection plus a little overlap on each side. That overlap grips the bare wire and keeps everything sealed. Use sharp scissors or a utility knife for a clean, straight edge. A jagged cut can tear or split when heated, so take your time here.
Step 3: Slide It On Before You Connect
This step trips up nearly everyone at least once. Always slide the sleeve onto the wire before you join or solder anything. If you connect first, you’ll have no way to get the tube over the joint later. Push it well down the wire, away from your work area, so heat won’t shrink it early. Then make your connection with a clear path to slide it back into place.
Step 4: Make and Prep Your Connection
With the tube waiting on the wire, join your two ends. You might twist and crimp them, or use a soldering iron for a stronger bond. If you solder, let the joint cool fully before moving on. A hot connection can shrink the tube unevenly the moment it slides over. Wipe away any flux residue so the sleeve seals against a clean surface.
Step 5: Position the Sleeve Over the Joint
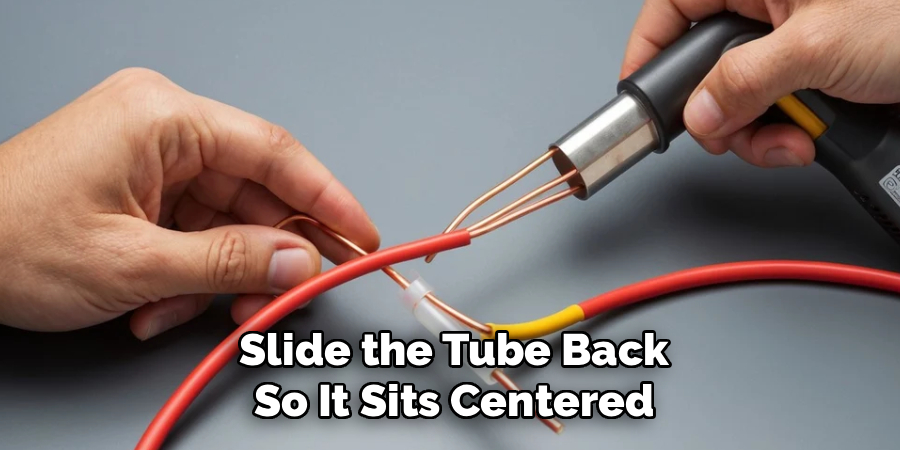
Slide the tube back so it sits centered over the connection. Make sure it covers the entire bare area, with that little overlap on each side reaching onto the insulation. Hold it steady so it doesn’t drift while you grab your heat source. Even positioning gives you a smooth, uniform result. A crooked start almost always leads to a lumpy finish.
Step 6: Apply Heat Evenly
Here’s the moment it all comes together. Turn on your heat gun and hold it a few inches from the sleeve, keeping it moving the whole time. Start in the middle, then work outward toward each end to push out trapped air. This prevents bubbles and gives you a tight, glossy seal. Never rest the heat in one spot, or you’ll scorch the plastic and weaken it.
Step 7: Watch It Shrink and Seal
As the heat does its work, you’ll see the tube hug the wire snugly. Rotate the wire so every side gets warmed evenly. If you’re using adhesive-lined tubing, you may notice a little glue seeping from the ends, which tells you the seal is solid. Keep going until the sleeve conforms completely with no loose gaps. That clean, uniform look means you nailed it.
Step 8: Let It Cool and Inspect
Once it’s shrunk, pull the heat away and let the connection cool for a minute. The plastic stays soft while warm, so give it time to set before you handle it. Run your fingers along the sleeve to check for a firm, even bond. Look for any gaps, bubbles, or shiny spots that didn’t seal. If something looks off, you can carefully slice it off and try again with a fresh piece.
Step 9: Test the Connection
Give the finished joint a gentle tug to confirm it holds. A well-sealed sleeve stays put and protects the wire beneath. For electrical work, test the circuit to make sure your connection carries current properly. This final check saves you headaches down the road. A minute of testing now beats a failed repair later.
Tips for Best Results
- Match the color to your project. Black works for most jobs, but colored sleeves help you label and organize bundled cables. Red, blue, and yellow make tracing wires much easier during future repairs.
- Try a solder sleeve for waterproof joints. These clever sleeves combine heat shrink with a built-in ring of solder. One pass of heat both bonds the wires and seals them, which is perfect for outdoor or marine connections.
- Keep the heat gun moving. Parking it in one place is the top cause of scorching. Constant motion spreads the warmth and gives you that smooth, professional shine every time.
- Buy an assortment kit. A mixed pack of sizes and colors means you’re always ready. You’ll rarely find yourself stuck without the right diameter for a surprise repair.
- Use a reflector attachment for tight spots. When you can’t rotate the wire, a heat gun reflector wraps warmth around all sides at once. It’s a small add-on that makes awkward jobs far easier.
Frequently Asked Questions
Can I Use a Lighter Instead of a Heat Gun?
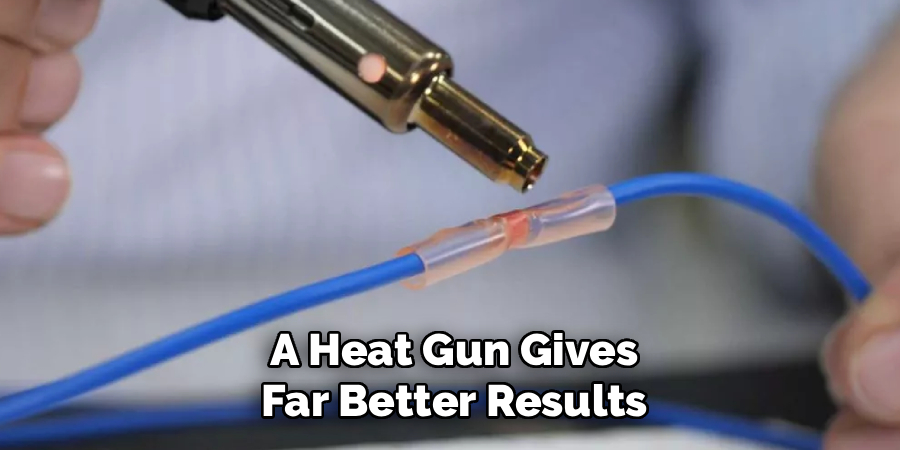
You can, but a heat gun gives far better results. A lighter’s open flame heats unevenly and can easily scorch or burn the plastic. If a lighter is all you have, keep the flame low and moving, and hold it well below the sleeve. Still, for clean and safe work, a heat gun remains the best tool for the job.
What Size Shrink Tubing Should I Buy?
Pick a size with an inner diameter a bit larger than the object it covers. It should slide on with ease, then shrink down tight around your connection. Pay attention to the shrink ratio, since a 3:1 tube collapses more than a 2:1. When in doubt, grab an assortment kit so you always have the right fit ready.
Is Heat Shrink Better Than Electrical Tape?
In most cases, yes. Heat shrink creates a permanent, snug seal that resists moisture, abrasion, and heat far better than tape. Electrical tape can loosen, unravel, and leave sticky residue over time. Tape still works for quick temporary fixes, but for lasting wire insulation, the tubing wins hands down.
Can I Reuse Shrink Tubing After It’s Shrunk?
No, once it shrinks, it’s set for good. The plastic won’t expand back to its original size, so you can’t slide it onto another wire. If you need to remove it, carefully slit it lengthwise with a sharp blade and peel it away. Then apply a fresh piece for your next connection.
Will It Work on Things Other Than Wires?
Absolutely. People use these sleeves to add grip to tool handles, seal the ends of ropes, protect fishing rod repairs, and organize charging cables. Any object that fits inside the tube and tolerates a little heat is fair game. Just match the diameter and heat it evenly for a clean, secure hold.
How Hot Does It Need to Get?
Most polyolefin tubing shrinks between roughly 195°F and 260°F, depending on the brand. A heat gun reaches this range quickly and safely. You don’t need to blast it on the highest setting, since steady, moderate heat does the job without scorching. Always check the packaging for the exact temperature your product recommends.
Conclusion
Learning to use shrink tubing is one of those small skills that pays off again and again. Whether you’re fixing a frayed charger, wiring a project, or bundling cables, that tight, protective seal gives your work a clean, professional finish. Just remember the golden rule: slide the sleeve on before you connect. If you haven’t stocked up yet, check out our recommended picks above to find the right kit for your needs. Want to sharpen more of your DIY skills? Explore our other tool guides on the site and keep building your confidence.
