
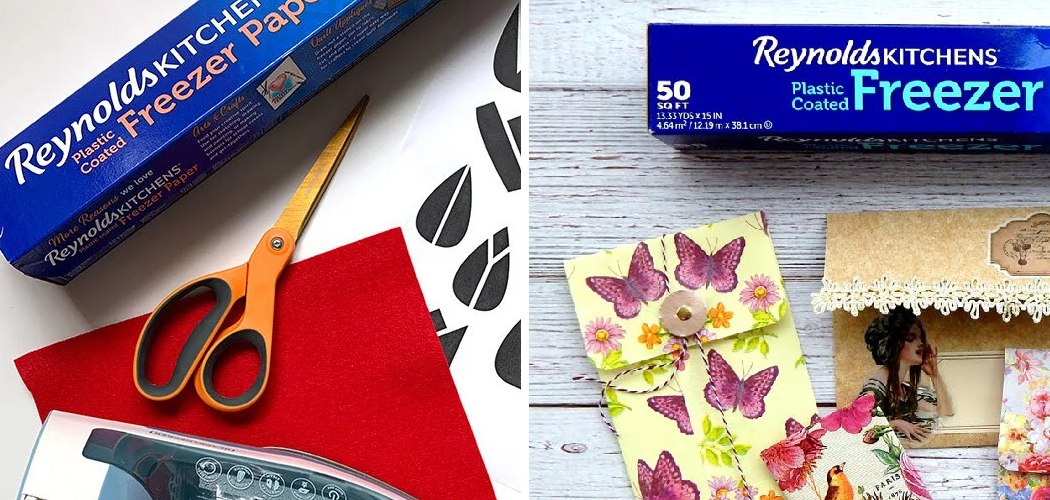
You pull a beautiful cut of steak out of the freezer three months later, and it’s covered in gray, dry patches. Freezer burn strikes again. Or maybe you’re staring at a craft project, wishing your stencils would stay put without a mess of tape. Both problems share one simple fix. Learning how to use freezer paper can save your food, sharpen your crafts, and cut down on kitchen waste.
In this guide, you’ll discover what makes this humble roll so handy, what you’ll need to get started, and a clear step-by-step walkthrough. We’ll cover wrapping meat, prepping stencils, and lining baking sheets. You’ll also pick up insider tips and answers to the questions people ask most. By the end, you’ll wonder how you ever managed without it.
What Is Freezer Paper?
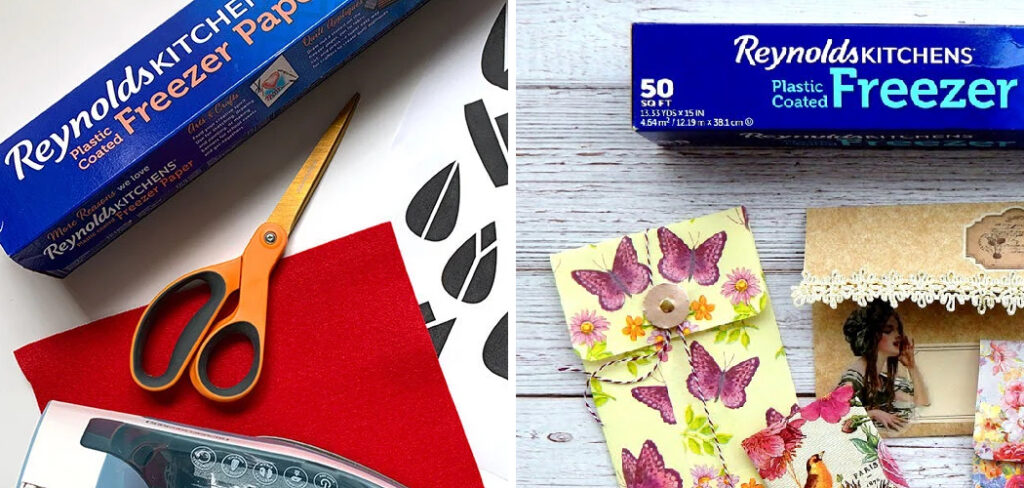
Freezer paper is a heavy-duty paper with a plastic or wax coating on one side. The coated side seals in moisture and blocks air, while the matte paper side stays writable. Cooks use it to wrap meat, fish, and cheese for long-term freezer storage. Crafters love it too, since the coating bonds temporarily to fabric when heated, making it perfect for stencils and iron-on projects.
What You’ll Need
Gathering a few basics ahead of time keeps things smooth and simple. Here’s your quick checklist:
- A roll of freezer paper (plastic-coated works for both food and crafts)
- Sharp kitchen scissors or a cutting blade
- A permanent marker or pen for labeling
- Freezer or masking tape to seal edges
- A clean, flat work surface
- An iron and ironing board (for craft projects)
- The item you’re wrapping or decorating
- Optional: a paint brush or sponge for stenciling
That’s it. Most of these are already sitting in your kitchen or craft drawer.
Step-by-Step Guide on How to Use Freezer Paper
Step 1: Identify the Coated Side
Before anything else, figure out which side is which. Run your fingers across both surfaces. One side feels smooth, slick, and slightly shiny — that’s the plastic-coated side. The other feels like ordinary matte paper. This matters a lot, because the coated side always faces your food or fabric, while the paper side stays out for writing. Get this backward and your wrap won’t seal, or your stencil won’t stick.
Step 2: Measure and Cut Your Sheet
Roll out enough paper to fully wrap your item with room to spare. For meat, aim for a piece roughly two to three times the size of the cut, so you can fold and tuck the edges. Cut a clean, straight line with sharp scissors to avoid ragged edges that let air sneak in. If you’re stenciling, cut a sheet slightly larger than your design area. It’s always better to trim a little too much than to come up short mid-project.
Step 3: Wrap Your Food Tightly
Place your meat or cheese in the center with the coated side facing it. Pull the paper snug against the surface, pressing out as much air as you can. Air is the enemy here — it causes the freezer burn you’re trying to prevent. Fold one side over, then the other, like wrapping a gift, and tuck the ends underneath. A tight, air-free seal is the whole point, so take your time smoothing out any pockets.
Step 4: Seal and Secure the Edges
Once wrapped, tape down every loose flap with freezer tape. Regular tape can pop off in cold temperatures, so freezer or masking tape holds far better. Press each strip firmly so it grips the slick surface. Run your hand over the whole package to check for gaps or bulges. A well-sealed bundle locks out moisture loss and keeps flavors fresh for months instead of weeks.
Step 5: Label Everything Clearly
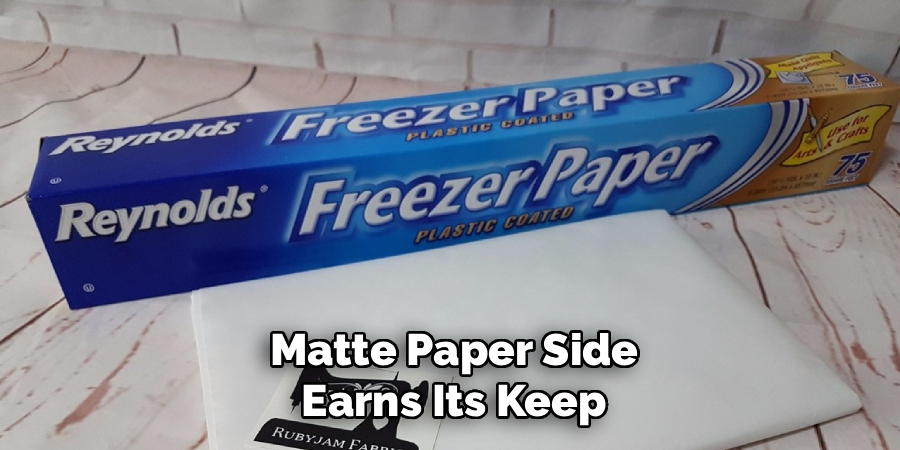
This is where the matte paper side earns its keep. Grab a permanent marker and write the contents plus the date directly on the wrap. Trust me, “mystery meat” from six months ago is a gamble nobody wins. Note the cut of meat, the weight, or even cooking instructions if you like. Clear labels save you from digging through frosty packages later and help you use older items first.
Step 6: Store It Flat, Then Stack
Lay your wrapped packages flat in the freezer until they’re solid. Freezing them flat first prevents awkward lumpy shapes and helps them freeze faster and more evenly. Once frozen, you can stack them neatly to save space. Keep similar items together so you can find them fast. Organized storage means less time with the freezer door open, which protects everything inside.
Step 7: Try It for Craft Stencils
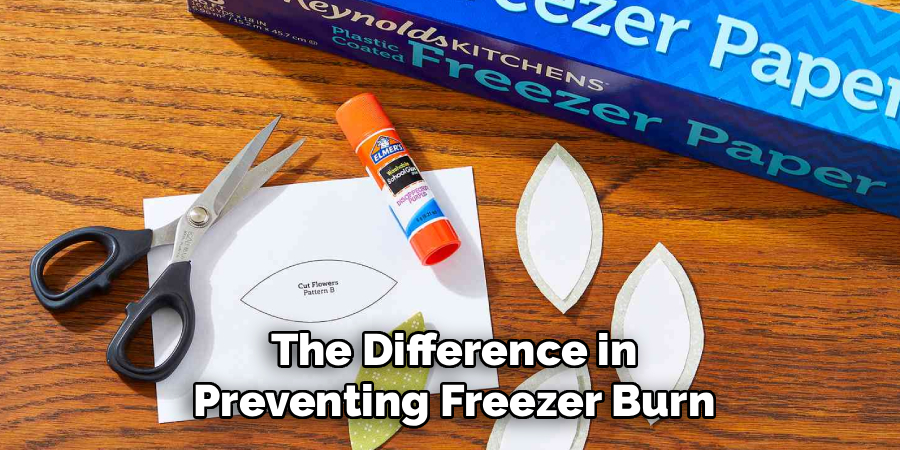
Here’s where the fun begins if you’re a crafter. Draw or trace your design onto the paper side, then cut it out with a craft blade to create a stencil. Place the coated side down on your fabric and press with a warm, dry iron for a few seconds. The coating melts just enough to grip the cloth without leaving residue. Now you can paint inside the stencil with crisp, clean edges and no bleeding.
Step 8: Peel Away and Reuse When Possible
After your paint dries, gently peel the stencil off the fabric. Pull slowly to avoid smudging any wet edges. On many projects, you can reuse the same stencil two or three times before the coating loses its grip. Store used sheets flat between projects so they stay smooth. This little trick stretches one roll a surprisingly long way.
Tips for Best Results
- Never microwave or oven-heat the plastic-coated type. The coating can melt into your food. If you want a bakeable liner, reach for parchment paper instead — they look similar but behave very differently under high heat.
- Double-wrap for long storage. For anything staying frozen longer than three months, add a second layer or slip the package into a freezer bag. This extra barrier practically eliminates freezer burn.
- Press out air with a straw. When wrapping soft foods, poke a straw into a small gap, suck out the air, then seal it fast. It’s a poor-person’s vacuum seal that works surprisingly well.
- Test your iron heat on a scrap first. Different fabrics react to different temperatures. A quick test on a spare piece keeps you from scorching your good material or under-bonding the stencil.
- Store the roll in a dry spot. Humidity can soften the coating over time. A cool, dry cupboard keeps it fresh and ready whenever you need it.
Frequently Asked Questions
What Is the Difference Between Freezer Paper and Parchment Paper?
Freezer paper has a plastic or wax coating on only one side, designed to seal out air and moisture in the freezer. Parchment paper is coated on both sides with silicone and made to handle oven heat. You can’t swap one for the other safely. Use freezer paper for cold storage and stencils, and parchment for baking.
Can I Reuse Freezer Paper?
For food storage, it’s best to use a fresh sheet each time to keep things sanitary and airtight. Once it’s been in contact with raw meat, toss it. For craft projects, though, you can absolutely reuse a stencil two or three times until the coating stops sticking. Just store used craft sheets flat and clean between uses.
Which Side of the Freezer Paper Faces the Food?
The shiny, plastic-coated side always faces the food. That coating is what locks in moisture and blocks the air that causes freezer burn. The matte paper side stays on the outside so you can write labels on it. Getting the sides right is the single most important part of a good seal.
Is It Safe to Use Freezer Paper in the Oven or Microwave?
No, keep the plastic-coated type far away from ovens and microwaves. The heat melts the coating, which can ruin your food and create a mess. If you need something heat-safe, parchment paper is the right tool for baking and reheating. Save your freezer paper for the freezer and craft table.
How Long Does Food Last When Wrapped in Freezer Paper?
Properly wrapped meat can stay fresh for six months to a year, depending on the cut. A tight, air-free seal makes all the difference in preventing freezer burn. Double-wrapping or adding a freezer bag extends that life even further. Always label the date so you know exactly how long it’s been stored.
Conclusion
Freezer paper really is one of those quiet heroes in the kitchen and craft room. Once you know how to use freezer paper properly, you’ll protect your food from freezer burn, keep your storage organized, and unlock a whole world of clean, crisp stencil projects. The secret is simple: coated side in, tight seal, clear label. If you haven’t grabbed a roll yet, check out our recommended picks above. Ready to master more handy tools? Explore our other kitchen and DIY guides on the site and keep building your skills.
