
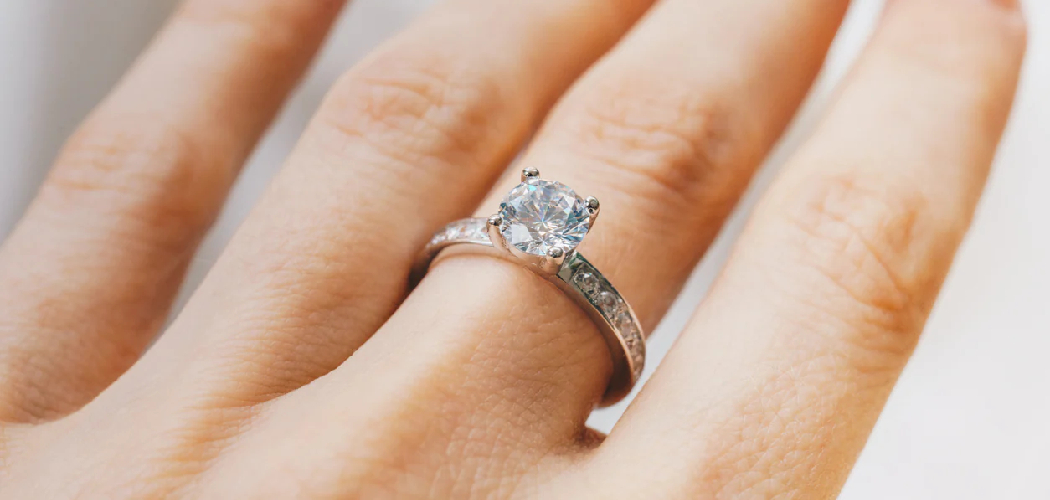
Buying a ring should feel exciting, not stressful. But guessing someone’s finger size (or even your own) can turn a happy moment into a returns headache. That’s where a small, handy tool saves the day. Learning how to use ring sizer tools takes just a few minutes, and it can spare you the awkwardness of a ring that slips off or won’t slide past your knuckle.
In this guide, you’ll learn exactly what a ring sizer is, what you need to get started, and the simple steps to measure any finger with confidence. Whether you’re a total beginner or a jewelry-loving hobbyist, you’ll walk away knowing how to get an accurate size every single time.
What Is a Ring Sizer?
A ring sizer is a simple tool used to measure the size of your finger for rings. It usually comes in two forms: a set of plastic or metal bands in standard sizes, or an adjustable strip that tightens around your finger like a tiny belt. You slide it on, check the number, and there’s your size. It’s the same trick jewelers use, only now it’s sitting right in your hands.
What You’ll Need
Before you begin, gather a few basics. Most of these are inexpensive and easy to find.
- A ring sizer (adjustable strip, ring gauge set, or mandrel)
- A ring you already own that fits well (optional, for double-checking)
- A pen and paper to jot down your size
- Good lighting so you can read the numbers clearly
- A warm room or a moment to relax your hands
- A ruler or a size conversion chart (handy for online orders)
8 Step-by-Step Guide on How to Use Ring Sizer
Follow these steps in order for the most accurate result. Take your time — rushing usually leads to a size that’s slightly off.
Step 1: Choose the Right Time of Day
Your fingers change size throughout the day, and that matters more than you’d think. In the morning or when it’s cold, fingers tend to be smaller. Later in the day, or after exercise, they swell a little.
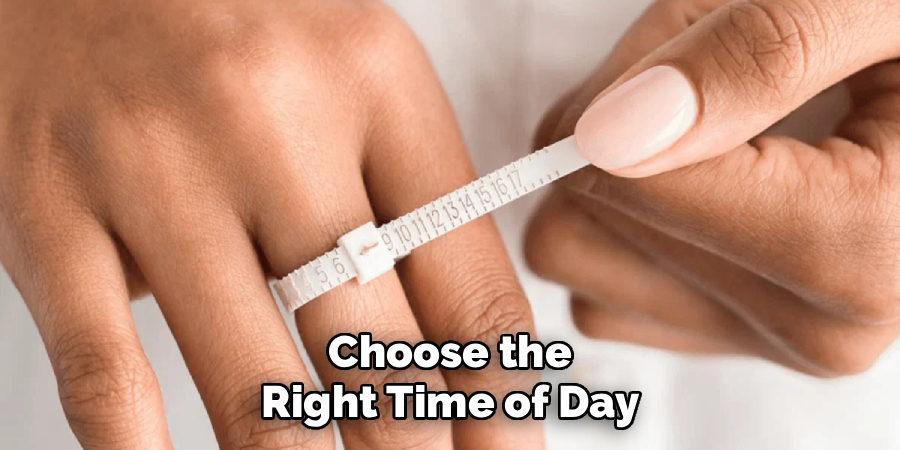
For the most reliable measurement, size your finger in the late afternoon or evening. This way, you’ll land on a size that feels comfortable most of the time, not just first thing in the morning.
Step 2: Warm Up Your Hands
Cold hands can throw off your reading in a big way. If your fingers feel chilly or stiff, rub them together or run them under warm water for a minute. Warm, relaxed hands give you a truer size that matches everyday wear. Skipping this step is one of the most common mistakes people make. A ring measured on cold fingers often feels too tight later.
Step 3: Pick the Finger You’re Measuring
It sounds obvious, but be sure you’re sizing the correct finger. Rings on your dominant hand often need to be slightly larger since that hand tends to be a touch bigger. If you’re buying a gift, try to measure the exact finger the ring will live on. Each finger can be a different size, even on the same hand. Double-check before you commit to a number.
Step 4: Slide On the Ring Sizer
Now for the main event. If you’re using an adjustable strip, form it into a loop and slip it over your finger. For a ring gauge set, try on the bands one at a time until you find the closest fit. Knowing how to use ring sizer tools well means letting the band settle at the base of your finger where a real ring would sit. Don’t force it — it should glide on with gentle effort.
Step 5: Test the Fit Over Your Knuckle
Your knuckle is usually the widest part of your finger, so the sizer must pass over it comfortably. Slide the band on and off a few times to feel the resistance. It should offer a little snugness going over the knuckle, then settle securely at the base. If it slides off too easily, go down a size. If it gets stuck at the knuckle, size up.
Step 6: Read the Measurement
Once the sizer fits just right, check the number. On an adjustable strip, look at where the tab lines up with the printed scale. On a gauge set, the size is stamped right on the band. Write it down immediately so you don’t forget. If your reading falls between two sizes, jot down both and note which felt more comfortable.
Step 7: Double-Check With a Ring You Own
If you have a ring that already fits the intended finger, use it to confirm. Place it over the matching band on your gauge set, or measure its inner diameter with a ruler. Compare that to a size conversion chart. This extra step builds real confidence in your result. It’s especially useful when you’re ordering a ring online and can’t return it easily.
Step 8: Measure a Second Time
One reading is good, but two is better. Repeat the process to make sure you get the same size twice. Fingers and readings can vary slightly, so a quick second check catches any small errors.
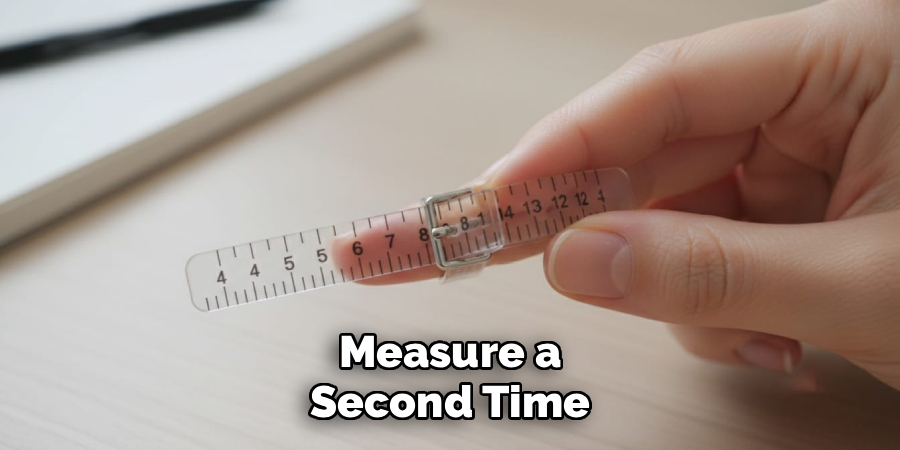
If both attempts match, you can trust your number. If they differ, take a third measurement and go with the size that shows up most often.
Tips for Best Results
These insider pointers go beyond the basics and can make a real difference in your final size.
- Account for wide bands. Thicker rings feel tighter than thin ones. If you’re buying a chunky band, size up by half a size for comfort.
- Avoid sizing right after salty meals or workouts. Both can cause temporary swelling that gives you a misleading result.
- Measure at least twice on different days. Bodies change, and averaging a few readings gives you the most dependable size.
- Consider the climate. If you live somewhere hot and humid, your fingers may run slightly larger year-round.
- When in doubt, size up. A slightly loose ring can be resized down more easily than a tight one can be stretched.
Frequently Asked Questions
How Accurate Is a Ring Sizer at Home?
A home ring sizer is surprisingly accurate when you use it correctly. Adjustable strips and gauge sets both get you within a half size in most cases. For the best results, measure at the right time of day and repeat the process. If you need pinpoint precision for an expensive ring, a jeweler can confirm your size for free.
Can I Use a Ring Sizer to Measure Someone Else’s Finger?
Yes, and it’s a great way to plan a surprise gift. Ask the person to try on the sizer casually, or measure a ring they already wear on the right finger. Compare that ring’s diameter to a conversion chart for a solid estimate. Just remember that each finger differs, so try to match the exact one.
Is It Safe to Order a Ring Sizer Online?
Ordering one online is safe and convenient, and most kits arrive with clear instructions. Look for a reusable sizer made from sturdy plastic or metal so you can use it again. Reading a few reviews helps you pick a reliable option. Once it arrives, follow the steps above and you’ll be measuring like a pro in minutes.
What Do I Do If My Size Falls Between Two Numbers?
Landing between sizes is common and nothing to worry about. As a general rule, choose the larger size for comfort, especially if the ring has a wide band. You can always have a slightly loose ring resized down later. If comfort is your priority, the bigger number is usually the safer bet.
How Do I Convert My Ring Size for International Orders?
Ring sizes vary between countries, so a conversion chart is your best friend. Once you know your local size, match it against US, UK, or European scales on the chart. Many online stores include their own conversion guide at checkout. Double-checking here saves you from ordering the wrong size across regions.
Conclusion
Getting the right ring size doesn’t have to be a guessing game. With a little patience and the right tool, you can measure any finger accurately in just a few minutes. Now that you know how to use ring sizer tools the smart way, you’re ready to shop or gift with total confidence. If you haven’t picked one up yet, check out our picks above to find a reliable option. When you’re ready for more, explore our other tool guides on the site — there’s plenty more to help you nail every project.
