
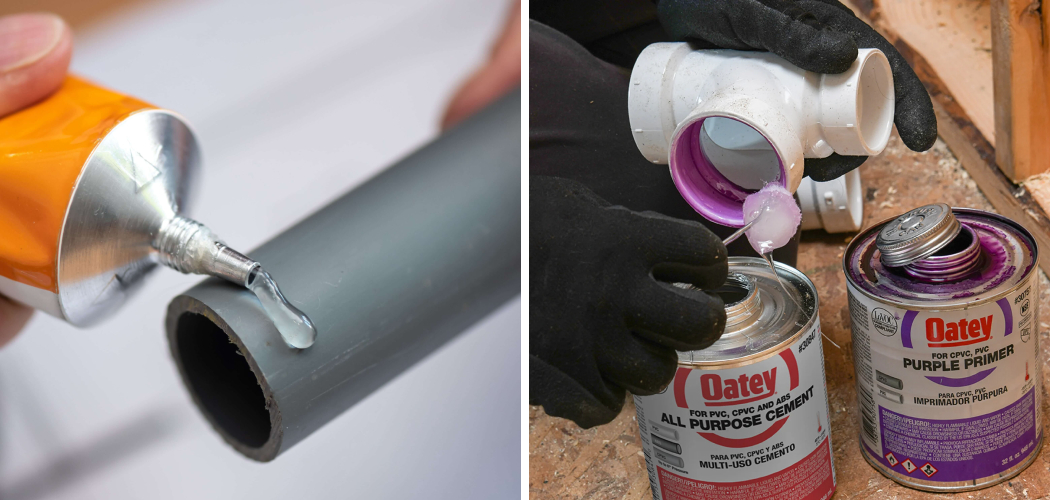
That leaky pipe under the sink isn’t going to fix itself. Maybe you’re building a garden trellis, repairing a sprinkler line, or finally tackling that plumbing project you’ve been avoiding. Either way, you’ve got some PVC pipe and fittings, and now you need them to hold tight without a single drip. Learning how to use PVC glue is one of those skills that feels intimidating at first but turns out to be genuinely simple.
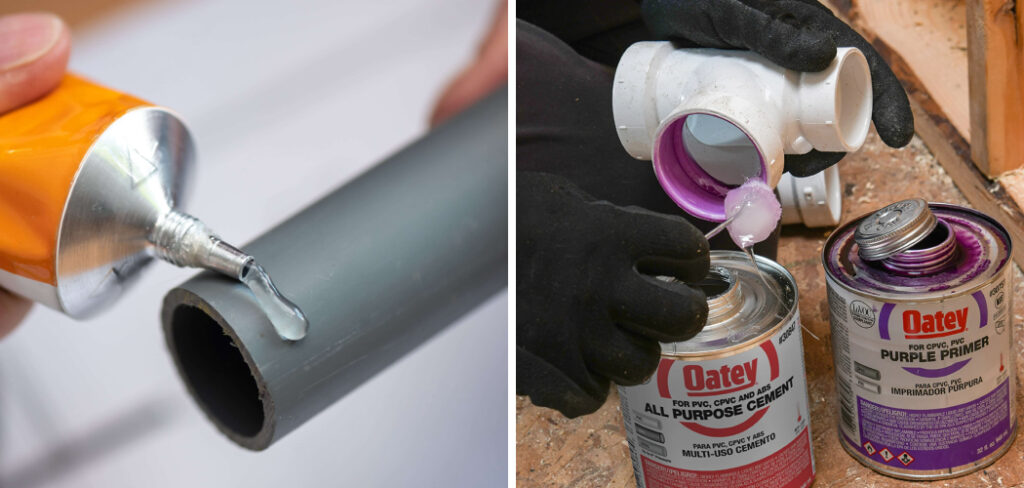
In this guide, you’ll learn exactly what you need, how to prep your pipe and fittings, and the step-by-step method for a strong, watertight bond every time. We’ll cover the little details that separate a joint that lasts decades from one that fails in a week. Let’s get your hands dirty.
What You’ll Need
Before you start bonding pipes together, gather your supplies. Having everything within reach keeps the process smooth, since PVC glue sets fast once you begin.
- PVC solvent cement (the “glue” — make sure it matches your pipe type)
- PVC primer (usually purple, for cleaning and softening the surface)
- PVC pipe and fittings cut to size
- A clean rag or paper towels
- A fine-grit sandpaper or deburring tool
- A pipe cutter or fine-tooth saw
- Disposable gloves to protect your hands
- A marker or pencil for alignment
- Good ventilation — open a window or work outdoors
- Safety glasses to shield your eyes from splashes
A quick note: PVC solvent cement isn’t really glue in the traditional sense. It chemically melts the surfaces so they fuse into one solid piece. That’s why picking the right product matters so much.
9 Step-by-Step Guide on How to Use PVC Glue
Follow these steps in order and don’t skip ahead. The whole process moves quickly once the cement touches the pipe, so read through everything first.
Step 1: Measure and Cut Your Pipe
Start by measuring exactly where you need your PVC pipe to reach. Mark the spot clearly with a pencil or marker. Use a pipe cutter for the cleanest result, though a fine-tooth saw works too. Cut straight and steady — a crooked cut makes for a weak joint later.
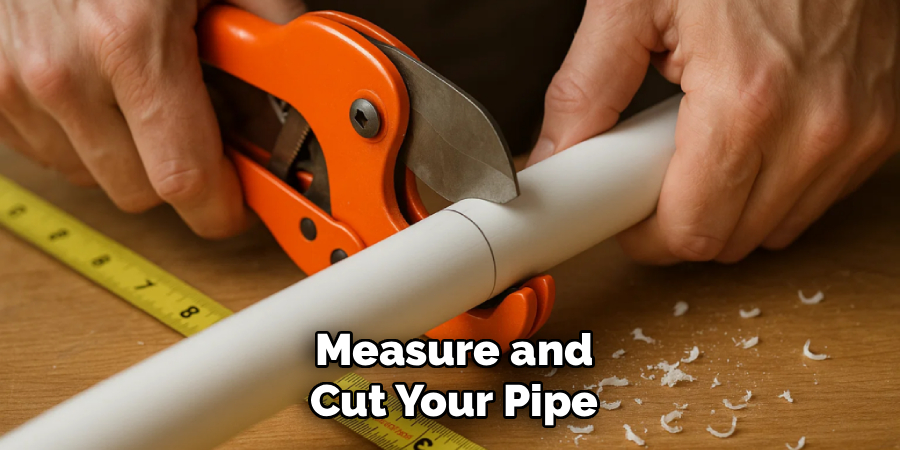
Take your time here. A rushed, angled cut is one of the most common beginner mistakes. If your line looks off, trim it again before moving on.
Step 2: Remove Burrs and Rough Edges
Cutting always leaves tiny plastic shavings and rough edges called burrs. These can trap the solvent cement in the wrong spots and block a proper seal. Grab your deburring tool or a piece of sandpaper and smooth the inside and outside of the cut end. Run your finger around the rim to check for any leftover rough patches.
Clean edges let the pipe slide fully into the fitting. Skip this step and your bond may leak under pressure. It only takes a few seconds, so make it a habit.
Step 3: Dry-Fit the Pieces First
Before any glue touches the plastic, test how everything fits together. Slide the pipe into the fitting and make sure it seats snugly. Mark a straight alignment line across the pipe and fitting with your marker. This gives you a guide so you can line things up correctly once the cement is on.
Dry-fitting saves you from panic later. Once solvent cement is applied, you have only seconds to position things. Knowing your alignment ahead of time makes the real assembly calm and confident.
Step 4: Clean the Surfaces with Primer
Now grab your PVC primer, usually a bright purple liquid. Apply it to both the inside of the fitting and the outside of the pipe end. The primer cleans away dirt and oils while softening the surface so the cement bonds deeper. Purple primer also leaves a visible mark, which many local plumbing codes actually require.
Don’t skip this step even if a product claims it’s optional. Primer dramatically improves the strength of the joint. Let it sit for just a few seconds before moving to the cement.
Step 5: Apply the PVC Solvent Cement
Here’s where knowing how to use PVC glue really pays off. Shake the can, then use the applicator to spread an even coat of solvent cement on the pipe end. Apply a thinner layer inside the fitting socket too. Work quickly but neatly — you don’t need a thick, sloppy glob.
Too little cement leaves gaps, while too much creates messy runs and weak spots. Aim for full, even coverage on both surfaces. The cement starts working the moment it hits the plastic, so keep moving.
Step 6: Join and Twist the Pieces
Push the pipe firmly into the fitting until it hits the bottom of the socket. As you insert it, give it a quarter turn to spread the cement evenly. Line up your alignment marks from the dry-fit step so everything points the right way. Hold the joint steady for about 30 seconds so it doesn’t push back out.
The cement softens the plastic, and it can slip if you let go too soon. That quick twist ensures no dry spots hide inside the joint. Keep firm pressure until you feel it hold.
Step 7: Wipe Away Excess Cement
Once the joint is set, you’ll likely see a small bead of cement around the rim. That’s actually a good sign — it means you had full coverage. Wipe away any extra with your clean rag right away. Leftover cement can look messy and, in rare cases, weaken nearby areas.
A neat joint isn’t just about looks. Clean lines make future inspections easier and help you spot problems fast. Take a quick pass with the rag and you’re nearly done.
Step 8: Let the Joint Cure Fully
Patience is your best friend now. The cure time depends on temperature, humidity, and pipe size, but don’t rush it. For small pipes in warm weather, a solid bond forms within 15 to 30 minutes for handling. Before running water or pressure through the system, wait at least a couple of hours — longer for bigger pipes.
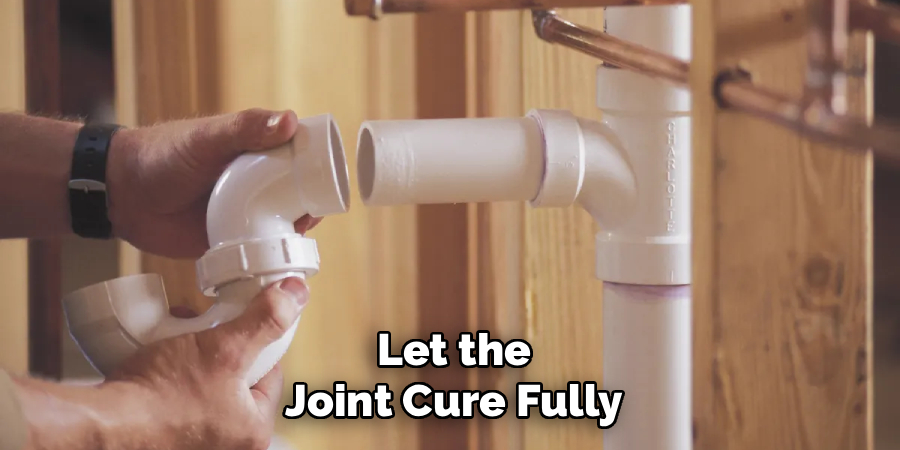
Check the label on your solvent cement for exact cure times. Testing too early is a classic mistake that ruins otherwise perfect work. Give it time and your joint will hold for years.
Step 9: Test for Leaks
Once the cure time has passed, slowly introduce water or pressure into the line. Watch each joint closely for any drips or seepage. Run your finger along the connections to feel for moisture. If everything stays dry, congratulations — you nailed it.
If you spot a leak, don’t try to patch over it with more cement. A failed PVC joint usually needs to be cut out and redone properly. Catching problems now saves you a bigger headache later.
Tips for Best Results
These extra pointers go beyond the basic steps and reflect what experienced hands know.
- Match your cement to your pipe. Some products are made specifically for PVC, others for CPVC or ABS. Using the wrong solvent cement leads to weak, unreliable joints. Read the label and confirm compatibility before you buy.
- Mind the temperature. Cement behaves differently in extreme heat or cold. In hot weather it sets faster, so work quickly. In cold conditions, expect longer cure times and consider a cement rated for low temperatures.
- Keep the can sealed between uses. PVC solvent cement dries out fast when exposed to air. Close the lid tightly the moment you finish. A thickened, gloopy can won’t spread evenly and gives you a poor bond.
- Work in a well-ventilated space. The fumes are strong and shouldn’t be breathed in for long. An open window, a fan, or working outdoors keeps you comfortable and safe.
- Buy fresh product. Solvent cement has a shelf life. An old can that’s been sitting in the garage for years may not perform well, even if it still looks liquid.
Frequently Asked Questions
How Long Does PVC Glue Take to Dry?
Drying and curing are two different things. A joint feels set within about 15 to 30 minutes for gentle handling in warm weather. Full cure, meaning it can handle water pressure, usually takes a couple of hours or more depending on pipe size and conditions. Always check your specific product label, since cure times vary between brands.
Can I Use PVC Glue Without Primer?
Some cements advertise a “no primer needed” formula, and they can work for small, low-pressure projects. That said, primer cleans and softens the pipe surface for a much stronger bond. For any plumbing that carries pressure, using primer is the smarter, safer choice. Many building codes even require that visible purple primer mark.
Is It Safe to Use PVC Glue Indoors?
You can use it indoors, but ventilation is essential. The fumes from solvent cement are strong and can cause dizziness or headaches in a closed room. Open windows, run a fan, and wear gloves and eye protection. If you feel lightheaded, step outside for fresh air right away.
What Happens If a PVC Joint Leaks After Gluing?
A leaking joint usually means the cement didn’t fully seal, often from a dry spot or rushed application. Unfortunately, you can’t fix it by adding more glue on top. The best move is to cut out the bad section and install a fresh fitting with proper technique. Getting the prep and application right the first time prevents this.
Can I Speed Up the Cure Time?
Not really, and trying to rush it usually backfires. Cure time depends on temperature and pipe diameter, and pushing water through too early can break the bond. Warmer air naturally shortens the wait, so working in mild conditions helps. Your best bet is simply to plan ahead and let the joint set fully.
Conclusion
Bonding PVC doesn’t have to be scary, and now you’ve got the whole process down. From cutting clean edges to letting each joint cure fully, knowing how to use PVC glue the right way means strong, leak-free connections that last for years. Take your time with prep, work quickly once the cement is on, and never skip the cure step.
If you haven’t picked up your supplies yet, check out our recommended picks above to get started. When you’re ready for your next project, explore our other tool guides on the site — there’s always more to learn.
