
Your favorite scented candle sits half-burned, but the flame keeps drowning in a pool of wax—or worse, the wick tunnels down the middle and won’t stay lit. You want the cozy smell without the fire risk or the fuss. That’s where a candle wax warmer comes in. It melts scented wax gently using heat instead of a flame, filling your room with fragrance safely and evenly.
In this guide, you’ll learn exactly how to use a candle wax warmer, use it the right way, and get the strongest scent throw possible. We’ll walk through what to gather, each step in plain language, and a few tricks that seasoned users swear by. Whether you’re brand new to wax melts or you’ve dabbled before, you’ll come away confident. Let’s get warming.
What You’ll Need
Grab these basics before you start. Having everything nearby makes the whole thing feel effortless.
- A candle wax warmer (electric plug-in or tealight-powered)
- Scented wax melts, cubes, or a wickless candle
- A power outlet nearby (for electric models) or an unscented tealight (for traditional ones)
- A flat, heat-safe surface away from clutter
- A pack of cotton balls (for easy cleanup)
- A small dish or liner (optional, but handy)
- Oven mitts or a towel for handling the warm dish
That’s really it. No lighters, no trimming wicks, no soot. The simplicity is half the appeal. Once your supplies are ready, you’re set to melt away.
Step-by-Step Guide on How to Use a Candle Wax Warmer
Take these steps in order and don’t rush. A little care upfront gives you better scent and an easier cleanup later.
Step 1: Pick the Right Spot
Location matters more than you’d think. Set your warmer on a flat, stable, heat-safe surface like a countertop, shelf, or sturdy table. Keep it away from curtains, paper, and anything flammable, especially if you’re using a tealight model.
Make sure the spot is out of reach of kids and pets. Warmers get hot, and a curious paw can knock one over. Choose a central location so the scent spreads through the room. A little planning here prevents messes and keeps everyone safe.
Step 2: Plug In or Light Up
Now power up your warmer. If you have an electric plug-in or lamp-style model, plug it directly into a wall outlet. Avoid using an extension cord if you can, since it’s safer and keeps the cord tidy. For tealight versions, place an unscented tealight in the base and light it carefully.
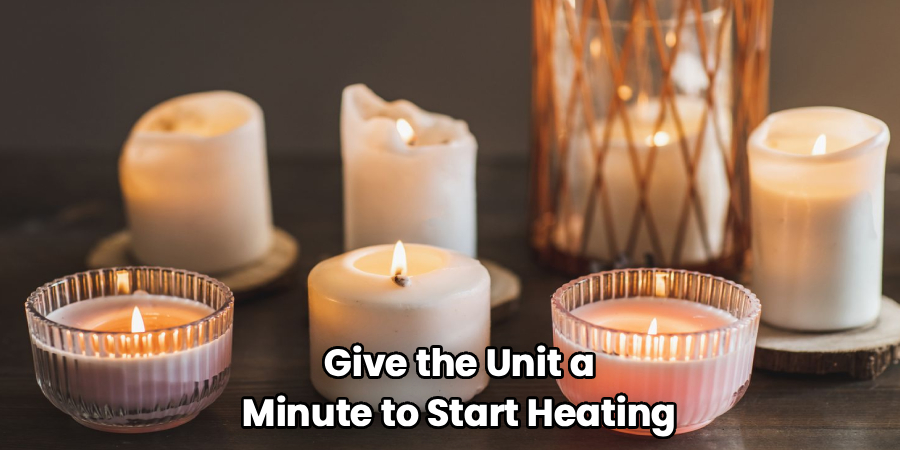
Give the unit a minute to start heating. Electric models warm up quietly and evenly, while tealights take a little longer. Never leave a lit tealight unattended for long stretches. Once it’s on, you’re ready for the fun part.
Step 3: Add Your Wax Melts
Place one or two wax melts into the dish on top of the warmer. You don’t need to overload it—a couple of cubes usually fill an average room. If you’re using a wickless candle, simply set the container in or on the warmer as directed.
Start small and add more later if the scent feels weak. Different waxes melt at slightly different rates, so watch the first few sessions. Avoid mixing too many fragrances at once, or you’ll get a muddled smell. One scent at a time gives the cleanest result.
Step 4: Let the Wax Melt Slowly
Patience pays off here. Within a few minutes, the wax will begin to soften and form a small pool. As it melts, the fragrance oils release into the air and fill your space. You don’t need to stir or touch anything—just let the heat do its job.
Resist the urge to crank up a tealight or move the dish around. Slow, steady melting gives the most consistent scent throw. If you notice the wax bubbling hard, your heat source may be too strong. Gentle is always better than aggressive.
Step 5: Enjoy the Scent Throw
Once the wax is fully melted, the aroma should reach across the room. This spreading of fragrance is called “scent throw,” and a good warmer delivers it evenly. Sit back and enjoy the cozy atmosphere without any smoke or flame.
If the smell fades after a while, that’s normal. The fragrance oils burn off before the wax itself disappears. When you can barely smell it anymore, it’s time to swap in fresh melts. Keep a few scents on hand so you can switch based on your mood.
Step 6: Turn It Off Safely
When you’re done, switch off the electric warmer at the unit or unplug it from the wall. For tealight models, gently blow out the flame and let everything cool. Never touch the wax dish right away—it stays hot for several minutes.
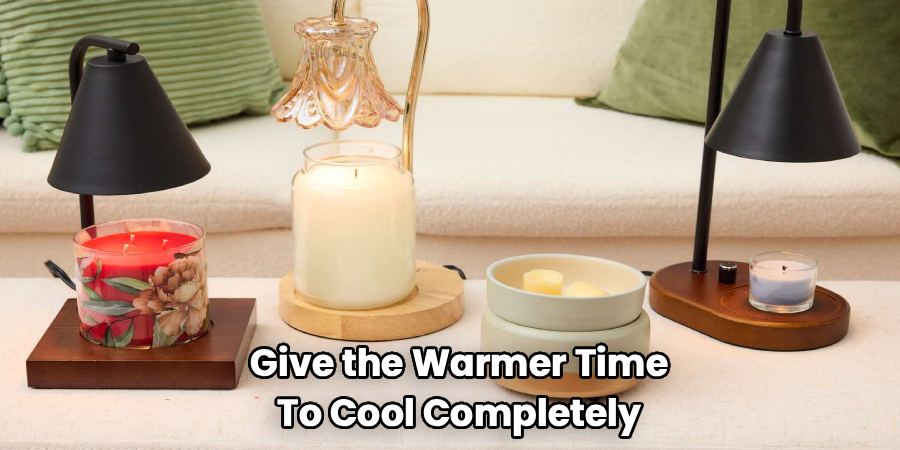
Give the warmer time to cool completely before moving it. This protects your hands and your furniture. Turning it off between uses also extends the life of the device. A quick shutdown routine keeps things safe and simple.
Step 7: Remove the Used Wax
Once the fragrance is gone, you’ll need to clear out the old wax. The easiest trick? Warm the wax just until it softens, then slide it out in one piece. Alternatively, let it harden fully and pop it out like an ice cube from a tray.
Here’s a neat hack: while the wax is still liquid, drop in a cotton ball. It soaks up the melted wax in seconds, and you just toss it out. Wipe the dish clean with a paper towel afterward. This keeps flavors—er, fragrances—from mixing next time.
Step 8: Clean and Store Your Warmer
Give the dish a quick wipe after each use so residue doesn’t build up. For a deeper clean, use a damp cloth once the surface is cool. Avoid harsh scrubbing on decorative or ceramic finishes, since it can scratch them.
Store your warmer in a dry spot when it’s not in use. Keep spare wax melts sealed in their packaging so they hold their scent. A clean, well-kept warmer performs better and lasts far longer. Treat it well, and it’ll reward you for years.
Tips for Best Results
Want to get the most out of every melt? These insider tips make a noticeable difference.
- Rotate your scents to prevent nose blindness. Using the same fragrance daily makes your nose tune it out. Switch between two or three scents so each one feels fresh every time.
- Buy quality wax melts, not just cheap ones. Higher-quality melts hold more fragrance oil, so the scent lasts longer and travels farther. It’s worth spending a little more for a stronger throw.
- Match the warmer size to your room. A small plug-in works great for a bathroom or closet, while a larger dish suits open living rooms. The right fit gives you even coverage without waste.
- Keep a cotton ball dish ready. Having cleanup supplies within reach means you’ll actually swap wax on time instead of letting old melts linger.
- Don’t overfill the dish. More wax doesn’t mean more scent. Overfilling can cause spills and weaker throw, so stick to the recommended amount.
Frequently Asked Questions
What Is the Difference Between a Wax Warmer and a Candle?
A traditional candle burns a wick to release fragrance, which produces a flame, smoke, and soot. A wax warmer uses gentle heat—either electric or a tealight—to melt scented wax without any open flame on the wax itself. This makes warmers safer around kids and pets and often cleaner for indoor air. Many people find the scent throw just as strong, sometimes stronger.
How Long Does the Wax Last in a Warmer?
Most wax melts hold their scent for around eight to ten hours of use, though this varies by brand and fragrance strength. The wax itself doesn’t disappear; only the fragrance oils burn off. Once you can’t smell it anymore, swap in fresh melts even though wax remains in the dish. Higher-quality melts tend to last noticeably longer.
Is It Safe to Leave a Wax Warmer On All Day?
Electric warmers are generally safe for extended use, but it’s smart to turn them off when you leave home or go to sleep. Tealight models should never be left unattended, since they involve an open flame. Always place any warmer on a heat-safe surface away from flammable items. When in doubt, switch it off and enjoy peace of mind.
Can I Use Regular Candle Wax in My Warmer?
You can melt down leftover candle wax, but scented wax melts are made specifically for this purpose and work best. Regular candle wax may contain a wick or additives that don’t melt cleanly. If you do reuse candle wax, remove the wick first and watch it closely. For consistent results, purpose-made melts are your safest bet.
How Do I Clean Wax Out Without Making a Mess?
The cotton ball trick is the easiest method by far. While the wax is still melted, drop a cotton ball in, let it absorb the liquid, then toss it out. If the wax has hardened, warm it briefly until it loosens and slide it out in one piece. Finish with a quick wipe using a paper towel.
Why Isn’t My Wax Warmer Giving Off Much Scent?
A few things could be at play. The fragrance oils may have already burned off, so try fresh melts. Your warmer might also be too small for the room, or the melts could be low quality with little scent oil. Placing the warmer in a central spot also helps the aroma travel farther.
Conclusion
Filling your home with cozy fragrance really can be this easy—no flames, no soot, no fuss. Once you get the hang of it, a candle wax warmer becomes one of the simplest comfort tools you own. Just remember to pick a safe spot, melt your wax slowly, and clean the dish between scents. Stick with it, and you’ll enjoy fresh fragrance whenever you like.
If you haven’t picked one up yet, check out our recommended picks above to find the right match for your space. Ready for more? Browse our other home and lifestyle guides to keep your space feeling just right.
