
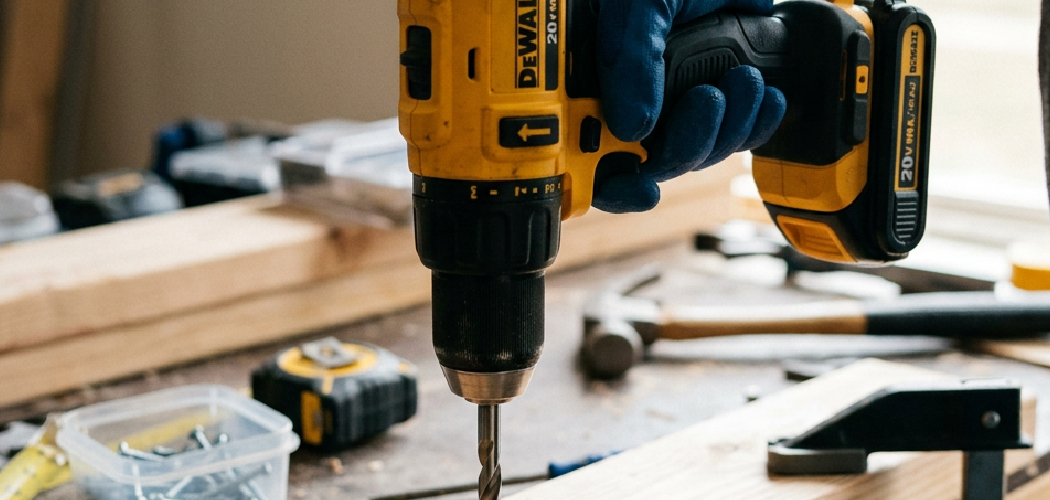
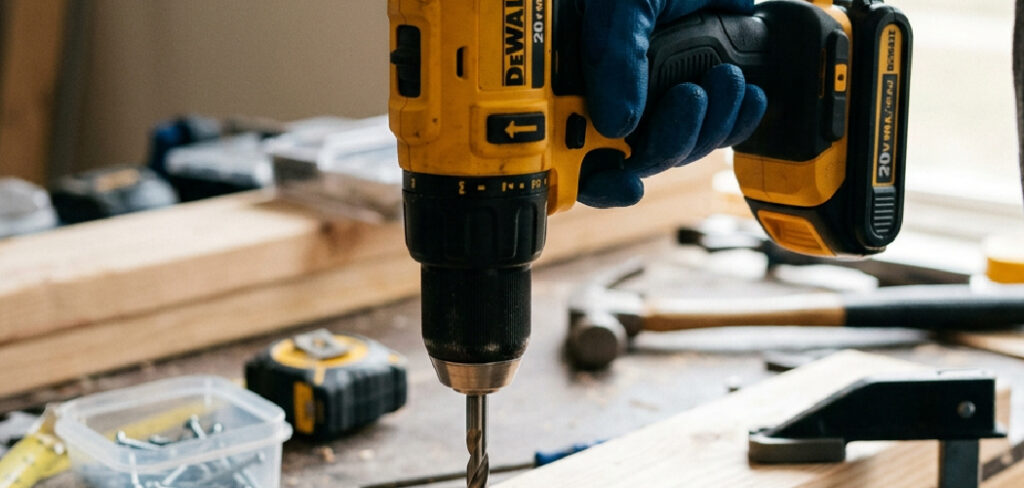
Trying to punch a clean hole through thin sheet metal with a regular twist bit usually ends one of two ways: a jagged, torn edge or a bit that grabs, spins, and leaves a dent. It’s frustrating, especially when you just need one tidy opening for a cable, a switch, or a bracket. A step drill bit solves that problem in seconds. This cone-shaped tool drills multiple hole sizes with one clean pass, no snagging or chatter.
In this guide, you’ll learn How to Use a Step Drill Bit, what supplies to gather first, and how to drill smooth, accurate holes step by step. We’ll cover setup, speed, lubrication, and how to nail the exact size you want. By the end, you’ll drill through metal, plastic, and wood like a pro.
What Is a Step Drill Bit?
A step drill bit is a cone-shaped cutting tool with a series of stepped ridges, each one a slightly larger diameter than the last. Instead of drilling a single fixed size like a standard bit, it lets you cut several hole sizes with one tool. You simply drill deeper to reach a wider hole, stopping at the step that matches the size you need. It shines when working with thin materials like sheet metal, plastic, and laminate, where clean edges matter most.
What You’ll Need
Grab these items before you start. Keeping everything within reach makes the whole job faster and safer.
- A step drill bit sized for your project
- A power drill (corded or cordless, variable speed preferred)
- Safety glasses and work gloves
- A center punch or automatic punch
- Cutting oil or lubricant (for metal)
- A clamp or vise to secure your workpiece
- A ruler or tape measure and a marker
- Scrap wood to back thin material
- A deburring tool or fine file for cleanup
- A rag to wipe away shavings and oil
A quick tip: keep a small brush handy to clear chips between passes. Built-up shavings can clog the flutes and slow your cutting.
Step-by-Step Guide on How to Use a Step Drill Bit
Take it slow on your first few holes. Once you feel the rhythm, you’ll trust this tool for all kinds of quick, clean jobs.
Step 1: Mark Your Hole Location
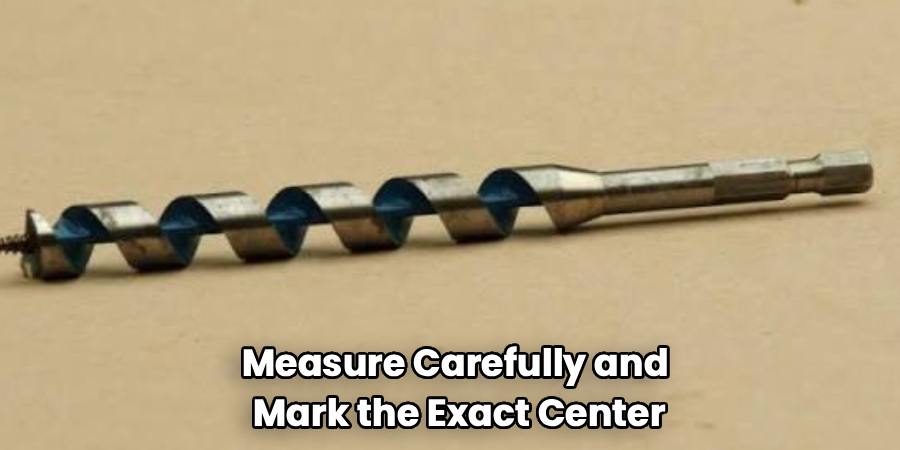
Measure carefully and mark the exact center of your hole with a marker. Accuracy here saves you from off-center or misplaced holes later. Use a ruler or tape measure and double-check your placement before moving on. For rows of holes, mark them all at once so spacing stays consistent. A crooked line of holes stands out on finished work. Take your time, because this step sets up everything that follows.
Step 2: Punch a Starter Dimple
Set your center punch on the mark and give it a firm tap with a hammer, or press an automatic punch until it clicks. This creates a small dimple that keeps the bit from wandering when you start drilling. Skipping this step is the most common beginner mistake, and it leads to scratched, off-center holes. The dimple gives the tip something to bite into right away. On slick metal or plastic, this little indent makes a huge difference. It’s a five-second job that pays off every time.
Step 3: Secure Your Workpiece
Clamp your material firmly to a workbench or lock it in a vise before drilling. Thin sheet metal spins fast if it isn’t held down, and a spinning sheet with sharp edges is dangerous. Place a piece of scrap wood underneath to support the back and prevent burring. A stable setup means the bit does the work instead of fighting you. Never hold thin metal with just your hand. Secure material equals cleaner holes and safer hands.
Step 4: Load the Bit and Set Your Speed
Insert the shank into your drill chuck and tighten it firmly so it doesn’t slip. Set your drill to a slow or medium speed, since high speed generates heat that dulls the edges fast. A step drill bit cuts best when it slices gradually, not when it’s forced. Match your speed to the material: slower for metal, a touch faster for plastic and wood. If your drill has variable speed, ease into the cut with light trigger pressure. Control beats speed every single time.
Step 5: Add Lubricant for Metal
When drilling metal, apply a few drops of cutting oil to the punch mark before you begin. Lubricant reduces friction, keeps the bit cool, and helps it last far longer. It also produces smoother edges and cleaner cuts. Reapply oil every few seconds during longer cuts to keep things running cool. Skip this on wood and most plastics, where oil isn’t needed. For aluminum or steel, though, a little lube goes a long way.
Step 6: Start Drilling Straight and Steady
Line the tip up with your dimple and hold the drill perfectly vertical. Squeeze the trigger gently and let the first step bite into the surface. Apply steady, even pressure without forcing it, and keep the drill from tilting. A wobbling drill widens the hole and leaves an uneven edge. Let the tool cut at its own pace rather than pushing hard. Steady hands here give you a round, clean opening.
Step 7: Stop at the Right Step
Watch the steps as they enter the material and stop when you reach your target size. Most quality bits have the diameters laser-etched on each step for easy reference. This is where knowing how to use a step drill bit really pays off, since one tool gives you many sizes. Ease off the trigger as you approach your mark so you don’t overshoot. If you cut too deep, the hole gets bigger than planned. Watch closely and stop with intention.
Step 8: Clear the Hole and Deburr
Pull the bit straight out while the drill is still spinning slowly to leave a clean edge. Wipe away shavings and any leftover oil with a rag. Run a deburring tool or a fine file around the rim to remove the sharp burr left behind. Smooth edges look professional and protect wires or cables that pass through. This quick cleanup step separates rushed work from polished results. Don’t skip it, especially on metal.
Step 9: Clean and Store the Bit
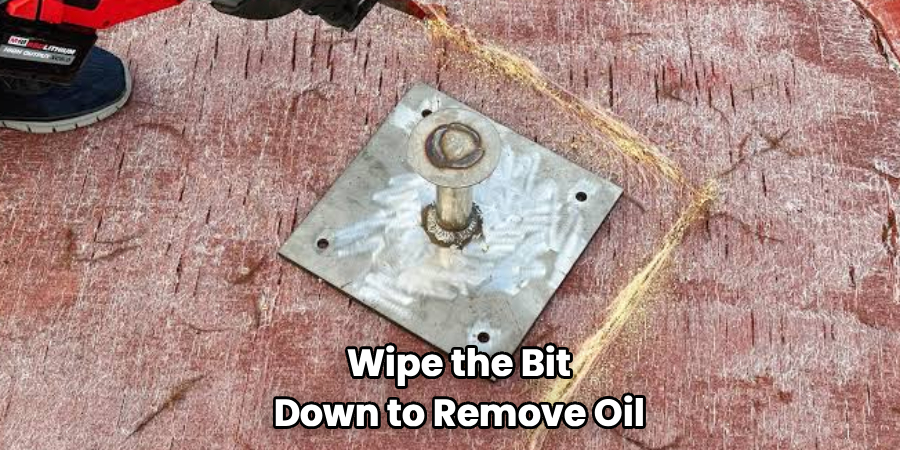
Once you finish, wipe the bit down to remove oil, chips, and grime. A clean bit stays sharp and resists rust between projects. Store it in its case or a protective sleeve so the fine cutting edges don’t get nicked. Tossing bits loose in a drawer dulls them fast. A little care keeps your tool cutting smoothly for years. Treat it well and it’ll reward you with clean holes every time.
Tips for Best Results
Want to level up your technique? These insider pointers make a real difference.
- Go slow and let the tool cut. Low speed with steady pressure beats high speed every time. Rushing overheats the edges, dulls the bit, and leaves rough, discolored holes.
- Back thin metal with wood. Clamping scrap wood behind sheet metal supports the cut and stops the messy burr on the exit side. Your holes come out cleaner with far less filing.
- Keep oil flowing on metal. Reapply cutting fluid every few seconds during a cut. It keeps the bit cool, extends its life, and gives you smoother edges you’ll barely need to touch.
- Match the bit to the material. Titanium-coated bits handle steel and heat better, while standard high-speed steel works fine for plastic and thin aluminum. Pick the right one for the job.
- Peck for deeper cuts. On tougher material, drill in short bursts and lift slightly between them. This clears chips, prevents overheating, and keeps your cut on track.
Frequently Asked Questions
What Materials Can a Step Drill Bit Cut?
These bits excel at thin materials like sheet metal, aluminum, copper, plastic, laminate, and thin wood. They aren’t built for thick steel, hardened metals, or masonry, where other bits work better. Stick to material under about a quarter-inch thick for the cleanest results. When in doubt, check the bit’s rating and run a test cut on scrap first.
How Do I Stop the Bit From Wandering?
Always start with a center punch to create a small dimple for the tip to grab. Hold the drill straight and start slowly with light pressure until the first step bites in. Securing your workpiece with a clamp also helps keep everything steady. Together, these habits stop wandering and give you a clean, centered hole.
Do I Need Cutting Oil Every Time?
Only for metal. Cutting oil reduces heat and friction, which protects the edges and produces smoother holes in aluminum, steel, and copper. For plastic and wood, you can skip the lubricant entirely, since it isn’t needed and can make a mess. When drilling metal, reapply a few drops every few seconds for the best results.
Why Is My Hole Coming Out Rough or Burred?
Rough edges usually come from drilling too fast, skipping lubricant, or not backing thin material with wood. Slow your speed down, add cutting oil on metal, and clamp scrap wood behind the workpiece. A quick pass with a deburring tool afterward cleans up any remaining burr. Fix those habits and your holes will come out smooth every time.
Can I Use a Step Bit in a Cordless Drill?
Absolutely. A cordless drill works great as long as it has enough torque and a variable-speed trigger for control. Keep the battery charged so you maintain steady power through the cut. Just remember to run it at a lower speed, since control matters far more than raw power for clean holes.
How Long Does a Step Drill Bit Last?
With good care, a quality bit lasts through hundreds of holes. Using proper speed, keeping it lubricated on metal, and cleaning it after each job all extend its life. Titanium-coated versions hold their edge longer than plain steel ones. Store it safely, avoid overheating, and it’ll stay sharp for many projects to come.
Conclusion
Getting clean, accurate holes comes down to a few simple habits: punch a starter mark, drill slow and straight, lubricate metal, and stop at the right step. Master that flow and a step drill bit becomes one of the most useful tools in your kit, handling metal, plastic, and wood with ease. It turns a frustrating job into a quick, satisfying one.
If you haven’t picked one up yet, check out our recommended picks above to find the right fit. Ready to build your skills further? Browse our other how-to guides and tackle your next project with confidence.
