
Picture this: you just finished a home manicure, and your nail clippers, cuticle pushers, and files are sitting in a little pile on the bathroom counter. You wipe them off, toss them back in a drawer, and call it a day. Sound familiar? Here’s the thing though—those tools can carry bacteria, fungus, and other nasties from one use to the next.
Learning how to sanitize nail tools properly keeps your nail care routine safe and your nails healthy. In this guide, you’ll learn exactly what supplies you need, a simple step-by-step method anyone can follow, plus insider tips that go beyond the basics. Whether you’re a total beginner or a seasoned DIY manicure fan, you’ll walk away knowing how to keep every tool spotless.
What You’ll Need
Before you get started, gather your supplies. Having everything ready makes the whole process faster and way less annoying. Here’s your checklist:
- Warm water and mild dish soap — for the first cleaning pass
- A small scrub brush or old toothbrush — to reach tiny grooves and hinges
- Isopropyl alcohol (70% or higher) — also called rubbing alcohol, your main disinfectant
- A hospital-grade disinfectant (like Barbicide) — optional but great for deeper cleaning
- A clean container or bowl — to soak your tools
- Paper towels or a lint-free cloth — for drying
- Cotton pads or swabs — for wiping smaller items
- Disposable gloves — to protect your hands from chemicals
- A sealed storage container or pouch — to keep clean tools clean
Most of these you probably already have at home. If you plan to do this often, it’s worth keeping a dedicated kit stocked and ready to go.
Step-by-Step Guide on How to Sanitize Nail Tools
Ready to get those tools clean? Follow these steps in order. Skipping ahead can leave germs behind, so take your time and do each one properly.
Step 1: Wash Off Visible Debris First
Start by rinsing your tools under warm running water. This clears away obvious gunk like skin bits, nail dust, and leftover polish. Add a drop of mild dish soap and gently scrub each tool with your brush. Pay close attention to hinges, joints, and textured surfaces where debris loves to hide.
Don’t skip this step, even if your tools look clean. Disinfectants can’t work properly on a dirty surface. Think of it like washing a plate before putting it in the dishwasher—the cleaner it starts, the better the result.
Step 2: Dry Everything Thoroughly
Once washed, dry each tool completely with a clean paper towel or lint-free cloth. Leftover water can dilute your disinfectant and make it less effective. Moisture also creates the perfect home for bacteria and fungal infections to grow.
Take a moment to open any hinged tools, like clippers or nippers, and dry inside the joints. These spots trap water easily. A quick air-dry for a few minutes helps too. Dry tools mean your next step actually does its job.
Step 3: Soak Tools in Isopropyl Alcohol
Now for the real work. Pour enough rubbing alcohol into your container to fully cover your metal tools. Use isopropyl alcohol at 70% or higher for the best germ-killing power. Submerge your clippers, cuticle pushers, and tweezers completely.
Let them soak for at least 10 minutes. This gives the alcohol time to break down bacteria and other microorganisms. Don’t rush it—a quick dip won’t cut it. Set a timer so you don’t pull them out too early.
Step 4: Use a Disinfectant Solution for Deeper Cleaning
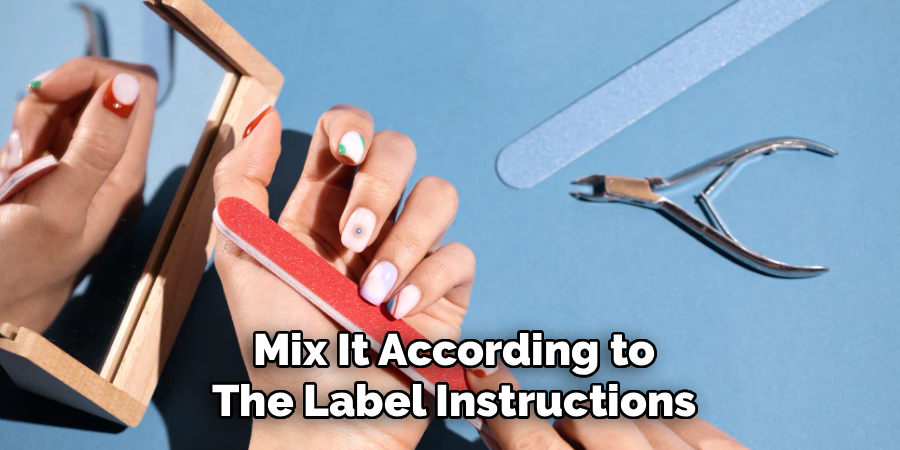
For extra peace of mind, use a hospital-grade disinfectant like Barbicide. This is what many salons rely on to sterilize their equipment. Mix it according to the label instructions, since the ratio matters for it to work safely.
Submerge your tools for the time listed on the product—usually around 10 minutes. This step is especially smart if you share tools with family or notice any signs of infection. It’s an easy way to level up your nail care hygiene without any special equipment.
Step 5: Scrub Tools Again If Needed
After soaking, check each tool closely. If you spot any stubborn residue, give it another gentle scrub with your brush while it’s still wet. Small crevices and serrated edges can hold on to grime longer than smooth surfaces.
This is where a good toothbrush earns its keep. Pay attention to file surfaces and grater-style callus removers, which trap the most debris. A common mistake is assuming the soak did all the work. Sometimes a little extra effort makes a big difference.
Step 6: Rinse and Dry One More Time
Rinse your tools under clean water to wash away any leftover disinfectant. Some solutions can leave a film or irritate your skin if not rinsed off. Then dry each piece completely with a fresh paper towel.
Again, get into those hinges and grooves. Trapped moisture undoes all your hard work by inviting new bacteria. If you have time, let the tools air-dry on a clean towel for a few minutes. Fully dry tools store better and last longer.
Step 7: Consider Sterilizing for Maximum Safety
Cleaning and disinfecting handle most germs, but sterilizing takes it a step further. If you use your tools frequently or want salon-level results, an autoclave kills every trace of bacteria and spores using pressurized steam. These machines are common in professional settings.
For home use, a UV sterilizer box is a more affordable option. It won’t match an autoclave, but it adds a solid extra layer of protection. This step is optional for casual users, but nice to have if you’re serious about your manicure tools.
Step 8: Store Your Tools Properly
Clean tools deserve a clean home. Once everything is dry, place your tools in a sealed container, pouch, or dedicated case. Avoid tossing them into a random drawer where they collect dust and touch other items.
Keep your storage spot dry and away from humidity, like steamy bathrooms. Moisture is the enemy of freshly cleaned tools. Proper storage keeps your hard work intact until the next time you need them. It also makes your setup feel a little more professional.
Step 9: Clean Your Work Area and Hands
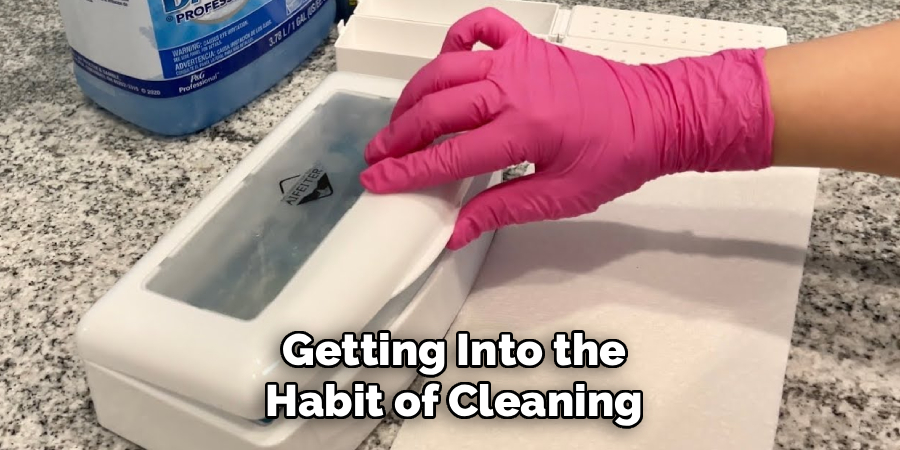
Don’t forget the surfaces around you. Wipe down your counter or table with a disinfectant to remove any germs that landed there during the process. Wash your hands thoroughly with soap and warm water.
This final step keeps the whole cycle clean. There’s no point in sanitizing tools only to set them on a dirty surface afterward. A tidy workspace also makes your next manicure more enjoyable. Small habits like this protect your nail care routine long term.
Tips for Best Results
Want to go beyond the basics? These insider tips will help you get the cleanest, safest results every single time.
- Replace porous tools instead of cleaning them. Emery boards, wooden cuticle sticks, and buffers absorb bacteria and can’t be fully disinfected. Toss and replace these after a few uses rather than trying to save them.
- Never share tools during an active infection. If you or someone in your home has a fungal infection, keep tools separate and disinfect them immediately after each use. This stops the spread fast.
- Check the alcohol concentration. Anything below 70% isopropyl alcohol loses effectiveness. Oddly enough, 100% alcohol evaporates too quickly to work well, so the 70–90% range is the sweet spot.
- Sanitize before and after every use. Most people only clean tools when they look dirty. Getting into the habit of cleaning both before and after use dramatically cuts your risk of infection.
- Sharpen or replace dull metal tools. Dull clippers crush nails instead of cutting cleanly, which can cause tiny tears where bacteria enter. Sharp, well-maintained tools are safer tools.
Frequently Asked Questions
How Often Should I Sanitize My Nail Tools?
Ideally, you should clean your tools before and after every single use. This is especially important if more than one person uses them. Even for personal-use-only tools, regular cleaning prevents bacteria buildup over time. Making it a habit takes just a few minutes and protects your nail health.
Can I Use Regular Household Cleaners to Disinfect Nail Tools?
It’s best to avoid harsh household cleaners like bleach on metal tools, since they can cause corrosion and damage. Stick with isopropyl alcohol or a proper hospital-grade disinfectant made for this purpose. These options kill germs effectively without ruining your equipment. They’re also safer for the skin your tools will touch afterward.
Is It Safe to Sanitize Nail Tools With Boiling Water?
Boiling water can help clean tools, but it doesn’t fully sterilize them on its own. High heat kills many germs, yet some bacteria and spores survive. For the best results, pair boiling with an alcohol soak or use a proper sterilizer. Be careful with heat-sensitive tools, since boiling can dull or warp certain materials.
What’s the Difference Between Cleaning, Disinfecting, and Sterilizing?
Cleaning removes visible dirt and debris from the surface. Disinfecting goes further by killing most bacteria and germs, usually with alcohol or a chemical solution. Sterilizing is the highest level, wiping out all microorganisms, including spores, often with an autoclave. For home use, cleaning plus disinfecting is usually enough for safe manicure tools.
Can Dirty Nail Tools Really Cause Infections?
Yes, unfortunately they can. Unclean tools spread bacteria and fungal infections, especially if they’ve touched broken skin or infected nails. Something as simple as a cuticle nipper can transfer germs from one nail to another. That’s exactly why learning how to sanitize nail tools matters so much for your safety.
Do I Need Special Equipment to Sanitize Tools at Home?
Not at all. A bottle of rubbing alcohol, some dish soap, and a scrub brush cover the essentials for most people. A UV sterilizer box or hospital-grade disinfectant are nice upgrades, but they’re completely optional. You can keep your manicure tools clean and safe with basic, affordable supplies.
Conclusion
Keeping your tools clean doesn’t have to be complicated. With a little soap, some rubbing alcohol, and a few minutes of your time, you can sanitize nail tools like a pro and protect yourself from bacteria and fungal infections. The key takeaway? Clean before and after every use, and always dry and store your tools properly.
If you haven’t stocked up on the essentials yet, check out our recommended products above to build your kit. Ready to keep learning? Explore our other DIY guides for more tips on nail care and tool maintenance. Happy manicuring!
