
You just finished your makeup, and your sponge is sitting there soaked and squishy on the edge of the sink. You give it a quick squeeze, set it down, and forget about it. Then next time you reach for it, it’s still damp—or worse, it smells a little funky. Sound familiar?
Learning how to dry a makeup sponge the right way keeps it fresh, bouncy, and free of bacteria. A properly dried sponge also lasts longer and blends your foundation like a dream. In this guide, you’ll learn exactly what supplies you need, a simple step-by-step method, and a few insider tricks the pros swear by. Whether you use it daily or just for special occasions, you’ll walk away knowing how to keep your beauty sponge in top shape.
What You’ll Need
Before you get started, grab a few basic supplies. Most of these you already have around the house, so there’s no need to buy anything fancy. Here’s your quick checklist:
- A clean, dry towel or microfiber cloth — to soak up excess water
- Paper towels — handy for a fast press-dry
- Gentle soap or sponge cleanser — to wash before drying
- A drying rack or sponge holder — for airflow all around
- A clean, dry surface — like a windowsill or counter near air
- A blow dryer — optional, for when you’re in a hurry
- A breathable storage container or pouch — for once it’s fully dry
That’s really it. A well-ventilated spot does most of the heavy lifting, so you don’t need special gear to get great results.
Step-by-Step Guide on How to Dry a Makeup Sponge
Ready to get that sponge fresh and fluffy? Follow these steps in order. Rushing any single one can leave moisture trapped inside, so take your time.
Step 1: Wash Your Sponge First
Always clean your sponge before you dry it. Old foundation, concealer, and skin oils build up fast and trap bacteria inside. Wet the sponge under warm water, then work in a bit of gentle soap or a dedicated cleanser. Squeeze and massage until the water runs clear.
Skipping this step is a common mistake. Drying a dirty sponge just locks the grime in place. A clean start means a fresher, safer tool every time.
Step 2: Rinse Out All the Soap
Once your sponge is clean, rinse it thoroughly under running water. Keep squeezing gently until you don’t see any suds coming out. Leftover soap can dry stiff and irritate your skin the next time you use it.
Hold the sponge under the tap and let the water flow completely through it. Give it a few good squeezes to push out any hidden residue. This quick step makes a big difference in how soft your sponge feels once dry.
Step 3: Squeeze Out Excess Water Gently
Now it’s time to remove as much water as you can. Press the sponge between your palms, but don’t wring or twist it. Twisting can tear the material and ruin that smooth, bouncy texture you love.
Instead, cup the sponge and squeeze firmly, then release. Repeat a few times until it stops dripping. The less water left inside, the faster everything dries. Gentle pressure protects the shape and keeps your sponge lasting longer.
Step 4: Press It Into a Clean Towel
Grab your clean towel or a few paper towels and press the sponge into them. Roll it back and forth or pat it firmly to draw out more moisture. This trick pulls water from deep inside that squeezing alone can’t reach.
Use a fresh, dry section of towel each time you press. A damp towel just adds moisture back. This step alone can cut your total drying time in half, so don’t skip it when you want to dry a makeup sponge quickly.
Step 5: Set It in a Well-Ventilated Spot
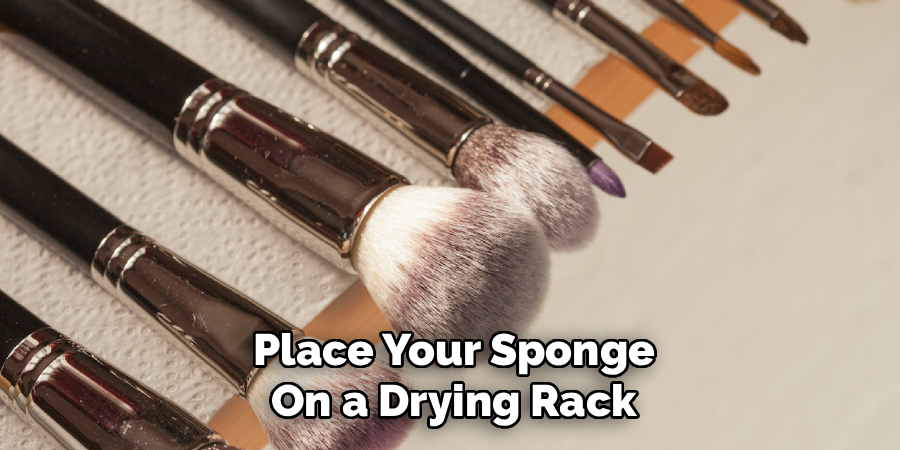
Airflow is your best friend here. Place your sponge on a drying rack, a sponge holder, or a clean surface where air can circulate all around it. Avoid closed drawers, makeup bags, or damp bathrooms where moisture lingers.
A spot near an open window works wonders. Sunlight and fresh air speed things up and help fight bacteria naturally. If the sponge sits flat on a surface, flip it occasionally so every side gets exposure. Good ventilation is the secret to a truly dry beauty blender.
Step 6: Let It Air Dry Completely
Patience pays off here. Depending on humidity, a sponge can take several hours to fully air dry—sometimes overnight. Resist the urge to use it while it’s still damp inside, even if the outside feels dry.
A common mistake is judging dryness by touch alone. Give it a gentle squeeze near your ear; if you hear or feel any moisture, it needs more time. A fully dried sponge feels light and springs back quickly. Rushing this leads to mildew and that unpleasant musty smell.
Step 7: Use a Blow Dryer for a Quick Fix
Running late? A blow dryer speeds things up nicely. Set it to cool or low heat—never high heat, which can crack or shrink the material. Hold the dryer a few inches away and move it around the sponge as you gently squeeze.
The combination of airflow and light pressure forces moisture out fast. This method can dry a makeup sponge in just a few minutes. Just be careful not to overheat it, and always finish with a quick air-dry to make sure the center is truly dry.
Step 8: Check That the Center Is Dry
The outside of a sponge dries long before the inside does. This hidden moisture is where bacteria and odor love to grow. Before you store or use it, squeeze the sponge and feel for any cool dampness at the core.
If it still feels wet, give it more time in a breezy spot. Cutting corners here defeats the whole purpose. A dry center means a hygienic sponge that won’t harbor germs. This little check protects both your skin and your investment.
Step 9: Store It Somewhere Breathable
Once your sponge is fully dry, store it properly to keep it that way. Choose a breathable pouch, a container with air holes, or an open holder. Sealed plastic bags trap humidity and undo all your hard work.
Keep it away from steamy showers and closed spaces. A dry, airy shelf is ideal. Proper storage keeps your sponge fresh between uses and ready to go. It also makes your whole makeup setup feel a little more organized.
Tips for Best Results
Want to level up your routine? These insider tips go beyond the basics for the cleanest, longest-lasting results.
- Keep two sponges in rotation. Alternate them so one always has plenty of time to dry completely. This simple habit means you never have to reach for a damp sponge in a rush.
- Never store a sponge while it’s damp. Moisture plus a closed space equals mold within days. Full dryness before storage is non-negotiable if you want a hygienic tool.
- Skip the microwave “hack.” Some people swear by microwaving a wet sponge to dry or sanitize it. This can degrade the material and create a scorching, uneven result—stick with air and cool airflow instead.
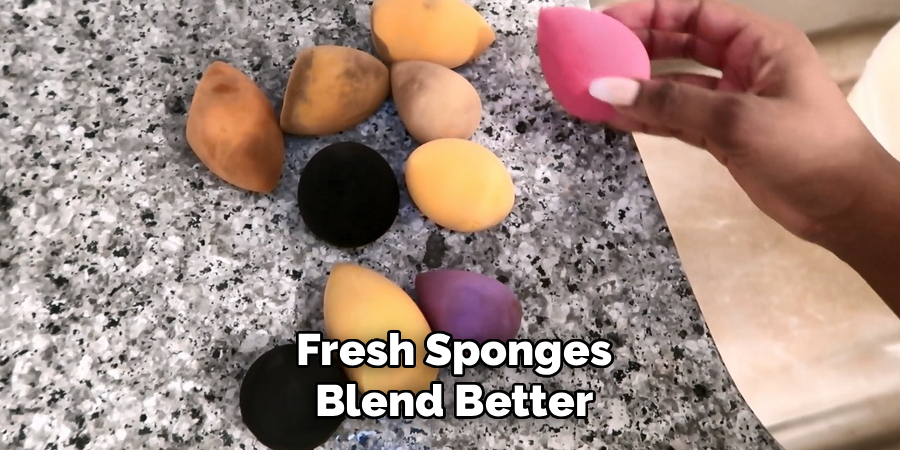
- Wash and dry after every use. It sounds like a lot, but a quick clean prevents buildup that shortens your sponge’s life. Fresh sponges blend better and protect your skin.
- Replace it every few months. Even with perfect care, sponges wear out. If yours stays stained, tears, or won’t come clean, it’s time for a new one.
Frequently Asked Questions
How Long Does It Take to Dry a Makeup Sponge?
Air drying usually takes several hours, and often overnight in humid climates. The exact time depends on how much water you squeezed out and how good the airflow is. Pressing the sponge into a towel first can cut the wait significantly. If you need it faster, a cool blow dryer does the trick in minutes.
Can I Use a Hair Dryer on My Makeup Sponge?
Yes, a hair dryer works well as long as you keep it on a cool or low setting. High heat can crack, shrink, or damage the soft material. Hold the dryer a few inches away and gently squeeze the sponge as you go. Always double-check that the center is dry before you use it.
Is It Safe to Store a Sponge While It’s Still Wet?
No, storing a damp sponge is one of the fastest ways to grow mold and bacteria. Trapped moisture in a closed container or bag creates the perfect breeding ground for germs. Always let your sponge dry completely before putting it away. A breathable holder or pouch keeps it fresh between uses.
Why Does My Sponge Smell Bad Even After Cleaning?
A lingering smell usually means moisture is still trapped inside or soap wasn’t fully rinsed out. Bacteria thrive in that damp center, causing that musty odor. Make sure you rinse thoroughly and dry the sponge all the way through. If the smell won’t budge after a deep clean, it’s time to replace it.
How Often Should I Clean and Dry My Sponge?
Ideally, wash and dry your sponge after every use to prevent product buildup. At the very least, give it a deep clean once or twice a week. Regular care keeps bacteria away and helps your foundation blend smoothly. It also extends the life of your sponge, saving you money over time.
Can I Dry a Makeup Sponge in the Microwave?
It’s best to avoid this popular hack. Microwaving can overheat and break down the sponge material, leaving it crumbly or unevenly heated. It may also create hot spots that are unsafe to handle. Stick with towel pressing, air drying, or a cool blow dryer for safe, reliable results.
Conclusion
Drying your sponge doesn’t have to be a guessing game. With a gentle wash, a good squeeze, a towel press, and plenty of airflow, you can dry a makeup sponge properly and keep it fresh, soft, and bacteria-free. The key takeaway? Always make sure the center is fully dry before you store or use it.
If you haven’t picked up a drying rack or storage pouch yet, check out our recommended products above to build your kit. Ready to keep your beauty tools in top shape? Explore our other DIY guides for more handy tips. Happy blending!
