
You’re miles into a backcountry trail, canteen empty, when you spot a cool stream tumbling over the rocks. You reach for your LifeStraw, take a sip, and… the flow feels sluggish. Nothing kills the joy of clean water like a clogged filter working at half speed. Learning how to clean a LifeStraw is the fix, and honestly, it’s simpler than you’d expect.
In this guide, we’ll walk through exactly what you need, a clear step-by-step method, and a few insider tricks that keep your filter flowing strong. Whether you’re a weekend hiker or prepping a bug-out bag, proper care means safe, reliable sips every single time. Let’s get your LifeStraw back to peak performance.
What Is a LifeStraw?
A LifeStraw is a compact personal water filter that lets you drink directly from rivers, lakes, and streams. You sip through one end, and the hollow-fiber membrane inside traps bacteria, parasites, and microplastics before the water reaches your mouth. It’s a favorite among hikers, campers, travelers, and emergency preppers because it’s lightweight and needs no batteries or chemicals. Think of it as your personal water treatment plant that fits in a pocket.
What You’ll Need
Gather these supplies before you start. Most of them are already sitting in your kitchen or pack.
- Clean, safe water — filtered or bottled works best for backflushing
- The included backflush syringe (if your model has one) or a clean squeeze bottle
- A clean glass or cup — for soaking and rinsing
- Distilled white vinegar or unscented bleach — for deeper sanitizing
- Warm water — never boiling hot
- A soft cloth or paper towel — to wipe the exterior
- A dry, open surface — for air-drying afterward
- Your LifeStraw manual — handy for model-specific notes
Step-by-Step Guide on How to Clean a LifeStraw
Follow these steps in order. Each one builds toward a filter that’s clean, clear, and ready for your next adventure.
Step 1: Check Your Specific Model First
Not every LifeStraw is built the same. The classic Personal straw, the Go bottle, and the Peak Series all have slightly different parts. Before you start, glance at your manual or the product page to confirm which components come apart. This tiny bit of homework saves you from forcing a piece that isn’t meant to move.
Knowing your model also tells you whether you have a backflush syringe or a bulb. Some newer versions include a dedicated cleaning tool right in the box. If yours didn’t, don’t worry — a clean squeeze bottle does the same job. Match your method to your gear and everything else gets easier.

Step 2: Rinse the Exterior Right Away
The best cleaning habit starts the moment you finish drinking. Rinse the outside of your filter with clean water to wash off mud, grit, and algae. Wipe it down with a soft cloth so debris doesn’t dry and cake onto the mouthpiece. This quick step keeps grime from working its way into the filter housing.
Pay special attention to both end caps, where sediment loves to hide. A clean exterior also means you’re not putting your lips on yesterday’s trail dirt. Skipping this step is the most common mistake people make. Thirty seconds now prevents a bigger mess later.
Step 3: Backflush With Clean Water
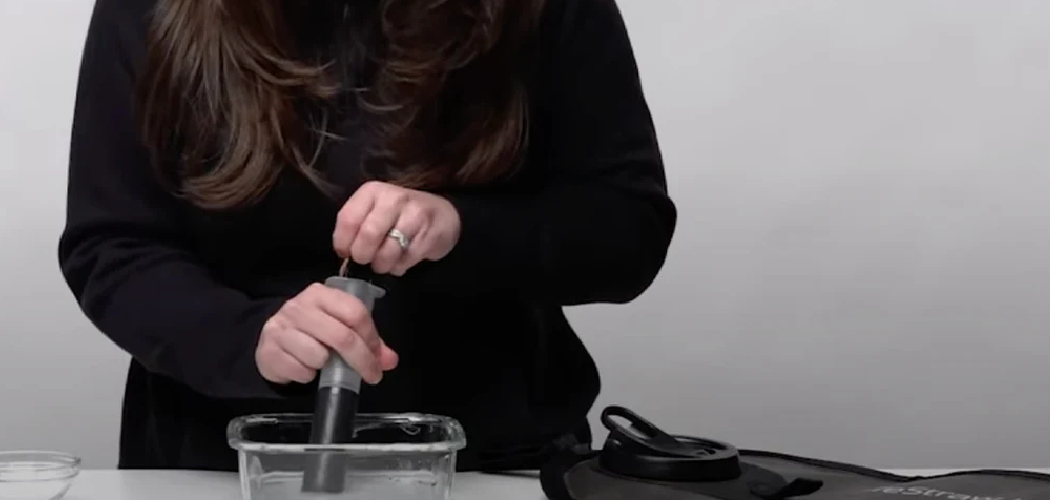
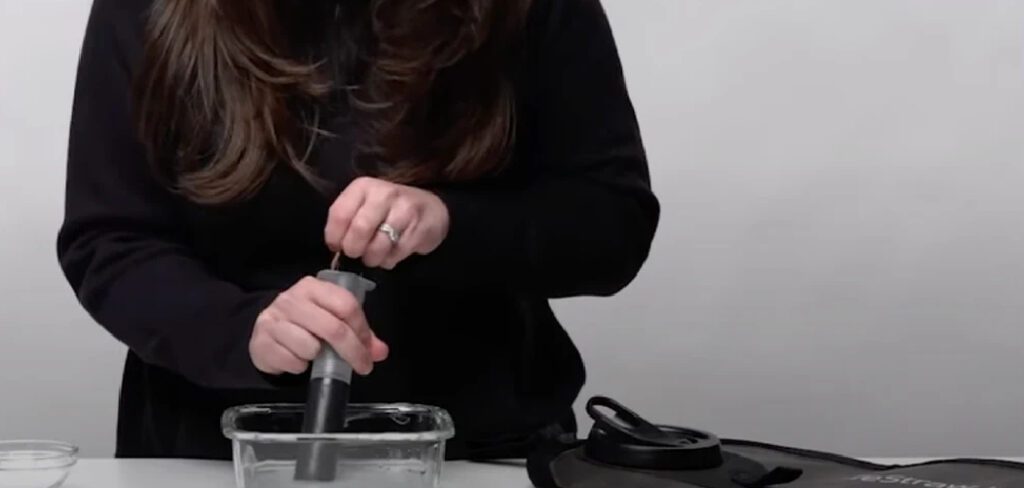
Backflushing is the heart of keeping your filter flowing. Fill the syringe or squeeze bottle with clean, safe water — bottled or previously filtered is ideal. Attach it to the mouthpiece end and push the water backward through the filter. This forces trapped particles out the bottom, clearing the hollow-fiber membrane.
Repeat the flush three or four times, or until the water runs clear. You’ll often see cloudy or brownish water come out on the first push. That’s exactly what you want to get rid of. Regular backflushing after each use is the single best way to protect flow rate.
Step 4: Blow Air Through to Clear Excess Water
After backflushing, you’ll have water sitting inside the filter. Blow firmly through the mouthpiece to push that excess water out the bottom end. This helps expel any lingering debris the backflush loosened but didn’t fully clear. It also kickstarts the drying process, which matters a lot for storage.
Don’t be shy with the pressure — a strong, steady breath works better than gentle puffs. You might hear a little sputter as trapped water clears out. That sound means you’re doing it right. Blowing air is a small step that makes a big difference in longevity.
Step 5: Deep Clean With Vinegar or Bleach
Every few weeks of regular use, give your filter a deeper sanitizing soak. Mix a solution of one part distilled white vinegar to a few parts clean water, or use a very diluted unscented bleach mix. Backflush this solution through the filter, then let it sit for a few minutes. This clears mineral buildup and knocks out any lingering microbes in the membrane.
Vinegar is gentler and great for hard-water deposits, while bleach offers stronger disinfection. Never mix the two together — that creates dangerous fumes. Choose one method per cleaning session and stick with it. This deep clean keeps your water filter tasting fresh and clean.
Step 6: Flush Out All Cleaning Solution
Once your soak is done, you must rinse every trace of vinegar or bleach away. Backflush clean, safe water through the filter at least five or six times. Then blow through it again to clear the excess. You don’t want your next sip tasting like salad dressing or a swimming pool.
Take your time here and rinse more than you think you need to. Any leftover bleach can be harmful if you don’t remove it fully. Smell the mouthpiece — if you detect vinegar or chlorine, keep flushing. Thorough rinsing is what makes deep cleaning safe.
Step 7: Wipe Down the Caps and Mouthpiece
With the interior handled, turn your attention to the small parts. Remove both end caps if your model allows, and wipe them with a clean, damp cloth. These caps protect the filter openings but collect dirt around the edges. A quick clean keeps them sealing properly and blocks contamination.
Check the mouthpiece for any residue or grime buildup. A cotton swab works well for tight grooves. Clean caps also snap on more securely, which protects the filter during transport. Don’t overlook these little pieces — they matter more than they look.
Step 8: Air-Dry Completely Before Storing
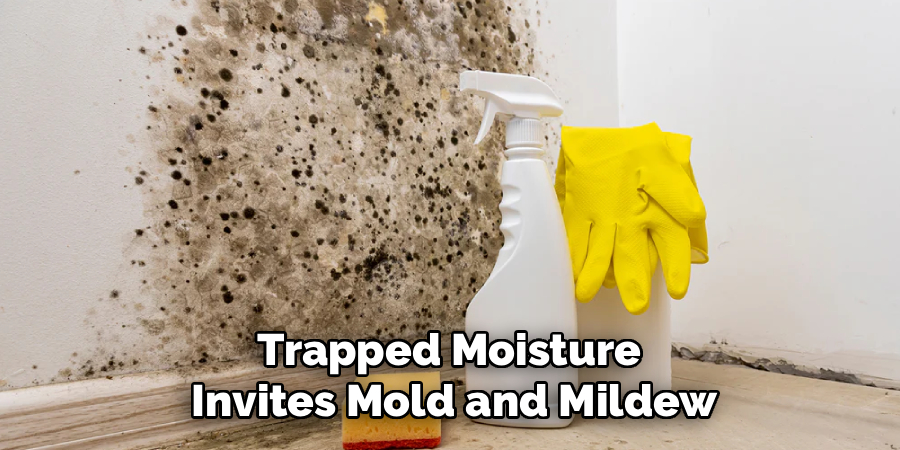
Drying is the step most people rush, and it causes real problems. Stand your LifeStraw upright on a clean, dry surface with both caps off. Let air circulate through it for several hours, ideally overnight. Trapped moisture invites mold and mildew, which you definitely don’t want near your drinking water.
Never store your filter wet or sealed in a plastic bag. Warmth and moisture together create the perfect breeding ground for gunk. If you’re in a humid climate, a sunny windowsill speeds things along. A fully dry filter is a happy, long-lasting filter.
Step 9: Store It Right for Next Time
Where you keep your filter matters as much as how you clean it. Once it’s bone dry, cap both ends and store it in a cool, dry spot away from direct sunlight. Avoid freezing temperatures, since ice can crack the delicate hollow fibers inside and ruin the membrane. A gear drawer or pack pocket works perfectly.
If you won’t use it for months, do a fresh backflush before your next trip. This clears any dust that settled during storage. Keep it separate from sharp objects that could puncture the housing. Smart storage protects all the cleaning work you just did.
Tips for Best Results
These extra pointers separate a filter that lasts one season from one that lasts for years.
- Backflush after every single use, not just when flow slows. Waiting until you notice a clog means buildup has already set in. A quick flush while the debris is still loose keeps your filter running like new. It takes under a minute and saves you real hassle.
- Use the cleanest water you have for flushing. Backflushing with dirty stream water just pushes more sediment into the membrane. Always keep a little clean or filtered water in reserve for this exact purpose. Your filter will thank you with faster flow.
- Never use hot or boiling water. High heat warps the plastic housing and damages the hollow-fiber membrane inside. Stick to warm or room-temperature water for every cleaning step. This one mistake ruins more filters than anything else.
- Watch the flow rate as your early-warning system. A sudden drop in flow usually means it’s time for a deep clean, not that your filter has failed. Learn your straw’s normal pace so you catch changes early. Responsive care extends its useful life dramatically.
- Protect it from freezing at all costs. A frozen filter can crack internally without any visible damage, letting unsafe water slip through. In cold weather, keep it in an inside pocket close to your body heat. This is non-negotiable for safe drinking.
Frequently Asked Questions
How Often Should I Clean My LifeStraw?
Backflush your filter with clean water after every use to keep the flow strong. For deeper sanitizing with vinegar or bleach, aim for every few weeks of regular use. If you notice the flow slowing down between cleanings, that’s your cue to backflush right away. Consistent care beats waiting for problems to pile up.
Can I Use Soap to Clean the Inside of a LifeStraw?
No, you should never use soap inside the filter. Soap residue is nearly impossible to fully rinse out of the hollow-fiber membrane, and it can leave a lingering taste or even harm the filter media. Stick to clean water for routine flushing and diluted vinegar or bleach for deep cleaning. Save the soap for the exterior surfaces only.
Why Is My LifeStraw So Hard to Drink Through?
A slow or difficult flow almost always means the filter is clogged with sediment or has trapped air. Try a thorough backflush with clean water to push out the debris. If that doesn’t help, do a deeper cleaning soak to clear mineral buildup. In most cases, a good cleaning restores the flow completely.
Is It Safe to Store a LifeStraw Wet?
Storing it wet is a bad idea and can lead to mold or mildew inside the housing. Always air-dry your filter fully with the caps off before you pack it away. Trapped moisture in a sealed container creates the perfect environment for growth. A completely dry filter stays clean and ready for your next trip.
What Happens If My LifeStraw Freezes?
Freezing is one of the few things that can permanently damage your filter. When water inside the hollow fibers freezes, it expands and can crack the membrane, creating gaps that let unsafe water through. This damage is often invisible from the outside. If you suspect your filter froze, it’s safest to replace it.
Can I Clean a LifeStraw Without the Backflush Syringe?
Absolutely. A clean squeeze bottle or even a firm exhale through the mouthpiece can push water backward through the filter. Just make sure whatever you use is clean and holds safe water. The goal is reversing the flow to flush out trapped debris, and any tool that does that works fine.
Conclusion
Keeping your filter in top shape really comes down to a few simple habits. Now that you know how to clean a LifeStraw, you can backflush after every use, deep clean now and then, and always dry it fully before storage. Do that, and you’ll enjoy safe, fresh water on every trip for years to come.
If you’re due for a fresh filter or a handy backflush kit, check out our recommended picks above. Ready to gear up for your next adventure? Browse our other outdoor gear and water-filtration guides on the site for more friendly, hands-on tips. Happy trails!
