
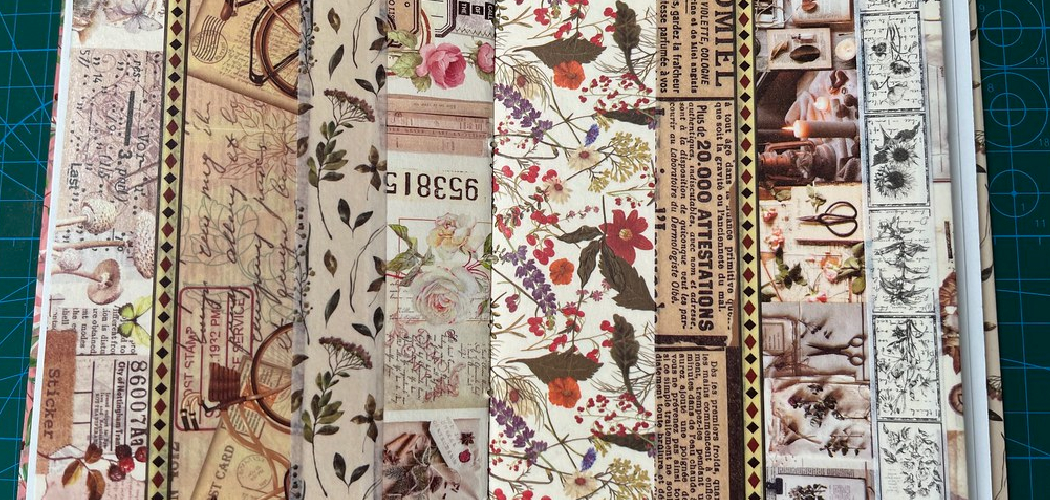
You’ve got a plain notebook, a boring gift box, and a blank wall that all feel like they’re missing something. Maybe you’ve seen those beautifully decorated planners online and wondered how people pull it off so easily. The secret is often washi tape, a colorful, low-stick paper tape that turns dull surfaces into something fun. It’s cheap, forgiving, and wildly versatile.
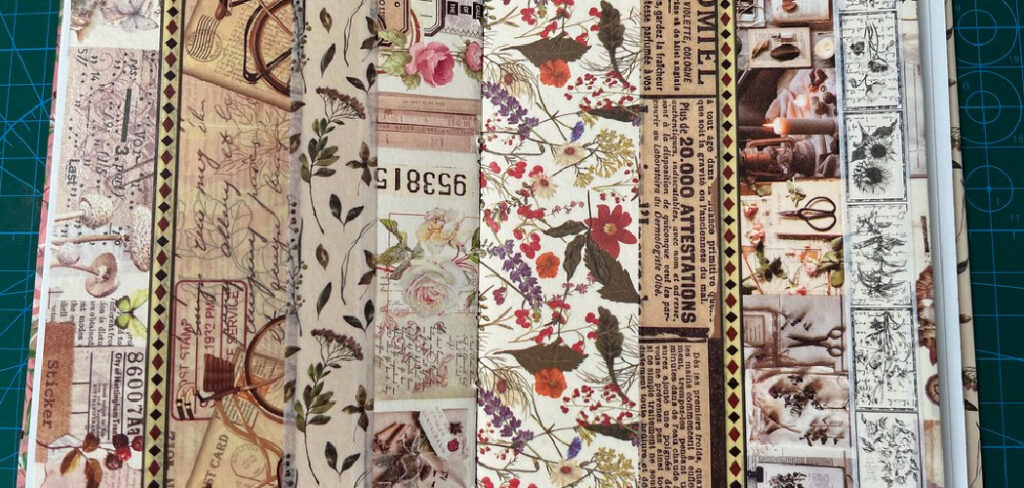
In this guide, you’ll learn exactly how to use washi tape, from your first strip to more creative projects. We’ll cover what to gather, walk through each step, and share tips that crafters actually use. Whether you’re brand new to crafting or you already love journaling, you’ll finish ready to decorate almost anything. Grab a roll and let’s dig in.
What You’ll Need
A little prep makes your projects smoother and way more enjoyable. Here’s a simple checklist before you start:
- One or more rolls of decorative tape in colors and patterns you love
- Sharp scissors or a craft knife for clean cuts
- A ruler or straightedge for straight lines
- A cutting mat or scrap surface to protect your table
- The item you want to decorate (notebook, box, frame, wall, etc.)
- A bone folder or your fingernail for smoothing edges
- Tweezers for tiny or delicate pieces (optional but handy)
- A pencil for light guide marks
Keep it all in one spot. Hunting for scissors mid-project breaks your creative flow.
Step-by-Step Guide on How to Use Washi Tape
Take it slow your first few tries. Once the motions feel natural, you’ll decorate quickly and confidently.
Step 1: Choose Your Surface and Project
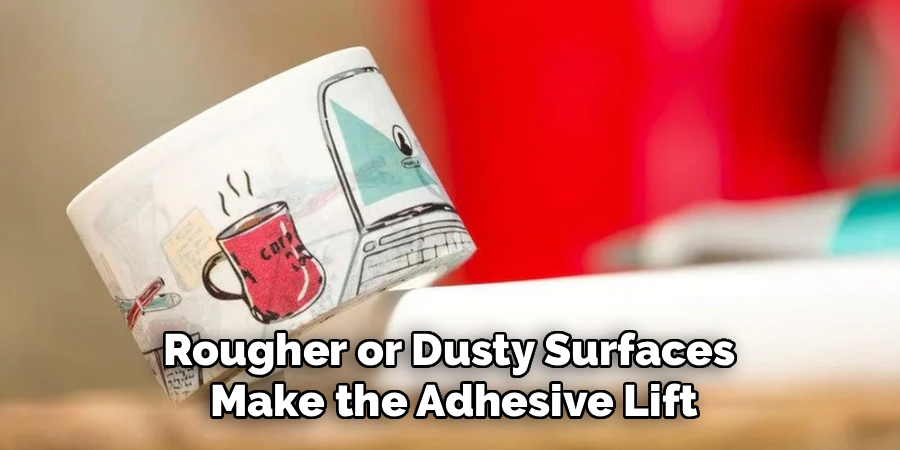
Start by deciding what you want to decorate. Beginners do best with flat, smooth items like a notebook cover, a planner page, or a gift box. Paper tape sticks nicely to paper, glass, plastic, and painted wood. Rougher or dusty surfaces make the adhesive lift, so skip those at first. Pick one small project instead of tackling five at once. A single clear goal keeps you focused and gives you a quick win.
Step 2: Clean and Prep the Area
Wipe your surface so the tape grabs well. Even a thin layer of dust or grease weakens the stick. Use a dry cloth for paper and a slightly damp one for glass or plastic, then let it fully dry. If you’re working on a wall, make sure the paint has cured for a few weeks. Prepping takes seconds but saves you from peeling edges later. Clean surfaces equal cleaner results.
Step 3: Plan Your Design First
Resist the urge to slap tape down right away. Lay out your strips loosely without pressing them, so you can see how colors and patterns work together. Try mixing widths or overlapping two designs for depth. Snap a quick photo if you want to compare a few options. This dry-run step is where most of the magic happens. A minute of planning prevents a messy do-over.
Step 4: Measure and Mark Your Lines
For neat, straight results, measure before you stick. Use a ruler to find where each strip should sit, then make light pencil marks as guides. This matters most on planner spreads, frames, and anything with visible edges. Marks give your eye something to follow so lines stay parallel. Keep the pencil pressure light so you can erase later. Straight lines instantly make a project look polished.
Step 5: Cut Your Strips to Length
Measure the length you need, add a tiny bit extra, and cut. Sharp scissors give the cleanest edge, but a craft knife and ruler work great for long, precise runs. If you want a decorative end, snip a small triangle notch into the tip for a ribbon look. Cutting first, rather than tearing as you go, keeps everything tidy. Set your cut pieces lightly on the mat until you’re ready. This little habit speeds up the whole process.
Step 6: Apply the Tape Slowly
Line up one end with your guide mark and press it down gently. Then lay the rest of the strip along your line, smoothing as you go. Work slowly so you don’t trap air bubbles or create wrinkles. The best part about this adhesive is that it lifts and repositions easily, so don’t panic over small mistakes. Just peel back and try again. Patience here gives you crisp, professional-looking edges.
Step 7: Smooth and Seal the Edges
Once a strip is down, run a bone folder or your fingernail firmly along it. This presses out air and locks the edges so they don’t curl. Pay extra attention to corners and overlaps, since those lift first. If you wrapped tape around an edge, fold and burnish it tightly. Well-sealed edges keep your design looking fresh for much longer. It’s the step that separates sloppy from sharp.
Step 8: Add Layers and Details
Now comes the creative fun. Layer thinner strips over wider ones, or add small cut shapes like hearts, arrows, or tiny flags. You can also use it to frame photos, label folders, or tab the edges of pages. Mixing patterns adds personality, so don’t be shy. Just keep some breathing room so the design doesn’t look crowded. This is where your project starts to feel truly yours.
Step 9: Trim, Clean Up, and Erase Marks
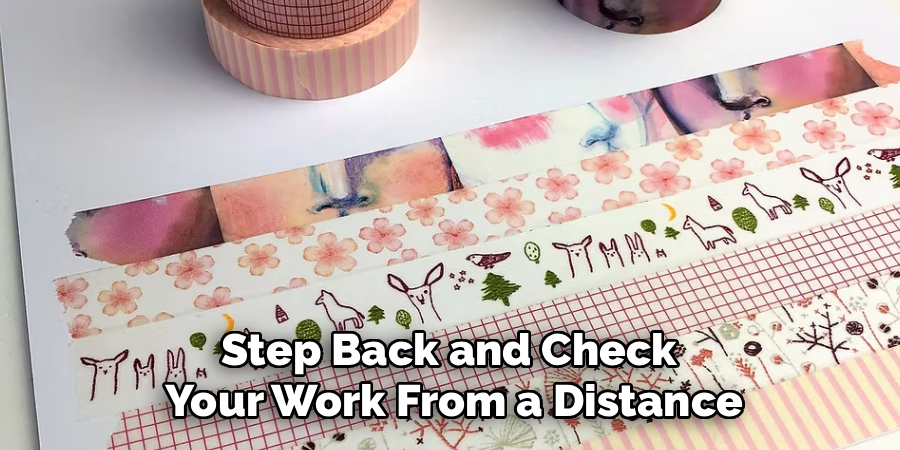
Do a final pass and trim any overhang with your knife or scissors. Gently erase leftover pencil marks along the edges. Press down anything that’s lifting and wipe away stray bits of adhesive. Step back and check your work from a distance to catch crooked lines. Small fixes now make a big difference. A tidy finish is what makes people ask how you did it.
Tips for Best Results
These pointers come from crafters who use decorative tape all the time. They make a real difference.
- Warm the roll slightly for tricky surfaces. A few seconds in your hands softens the adhesive and helps it grip curved or cold items like jars and candles.
- Cut against a ruler for perfect straight ends. Freehand snips look uneven up close, while a guided cut gives you that clean, store-bought finish every time.
- Test on a hidden spot first. Some painted walls or delicate papers can lift when you remove the tape, so check a corner before committing to a big design.
- Store rolls upright and out of sunlight. Heat and dust dry out the adhesive fast. Keeping them cool and covered keeps every roll sticky and ready.
- Keep a “scrap strip” for lint pickup. Press a used piece onto your surface to grab dust right before applying, giving you a cleaner bond.
Frequently Asked Questions
What Is Washi Tape Actually Made Of?
It’s a decorative paper tape made from natural fibers, often from the bark of certain trees. That’s why it feels thin, slightly textured, and tears easily by hand. The adhesive is gentle, which is why it lifts without leaving much residue. Think of it as a prettier, more forgiving cousin of masking tape.
Can I Use Washi Tape on Walls Without Damaging Paint?
In most cases, yes, since the adhesive is low-tack and designed to peel away cleanly. Still, results depend on your paint type and how long the tape stays up. Test a small hidden area first and remove it slowly at an angle. Freshly painted or cheap flat paint is the most likely to lift, so proceed gently there.
How Do I Keep the Edges From Peeling Up?
Clean prep and firm smoothing solve most peeling problems. Wipe the surface first, then press each strip down with a bone folder or fingernail, focusing on corners. Avoid touching the sticky side too much, since oils from your fingers weaken the bond. For high-touch items, a thin sealant over the top adds extra staying power.
Is Washi Tape Good for Scrapbooking and Journaling?
It’s a favorite for scrapbooking and journaling because it’s easy to reposition and comes in endless patterns. You can tab pages, frame photos, and create borders without bulky glue. Since it lifts cleanly, you can rearrange your layout until it feels right. Just burnish the edges when you’re done so nothing catches.
Can I Write on Top of It?
You can, though it depends on the surface finish. Pencils and permanent markers usually work well, while some gel pens smear on glossy patterns. Let the ink dry a little longer than you would on plain paper. If you plan to label things, test your pen on a scrap piece first.
How Do I Remove It Cleanly Later?
Peel slowly and pull the strip back on itself at a low angle rather than straight up. If any sticky bits remain, a soft cloth usually wipes them off. For stubborn residue on glass or plastic, a tiny bit of warm soapy water helps. Going slow is the trick to a clean, mark-free removal.
Conclusion
Decorating with tape is one of the easiest, most rewarding crafting skills you can pick up. With a clean surface, a little planning, and firmly pressed edges, washi tape can turn plain notebooks, gifts, and walls into something you’re proud of. Remember to go slow, test tricky spots, and have fun mixing patterns.
If you haven’t grabbed a roll yet, check out our recommended picks above to get started. Ready to keep creating? Browse our other guides on the site for more hands-on projects and clever crafting ideas worth trying.
