
You’ve got a project on the bench, a joint that won’t quite fit, and a wood chisel sitting in the drawer that you’re not totally sure how to use. Maybe you inherited a set from a relative. Maybe you grabbed one for a single task and now it’s staring back at you. Either way, that little blade can feel intimidating when you don’t know the ropes.
Good news: it’s one of the most rewarding hand tools you’ll ever learn. Once you understand a few basics, you can shave, pare, and carve wood with real control. In this guide, you’ll learn how to Use a Wood Chisel, cut with it, keep it sharp, and stay safe the whole time. By the end, you’ll reach for it with confidence instead of hesitation.
What You’ll Need
Before you make a single cut, gather your gear. Having everything within reach keeps you focused and safe.
- A wood chisel (a 1/2-inch or 3/4-inch bench chisel is a great all-rounder)
- A wooden or rubber mallet (avoid metal hammers on the handle)
- A sharpening stone or honing guide
- Honing oil or water, depending on your stone
- A sturdy workbench or solid surface
- Clamps to hold your workpiece steady
- A pencil and marking gauge for layout lines
- Safety glasses
- A scrap piece of wood for practice
- A clean rag for wiping the blade
Step-by-Step Guide on How to Use a Wood Chisel
Step 1: Check and Sharpen the Blade
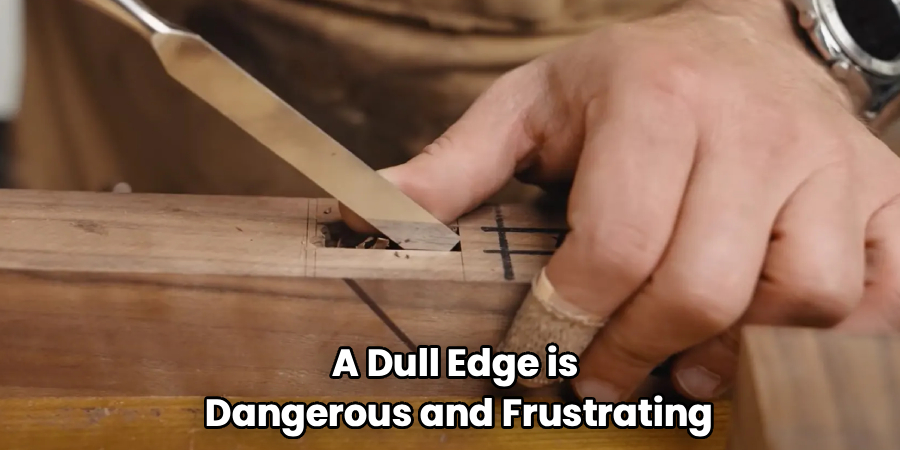
A dull edge is dangerous and frustrating. It slips, tears the grain, and forces you to push harder than you should. Run your thumb across the back of the blade (never the edge) to sense any nicks. If the tool won’t slice cleanly through a piece of paper, it needs attention. Set the bevel on a sharpening stone at the factory angle, usually around 25 degrees, and work it back and forth. A honing guide keeps that angle steady if you’re new to this.
Step 2: Secure Your Workpiece
Never hold the wood with one hand while cutting with the other. That’s how accidents happen. Clamp your board firmly to the bench so it can’t shift or spin. A stable workpiece lets you focus every ounce of force on a clean, controlled cut. If clamps might dent your project, slip a scrap block between the clamp and the surface. Take a second to wiggle the board and confirm it won’t budge before you begin.
Step 3: Understand the Bevel Direction
Your chisel has two faces: the flat back and the angled bevel. Knowing which way to point that bevel changes everything. For paring thin, controlled shavings, keep the flat back against the wood with the bevel facing up. For chopping down into the wood, the bevel usually faces the waste side you want to remove. Getting this right means smoother cuts and far less tear-out. When in doubt, test on scrap first.
Step 4: Grip the Tool Correctly
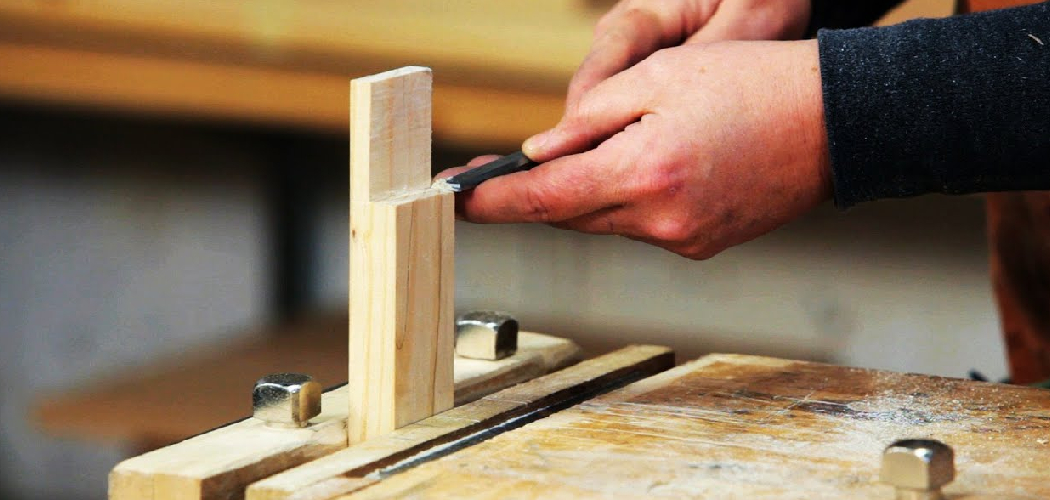
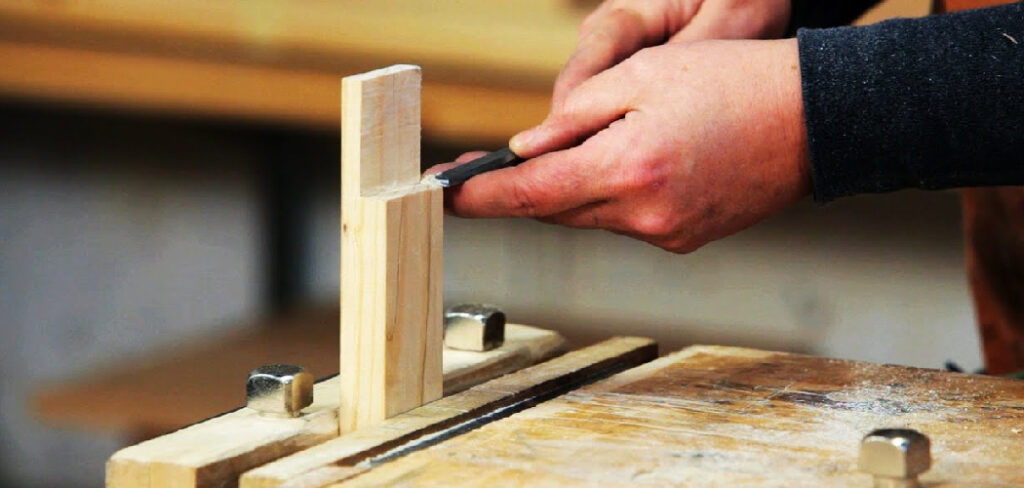
Hold the handle in your dominant hand like you’d hold a screwdriver. Wrap your other hand around the blade near the edge to guide and steady it. This two-handed grip gives you real precision and stops the tool from wandering. Keep both hands behind the cutting edge at all times, never in front of it. A relaxed but firm grip beats a white-knuckle death grip. Let the sharp edge do the work while you steer.
Step 5: Make Your First Paring Cuts
Start light. Push the blade forward with steady pressure, slicing off thin shavings rather than digging deep. Small cuts give you control and a cleaner surface than one aggressive chop. Angle the blade slightly for a slicing motion, which cuts fibers more smoothly. If the wood tears or splinters, you’re likely going against the grain, so flip your direction. Patience here pays off with crisp, professional-looking results.
Step 6: Use a Mallet for Heavier Cuts
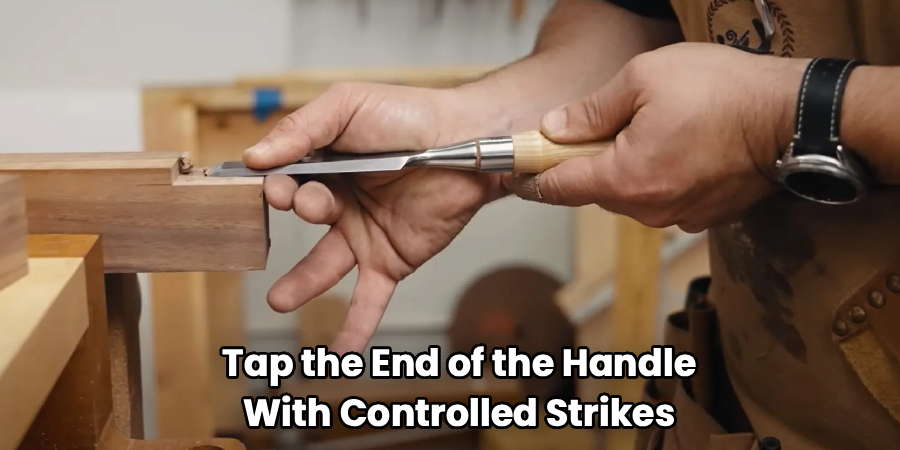
When paring by hand isn’t enough, bring in the mallet. Tap the end of the handle with controlled strikes, not wild swings. Light, repeated taps give you far better accuracy than one heavy blow. This method works well for chopping a mortise or removing thicker chunks of waste. Watch your depth and check your progress often so you don’t overshoot your line. Always use a wooden or rubber mallet, since a metal hammer will crack the handle over time.
Step 7: Clean Up the Joint or Recess
Once you’ve removed the bulk of the material, switch back to hand pressure for finishing. Use the flat back of the blade to smooth walls and square up corners. Shave away tiny amounts until the surface is flat and the fit is snug. Check your work against your layout lines as you go. A well-pared joint fits together with gentle hand pressure, not a hammer. This final refinement is where good work becomes great work.
Step 8: Wipe Down and Inspect the Edge
After each session, wipe the blade with a clean rag to remove dust and resin. Sap and grime dull the edge and can lead to rust. Look over the cutting edge for fresh nicks or rolled spots that need a quick honing. A minute of care now saves you a full sharpening session later. Store the tool with a blade guard or in a slot so the edge never bangs against other metal. Treat it well, and it’ll serve you for decades.
Step 9: Practice on Scrap Before Real Projects
The fastest way to build skill is on wood that doesn’t matter. Grab an offcut and try paring, chopping, and cutting across the grain. Notice how the tool behaves in softwoods versus hardwoods. Experiment with bevel-up and bevel-down cuts to feel the difference. Each mistake on scrap teaches you something without costing your real project. A few minutes of practice turns nervous cuts into confident ones.
Tips for Best Results
Want to level up faster? These habits separate the pros from the frustrated beginners.
- Sharpen more often than you think you need to. A truly sharp blade cuts with almost no effort and leaves a glassy surface. Most people wait far too long, then wonder why their cuts look ragged. A quick five-stroke touch-up on the stone mid-project keeps everything smooth.
- Always cut with the grain when you can. Reading the grain direction is a skill worth building early. Cutting the right way gives clean shavings, while going against it causes tear-out. If a cut suddenly feels rough, stop and flip your direction.
- Register the flat back for accuracy. The flat face is your reference surface for clean, square work. Keep it pressed against the wood when smoothing walls or trimming to a line. This one habit dramatically improves the fit of your joints.
- Take shallow passes, not deep gouges. It’s tempting to remove a big chunk in one go, but that leads to slips and splits. Several light cuts give you far more control and a better finish. Slow and steady genuinely wins here.
- Keep your body behind the edge. Position yourself so that if the tool slips, it moves away from your hands and torso. Good form prevents the most common shop injuries. Make safe positioning automatic before it ever becomes an issue.
Frequently Asked Questions
What Is the Best Wood Chisel for Beginners?
A basic set of bench chisels in the 1/4-inch to 1-inch range covers most starter projects. Look for a comfortable handle and a blade that holds a decent edge without breaking the bank. You don’t need a premium set to learn the fundamentals. As your skills grow, you can add specialty chisels for mortises and detailed carving.
How Do I Sharpen a Wood Chisel Properly?
Set the bevel flat against a sharpening stone at its original angle, usually about 25 degrees. Work the edge back and forth with steady, even pressure until a small burr forms on the back. Then flip the tool and lay the flat back completely flush to remove that burr. Finish on a finer stone or strop for a razor edge that slices clean.
Can I Use a Hammer Instead of a Mallet?
You can in a pinch, but it’s not a good habit. A metal hammer delivers a harsh blow that can crack or mushroom a wooden handle over time. A wooden or rubber mallet spreads the force gently and protects the tool. If your chisel has a metal-capped handle, a light hammer is acceptable, but a mallet is still kinder.
Is It Safe to Chisel Toward Myself?
No, always cut away from your body and keep both hands behind the edge. Chiseling toward yourself is one of the most common causes of shop injuries. Position your grip and stance so a slip sends the blade into the wood or open air, never your hand. Take an extra second to set up safely before every cut.
Why Does My Chisel Tear the Wood Instead of Slicing?
Usually it’s one of two things: a dull edge or cutting against the grain. A sharp blade slices fibers cleanly, while a dull one crushes and rips them. If sharpening doesn’t fix it, try reversing your cutting direction to follow the grain. A slight slicing angle on your stroke also helps the edge shear smoothly.
How Do I Store My Chisels Safely?
Keep the cutting edges protected from contact with other metal tools. Use blade guards, a canvas roll, or a dedicated slotted rack on the wall. Store them somewhere dry to prevent rust, and wipe the blades before putting them away. Proper storage keeps the edges sharp and ready for your next project.
Conclusion
Learning to use a wood chisel really comes down to a few key habits. Keep the blade sharp, clamp your work, mind the grain, and take light, controlled cuts. Do that, and you’ll turn tricky joints and rough edges into clean, satisfying results. Every project builds your confidence a little more. If you haven’t found the right set yet, check out our product picks above for reliable options at any budget. Ready to keep building your skills? Explore our other tool guides for honest, hands-on advice that makes every project easier.
