
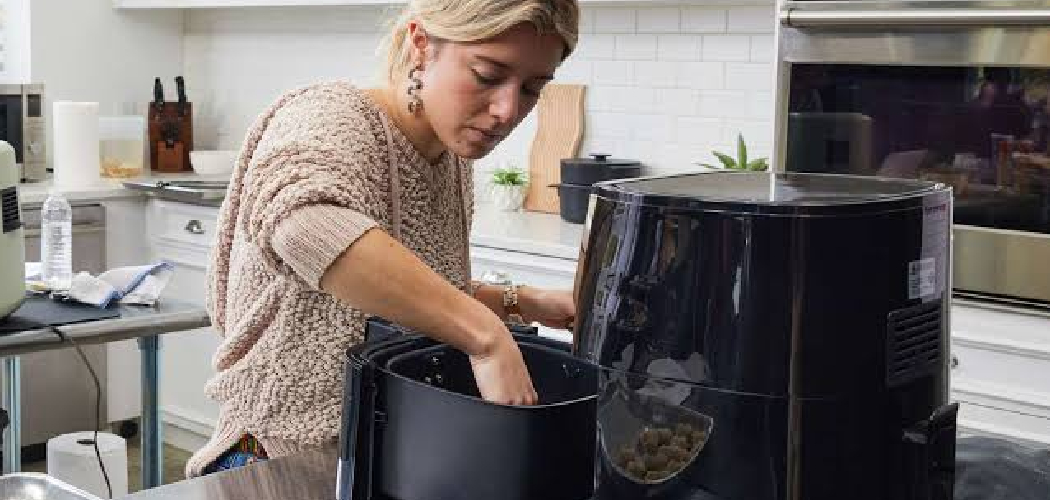
You bought an air fryer because everyone swears by it, but now it’s sitting on the counter looking a little intimidating. Maybe you’ve made one batch of soggy fries and quietly wondered what all the fuss was about. Don’t give up yet. That machine can turn out crispy, golden food with barely any oil, and once you get the hang of it, you’ll use it almost every day.
In this guide, you’ll learn how to set it up, cook your first batch, and avoid the small mistakes that trip up most beginners. We’ll cover preheating, temperatures, shaking, cleaning, and a few pro tricks too. By the end, you’ll feel How to Use an Air Fryer and it whenever hunger strikes.
What You’ll Need
Before you start cooking, gather a few basics. Having everything ready makes the whole process smooth and stress-free.
- Your air fryer (basket-style or oven-style both work)
- A little cooking oil (spray or a bottle with a brush)
- A pair of silicone-tipped tongs to avoid scratching the basket
- A meat thermometer for checking doneness
- Parchment liners made for air fryers (optional but handy)
- A plate or tray for resting cooked food
- Paper towels for patting food dry
- A soft sponge and dish soap for cleanup
- Your favorite seasonings and marinades
Step-by-Step Guide on How to Use an Air Fryer
Step 1: Read the Manual and Set It Up
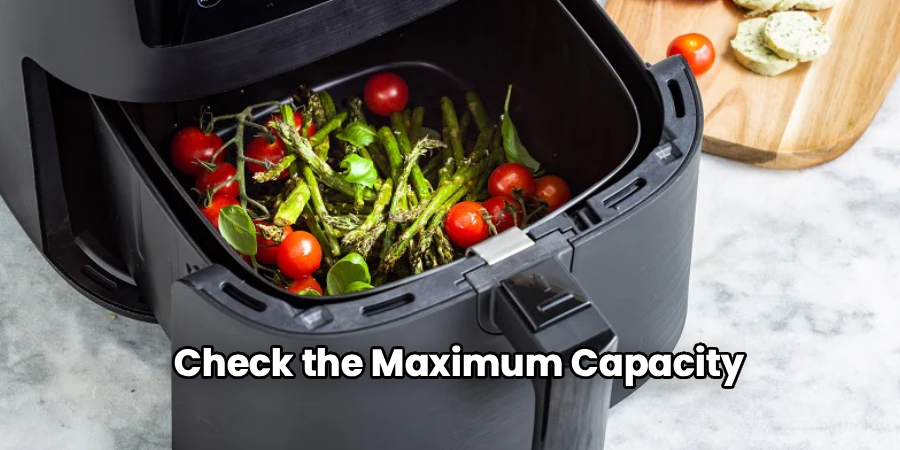
I know, nobody likes reading manuals. But every model runs a little differently, and a two-minute skim saves you headaches later. Check the maximum capacity, the temperature range, and any parts that need washing before first use. Place the unit on a heat-safe, flat surface with a few inches of clearance behind it. That gap matters, because hot air vents out the back. Skipping this setup step is the most common rookie mistake.
Step 2: Wash the Basket and Tray First
New appliances often carry factory dust or a faint manufacturing smell. Pull out the basket, tray, and any inserts, then wash them with warm soapy water. Dry everything thoroughly before sliding it back in. This quick rinse keeps odd smells out of your first meal. It also gets you familiar with how the parts come apart and fit together. Trust me, you’ll want to know that before food is involved.
Step 3: Preheat for Better Crisp
Preheating is the secret most beginners skip. Just like a regular oven, a hot start helps food crisp up instead of steaming. Run it empty at your target temperature for three to five minutes. Some models have a preheat button, while others just need a manual timer. Food dropped into a hot basket sears faster and browns more evenly. Cold starts often lead to that pale, limp texture nobody wants.
Step 4: Prep and Lightly Oil Your Food
Pat your food dry with a paper towel before seasoning it. Moisture is the enemy of crispiness, so this small step makes a big difference. Toss veggies, fries, or proteins with a light coat of oil, just enough to help them brown. You need far less than deep frying, usually a teaspoon or two. Season generously, since the circulating heat can mellow flavors. Avoid drenching food in oil, or you’ll create smoke and a greasy mess.
Step 5: Arrange Food in a Single Layer
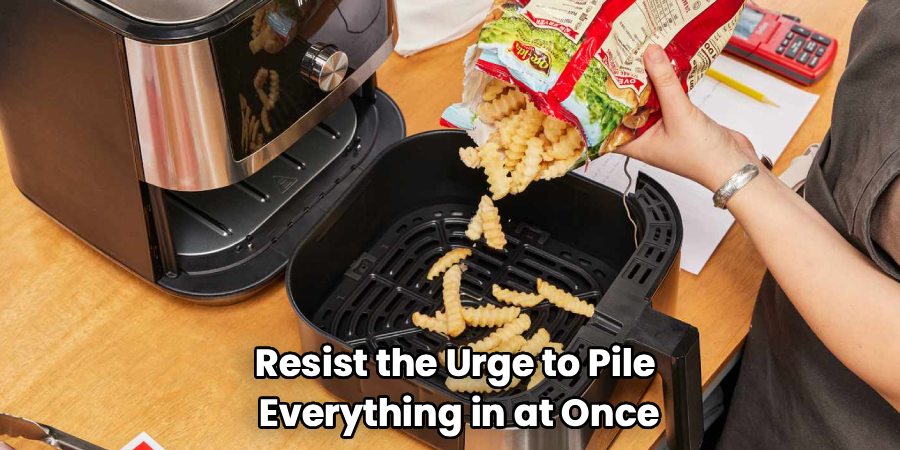
Resist the urge to pile everything in at once. The magic of an air fryer comes from hot air moving freely around each piece. Spread your food in a single layer with a little space between items. Overcrowding traps steam and leaves you with uneven, soggy results. If you’re cooking a lot, work in batches instead of cramming. A slightly emptier basket almost always cooks better than a packed one.
Step 6: Set the Right Time and Temperature
Most foods cook between 350°F and 400°F, but exact settings depend on what you’re making. Start with recommended times from a recipe or the quick-reference chart in your manual. It’s smarter to undercook slightly and add time than to burn a whole batch. Remember that these machines run hot and fast, often quicker than a standard oven. Keep an eye on the first few cooks until you learn your model’s personality. Every unit has its own quirks.
Step 7: Shake or Flip Halfway Through
Halfway through cooking, pause and shake the basket or flip larger items. This simple move ensures every side gets that even, golden color. For fries and small veggies, a good shake does the trick. For chicken, fish, or thicker cuts, use tongs to turn each piece. Skipping this step leaves you with one crispy side and one pale one. Set a mental timer or use the shake reminder if your model has one.
Step 8: Check for Doneness Safely
Don’t rely on looks alone, especially with meat. Use a thermometer to confirm chicken hits 165°F and other proteins reach safe temperatures. Vegetables and frozen snacks are more forgiving, so go by color and crunch. If something needs more time, add short two-minute bursts rather than long stretches. This prevents overcooking and keeps everything juicy inside. A quick temperature check gives you real peace of mind.
Step 9: Rest, Serve, and Clean Up
Let your food rest a minute or two after cooking so juices settle. Move it to a plate with silicone tongs to protect the nonstick coating. Once the basket cools, wash it with a soft sponge and warm soapy water. Never use metal scourers, which scratch the surface and shorten its life. Wiping the interior after each use keeps grease from building up. A clean machine cooks better and lasts far longer.
Tips for Best Results
Ready to cook like a pro? These insider habits separate great results from mediocre ones.
- Spritz food, don’t drown it. A fine mist of oil crisps the surface without smoking. Use a refillable spray bottle for even coverage and better control. Too much oil pools at the bottom and creates that annoying smoke.
- Cook in batches for crowds. It feels slower, but batching gives you consistently crispy food every time. Keep finished portions warm in a low oven while the next round cooks. Crowding the basket is the number one reason meals turn out soggy.
- Line smart, not sloppy. Use perforated parchment made for these machines to catch drips and speed up cleanup. Never add a liner during preheating, though, since loose paper can fly into the heating element. Always weigh it down with food.
- Learn your hot spots. Some baskets cook unevenly, running hotter near the back. Rotate the basket halfway through if you notice one side browning faster. A little observation early on pays off for every future meal.
- Reheat leftovers here, not the microwave. Pizza, fries, and fried chicken come back to life crispy instead of rubbery. A quick three-minute blast at 350°F works wonders. You’ll never reach for the microwave for these foods again.
Frequently Asked Questions
Do I Need to Preheat My Air Fryer?
Preheating isn’t strictly required, but it noticeably improves texture. A hot basket sears food on contact, giving you better crisp and browning. For frozen snacks and fries, three to five minutes of preheating makes a real difference. If you’re short on time, you can skip it, just expect slightly softer results.
Can I Put Aluminum Foil or Parchment Inside?
Yes, you can use both, with a couple of safety rules. Keep foil or parchment weighted down with food so it doesn’t blow into the heating element. Never add liners during an empty preheat, and don’t cover the whole basket, since airflow needs open space. Perforated parchment made for these machines is the safest, cleanest option.
How Much Oil Should I Use?
Far less than you’d think, usually a teaspoon or two per batch. A light spritz or toss coats food enough to brown without deep frying. Too much oil pools at the bottom and can cause smoking. For naturally fatty foods like bacon or chicken thighs, you can skip added oil entirely.
Why Is My Food Coming Out Soggy?
Sogginess usually comes from overcrowding or too much moisture. Pat food dry before cooking and arrange it in a single layer with space between pieces. Cooking in smaller batches lets hot air circulate freely for that crisp finish. Preheating and a light oil coating also help lock in crunch.
Is It Safe to Cook Frozen Food Directly?
Absolutely, and it’s one of the best uses for this appliance. You can cook frozen fries, nuggets, and veggies straight from the freezer with no thawing. Just add a few extra minutes and shake the basket partway through. Check that anything with meat reaches a safe internal temperature before serving.
How Do I Clean It Without Damaging the Coating?
Wait for the parts to cool, then wash the basket and tray with warm soapy water and a soft sponge. Skip metal scrubbers and harsh abrasives, which scratch the nonstick surface. For stuck-on bits, soak the basket for a few minutes before wiping. Wiping the interior after each use keeps grease from building up over time.
Conclusion
Getting comfortable with your air fryer really comes down to a few simple habits. Preheat when you can, don’t overcrowd the basket, use a light touch with oil, and shake things halfway through. Do that, and you’ll enjoy crispy, satisfying meals with almost no effort. Every batch builds your confidence a little more. If you haven’t found the right model yet, check out our product picks above for reliable options at any budget. Hungry for more? Explore our other kitchen guides for honest, hands-on advice that makes cooking easier and a lot more fun.
