
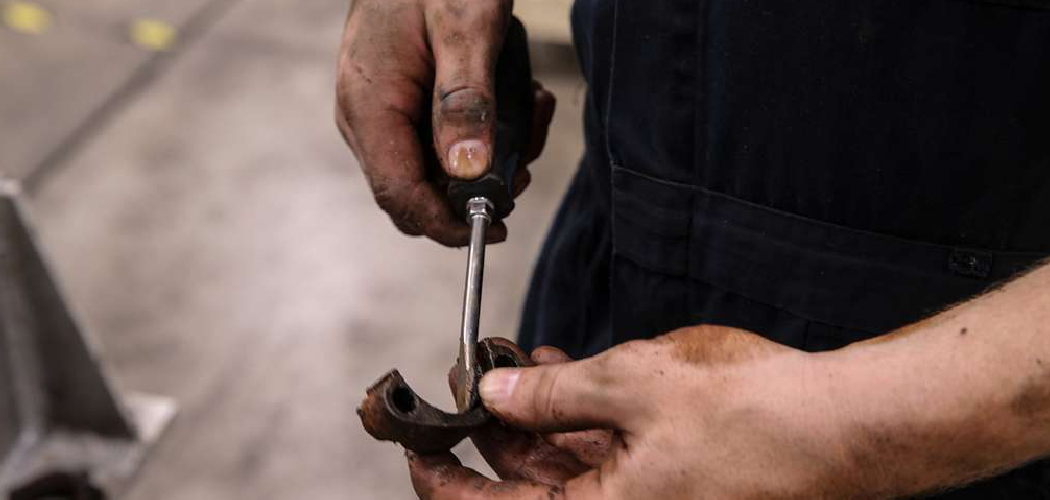
You reach into your toolbox for a quick fix, pull out your favorite screwdriver, and find the tip crusted with grime and speckled with rust. Not exactly the confidence booster you wanted. Knowing how to clean a screwdriver keeps your tools sharp, safe, and ready whenever you need them. A grimy tip slips more, strips screws faster, and can even carry rust onto your projects.
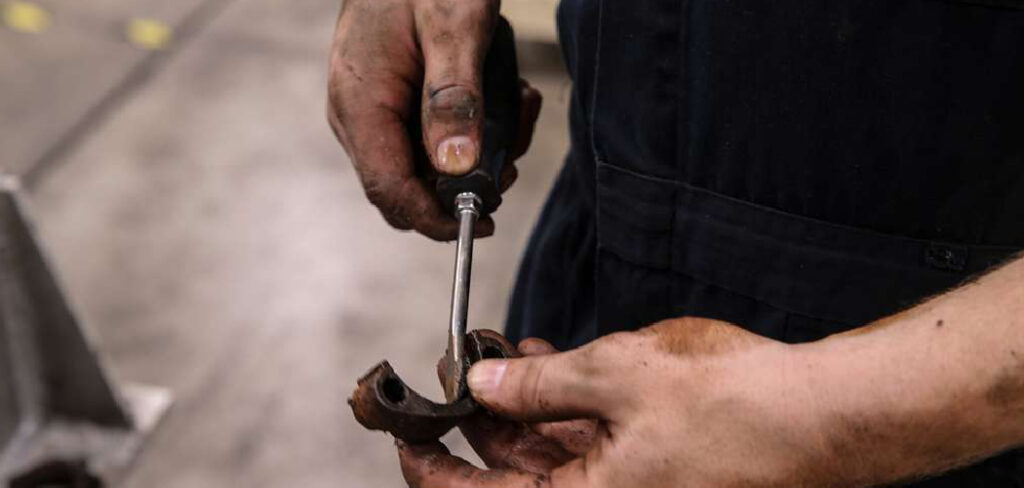
The good news? Cleaning one takes just a few minutes and a handful of household items. In this guide, you’ll learn how to wipe away dirt, tackle stubborn corrosion, care for the handle, and store everything so it stays spotless. Whether you own a single driver or a full set, these steps will bring them back to life.
What You’ll Need
Gather your supplies before you start. Having everything within reach makes the whole job smooth and quick.
- A soft cloth or microfiber rag
- Warm water and mild dish soap
- An old toothbrush or small wire brush
- White vinegar or a rust remover (for corrosion)
- Baking soda (for tougher spots)
- Fine steel wool or fine-grit sandpaper (400 grit or higher)
- Rubbing alcohol or a degreaser
- A dry towel for finishing
- A light machine oil or 3-in-1 oil for protection
- Rubber gloves to keep your hands clean
You won’t need every item for a light cleaning. A quick wipe-down only calls for a cloth and a bit of soapy water. Save the heavy-duty gear for rust and grease.
Step-by-Step Guide on How to Clean a Screwdriver
Follow these steps in order. Take your time, and your tools will thank you.
Step 1: Inspect the Screwdriver First
Start by giving your driver a close look. Check the metal tip for rust, chips, or built-up grime. Look at the shaft for grease and the handle for cracks or sticky residue.
This quick check tells you how much cleaning you actually need. A tool with light dust needs a simple wipe, while a rusty tip calls for more effort. Spotting damage early also warns you if a driver is worn out. A cracked handle or badly rounded tip may need replacing, not cleaning.
Step 2: Wipe Off Loose Dirt and Debris
Grab your dry cloth and wipe down the entire tool. Remove any loose dust, sawdust, or crumbs before adding water. This first pass stops dirt from turning into muddy smears later.
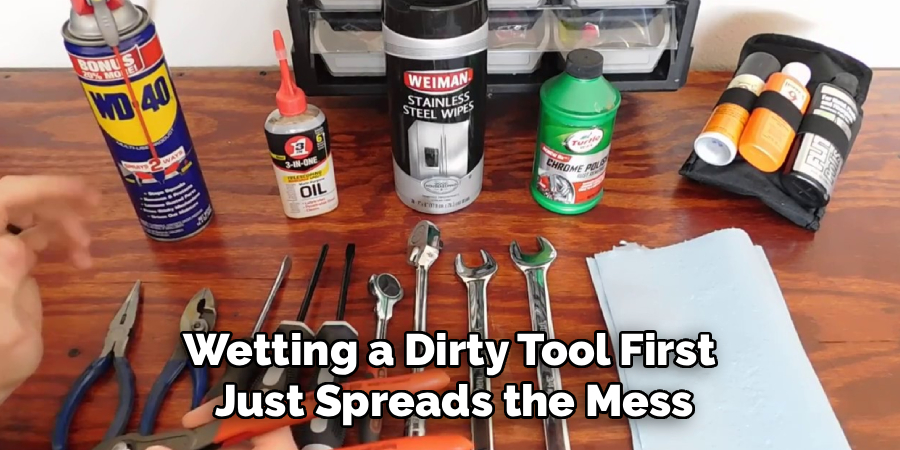
Pay attention to the tip and the grooves near the handle, where debris loves to hide. An old toothbrush works well for flicking out packed-in gunk. Skipping this step is a common mistake. Wetting a dirty tool first just spreads the mess around and makes your job harder.
Step 3: Wash With Warm, Soapy Water
Mix a few drops of mild dish soap into warm water. Dip your cloth or toothbrush and gently scrub the metal tip and shaft. The soap breaks down oils and grease that a dry wipe leaves behind.
Work the bristles into any tight spots or textured grips. Don’t soak the tool for long, especially if it has a wooden handle. Wood absorbs water and can swell or crack over time. A quick scrub is all you need, then move on before moisture settles in.
Step 4: Tackle Rust and Corrosion
If you spot rust, reach for white vinegar. Soak the metal tip in a small cup of vinegar for 10 to 15 minutes to loosen the corrosion. For heavier rust, make a paste of baking soda and water, then let it sit on the spot.
After soaking, scrub the area with fine steel wool or an old toothbrush. Work in small circles until the rust lifts away. Avoid getting vinegar on the handle, since acid can dry out wood or plastic. This rust removal step restores both the look and grip of the tip.
Step 5: Smooth Out the Metal Tip
Once the rust is gone, check the tip for rough patches. Fine-grit sandpaper or steel wool smooths any remaining pitting or burrs. Rub lightly along the flat surfaces, keeping the shape of the tip intact.
Don’t grind too hard, or you’ll change the tip’s profile and ruin the fit. The goal is a clean, even surface, not a reshaped tool. A smooth tip grips screws better and slips far less. Wipe away any metal dust when you finish so it doesn’t spread.
Step 6: Clean and Care for the Handle
Handle cleaning matters just as much as the metal. Wipe plastic or rubber grips with a cloth dampened in soapy water or rubbing alcohol. Alcohol cuts through grease and leaves the grip tacky enough to hold well.
For wooden handles, use a barely damp cloth and dry it right away. A tiny bit of mineral oil keeps the wood from drying and cracking. Check the handle where it meets the shaft, since grime collects there. A clean handle feels better in your hand and gives you more control.
Step 7: Rinse and Dry Thoroughly
Wipe or rinse away all soap and cleaning residue. Any leftover moisture is the number one cause of new rust, so drying matters most. Use a clean towel and dry every surface completely.
Pay special attention to the tip and any grooves where water hides. Let the tool air-dry for a few minutes afterward to be safe. Rushing this step undoes all your hard work. A perfectly dry driver stays rust-free far longer.
Step 8: Add a Protective Coat of Oil
Finish by applying a thin layer of light machine oil to the metal parts. Put a few drops on a cloth and wipe down the tip and shaft. This coating blocks moisture and prevents future corrosion.
Wipe off any excess so the tool isn’t dripping or greasy. A light film is all you need for solid protection. This simple habit is the heart of good tool maintenance. It keeps your drivers ready to work and extends their life for years.
Step 9: Store Your Screwdriver Properly
Where you keep your tools decides how fast they age. Store your driver in a dry spot away from humidity, which speeds up rust. A tool roll, drawer organizer, or magnetic strip all work great.
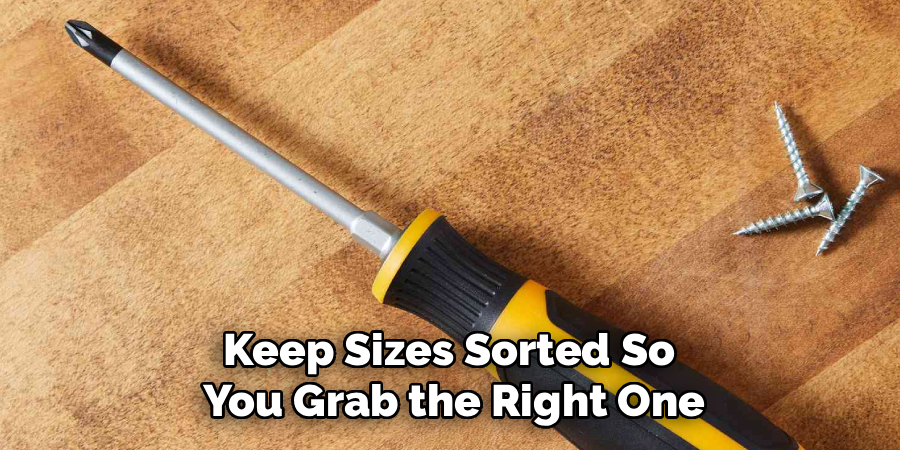
Keep sizes sorted so you grab the right one fast next time. Avoid tossing tools loose in a damp basement or garage corner. Good storage protects your cleaning effort and keeps everything organized. A little care here saves you from repeating this whole process too soon.
Tips for Best Results
These extra pointers come from years of hands-on tool care.
- Clean tools right after messy jobs. Grease and adhesive wipe off in seconds when fresh, but harden into a stubborn crust if you wait.
- Toss a silica gel packet in your toolbox. Those little moisture-absorbing packets fight humidity and slow rust across your entire tool collection.
- Use a rust eraser for regular upkeep. This handy block scrubs away light surface rust in seconds without any soaking or mess.
- Keep magnetic tips clean. Metal shavings cling to magnetized drivers and reduce grip, so wipe them often for the best hold.
- Never use harsh bleach on metal. It can pit and weaken the steel over time, doing more damage than the dirt you’re removing.
Frequently Asked Questions
How Often Should I Clean My Screwdrivers?
A quick wipe after each use keeps grime from building up. Plan a deeper clean every few months, or sooner if you spot rust or grease. Tools stored in damp areas need more frequent attention. Regular care is far easier than reviving a badly corroded driver later.
Can I Use Vinegar to Remove Rust From a Screwdriver?
Yes, white vinegar is a cheap and effective rust remover. Soak the metal tip for 10 to 15 minutes, then scrub with steel wool or a brush. Keep the vinegar off wooden and plastic handles, since the acid can dry them out. Always rinse, dry, and oil the tool afterward to prevent new rust.
Is It Safe to Wash a Screwdriver in Water?
A quick wash with soapy water is perfectly safe for the metal parts. Just avoid soaking the tool, especially if it has a wooden handle that absorbs moisture. Dry every surface thoroughly right after washing to stop rust from forming. A final wipe of oil adds extra protection against corrosion.
What’s the Best Way to Clean a Rubber or Plastic Handle?
Wipe rubber and plastic grips with a cloth dampened in soapy water or rubbing alcohol. Alcohol cuts through grease and leaves the grip clean without slippery residue. Dry the handle fully afterward for a secure hold. Skip harsh solvents, which can crack or degrade the material over time.
How Do I Stop My Screwdrivers From Rusting Again?
Dry your tools completely after every cleaning, since moisture is the main culprit. Add a thin coat of light machine oil to the metal for a protective barrier. Store your drivers in a dry, low-humidity spot away from damp corners. A silica gel packet in your toolbox also helps keep rust at bay.
Conclusion
Bringing a grimy tool back to life feels great, and now you know exactly how to clean a screwdriver from tip to handle. The key is simple: wipe often, tackle rust early, dry thoroughly, and add a protective coat of oil. A little care keeps your drivers gripping tight and lasting for years.
If you need to replace a worn-out driver or grab fresh supplies, check out our recommended products above. Want to keep your whole kit in top shape? Explore our other tool care guides and level up your DIY skills one project at a time.
