
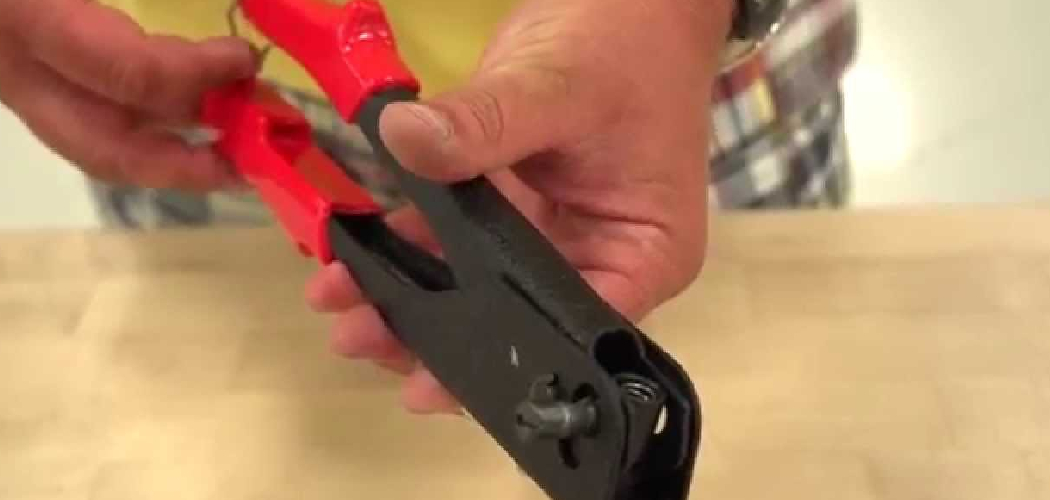
Picture this: you’ve got a loose metal bracket, a rattling gutter, or a piece of sheet metal that just won’t stay put. You reach for a screw, but there’s no way to grip the back side. That’s the exact moment an arrow rivet tool earns its place in your toolbox. This clever little hand tool lets you fasten two pieces of material together from one side, no backside access needed.
In this guide, you’ll learn How to Use Arrow Rivet Tool and how it works. We’ll cover the supplies you need, then walk through each step to set a clean, tight rivet. You’ll also grab a handful of pro tips and answers to the questions people ask most. By the end, you’ll be joining metal, plastic, and more like a seasoned pro.
What Is an Arrow Rivet Tool?
An arrow rivet tool, often called a rivet gun or pop rivet gun, is a hand-squeezed tool that installs blind rivets. A blind rivet is a small fastener with a body and a long pin, called a mandrel, running through the center. When you squeeze the handles, the tool pulls the mandrel and expands the rivet body, locking your materials together. It’s the go-to method for joining sheet metal, plastic, and thin panels when you can only reach one side.
What You’ll Need
Grab these items before you get started. Most cost just a few dollars and make the whole job smoother.
- An arrow rivet tool (the star of the show)
- A pack of blind rivets in the right size and material
- A cordless drill with the correct drill bit
- A tape measure or ruler
- A pencil or marker for laying out holes
- A center punch to keep your bit from wandering
- Work gloves to protect your hands
- Safety glasses
- The two materials you plan to join
- A small container for collecting spent mandrels
Step-by-Step Guide on How to Use an Arrow Rivet Tool
Take these steps one at a time. A rushed rivet is a weak rivet, so slow down and enjoy the process.
Step 1: Choose the Right Rivet and Nosepiece
Start by matching your rivet to the job. Rivets come in different diameters and grip ranges, and the grip range must cover the combined thickness of your materials. Pick aluminum rivets for light jobs and steel for heavy-duty holds. Then check that the nosepiece on your tool matches the rivet diameter.
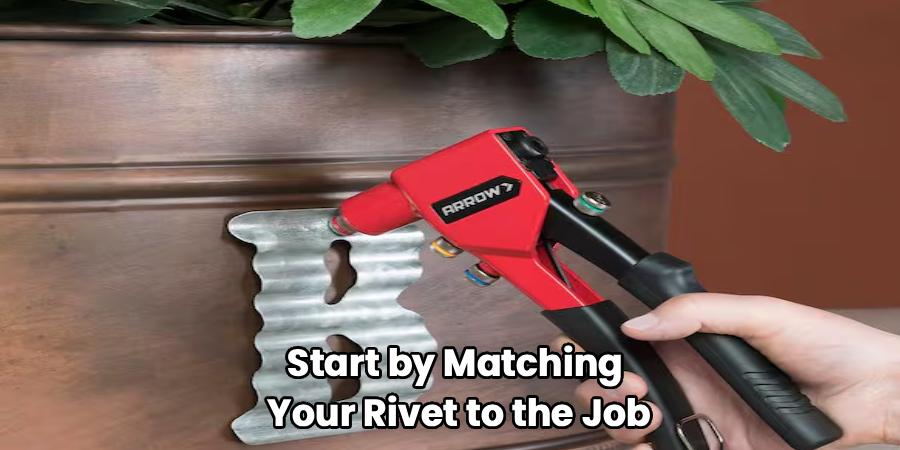
Most rivet guns include several interchangeable nosepieces that thread into the head. Swap in the correct one before you begin. Using the wrong size is the number one reason a rivet won’t set properly. A quick match here saves a lot of frustration later.
Step 2: Measure and Mark Your Holes
Line up the two pieces you want to join and clamp them if you can. Use your tape measure and pencil to mark exactly where each rivet will go. Space your marks evenly for a clean, professional look and even holding strength. For most projects, keeping rivets an inch or two apart works well.
Double-check your marks against the finished layout before drilling. A crooked line of rivets stands out on any panel. Measuring twice really does save you a redo. Take your time with this planning stage.
Step 3: Drill Your Holes
Match your drill bit to the rivet diameter so the fastener slides in snugly. Tap each mark with a center punch first, which stops the bit from skating across smooth metal. Drill straight down through both pieces at once so the holes line up perfectly. Keep the drill perpendicular to the surface for the cleanest result.
Clear away any metal burrs around the hole with the bit or a deburring tool. Leftover burrs keep your materials from sitting flush. A snug, clean hole makes the rivet grip its best. Don’t oversize the hole, or the rivet will spin instead of grabbing.
Step 4: Load the Rivet Into the Tool
Slide the mandrel end of the rivet into the nosepiece of your arrow rivet tool. Push it in until the rivet body seats firmly against the nose. Give the handles a tiny squeeze if needed to grip the mandrel lightly. The rivet should stay put and point straight out, ready to insert.
Hold the tool upright so the rivet doesn’t slip out before you’re ready. If it wobbles or falls, your nosepiece may be too large. A properly loaded rivet feels secure with a gentle tug. This snug fit sets you up for a clean install.
Step 5: Insert the Rivet Into the Hole
Guide the rivet body into the drilled hole until the flange, the wide collar, sits flat against the surface. Keep the tool square to your workpiece so the rivet goes in straight. Press the material together firmly with your free hand to remove any gap. A tight fit now means a strong joint later.
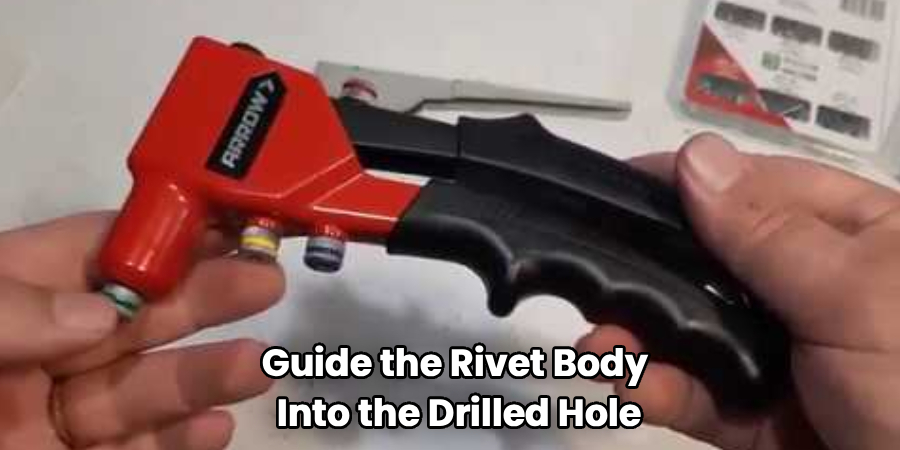
If the rivet won’t seat fully, back it out and check your hole. Sometimes a stray burr or a slightly small hole is the culprit. Never force it, since a bent rivet won’t hold well. Patience beats muscle every time here.
Step 6: Squeeze the Handles to Set the Rivet
Now for the satisfying part. Squeeze the handles firmly and fully in one smooth motion. You’ll feel the tool pull the mandrel and expand the rivet body behind your material. On larger rivets, you may need to release and squeeze again a couple of times.
Keep steady pressure and don’t let the tool drift sideways. A twisting motion can leave the rivet crooked or loose. Full, confident squeezes give you the tightest set. Listen for the snap that tells you the joint is locking.
Step 7: Snap Off the Mandrel
Keep squeezing until the mandrel pin snaps off cleanly at its break point. This is normal and means your rivet is fully set. The spent mandrel usually pops free into the tool or falls out the back. Drop it into your container so it doesn’t roll underfoot.
If the pin doesn’t break, give one more firm squeeze. A leftover stub means the rivet isn’t fully seated yet. Never yank the mandrel out by hand, since that can loosen the joint. Let the tool do the breaking for you.
Step 8: Inspect Your Finished Rivet
Run your finger over the set rivet to check that the flange sits flush and tight. The back side should show a neat, mushroomed head gripping the material. Give the joint a gentle wiggle to confirm there’s no play. A solid rivet won’t budge or rattle.
If a rivet feels loose, drill it out and set a fresh one. It happens to everyone, so don’t sweat it. Catching a weak rivet now beats a failed joint later. Move down your line and repeat the process for each hole.
Tips for Best Results
These small tricks separate a clean job from a wobbly one.
- Match your materials. Use aluminum rivets on aluminum and steel rivets on steel when you can. Mixing metals in a damp spot invites corrosion that weakens the joint over time.
- Keep spare nosepieces handy. Losing a tiny nosepiece mid-project is a real buzzkill. Store all your sizes in a labeled bag so you can swap them fast.
- Back thin material with a washer. When riveting soft or thin sheet metal, slip a backup washer over the rivet before setting it. The washer spreads the load and stops the rivet from pulling through.
- Oil the joints on your tool. A drop of light oil on the pivot points keeps the handles smooth and easy to squeeze. A well-maintained rivet gun sets fasteners with far less hand fatigue.
- Test on scrap first. Before you rivet the real thing, practice on a spare piece of the same material. It confirms your rivet size and hole are dialed in perfectly.
Frequently Asked Questions
What Is the Difference Between a Pop Rivet and a Blind Rivet?
They’re actually the same thing, so no need to worry. “Pop” is a popular brand name that became a nickname for blind rivets. Both describe a fastener you set from one side using a hand tool. Whichever term you see on the packaging, it works the same way in your rivet gun.
Can I Reuse a Rivet After Removing It?
No, a rivet is a one-time fastener and can’t be reused once set. To remove one, you drill through its center head with a bit slightly smaller than the rivet body. The head pops off, and you can push the remaining body out of the hole. Then simply set a fresh rivet in its place.
How Do I Know What Size Rivet to Use?
Two measurements matter most: diameter and grip range. The diameter should match your drilled hole, while the grip range must cover the total thickness of the materials you’re joining. Most rivet packs list the grip range right on the label. When in doubt, size up slightly rather than choosing one that’s too short.
Why Won’t the Mandrel Snap Off?
Usually this means the rivet isn’t fully set yet, so give the handles another firm squeeze. Make sure you’re squeezing all the way through each stroke rather than stopping short. A mandrel that’s too thick for your nosepiece can also cause trouble. Check that your nosepiece and rivet sizes actually match.
Is It Safe to Rivet Without Gloves?
You can, but gloves are a smart habit worth keeping. Freshly drilled sheet metal often leaves sharp burrs that slice fingers easily. Snapped mandrels can also have a pointed end that pokes. A pair of work gloves and safety glasses keep the whole job comfortable and cut-free.
Can an Arrow Rivet Tool Join More Than Just Metal?
Absolutely, and that’s part of what makes it so handy. You can rivet plastic panels, leather, canvas, and thin wood as long as you pick the right rivet and backup support. Softer materials often need a washer behind the rivet so it doesn’t pull through. Just match your grip range to the combined thickness and you’re good to go.
Conclusion
Setting a clean rivet really comes down to matching your parts, drilling a snug hole, and squeezing with confidence. With an arrow rivet tool in hand, you can join metal, plastic, and more from a single side, no backside access required. Take your time, test on scrap, and inspect each fastener as you go.
If you haven’t picked one up yet, check out our recommended picks above and grab a tool that feels comfortable in your grip. Ready for your next project? Browse our other DIY guides and keep building those skills.
