
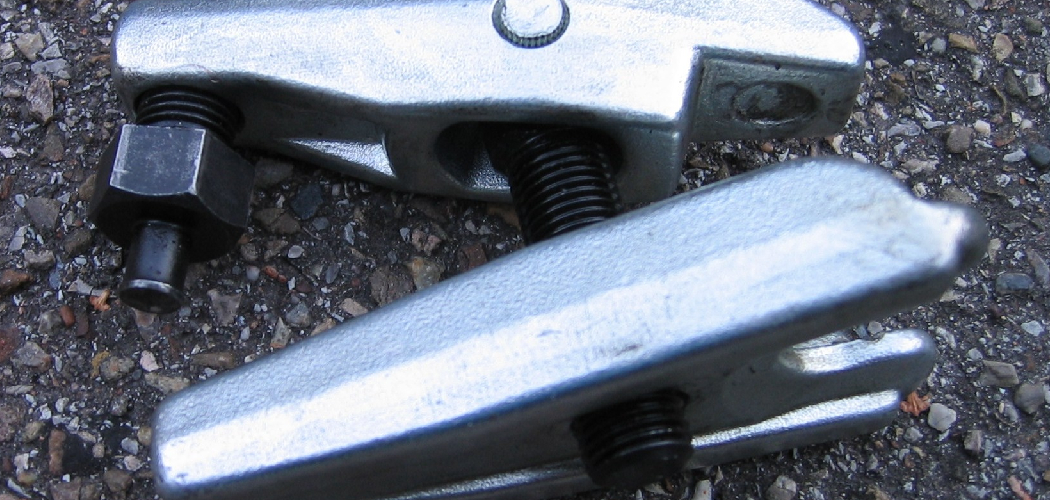
That clunking sound over every bump. The uneven tire wear you can’t quite explain. When your front end starts acting up, a worn-out ball joint is often the culprit. The good news? A ball joint removal tool makes the repair far easier than wrestling with a hammer and prayers. This is the gear that turns a frustrating job into a manageable afternoon project.
In this guide, you’ll learn How to Use a Ball Joint Removal Tool and how to use it safely. We’ll walk through the supplies you need, a clear step-by-step process, and a few insider tricks the pros rely on. Whether you’re tackling your first suspension repair or you’ve turned a wrench before, you’ll finish feeling confident. Let’s get that old joint out and your ride back to smooth.
What Is a Ball Joint Removal Tool?
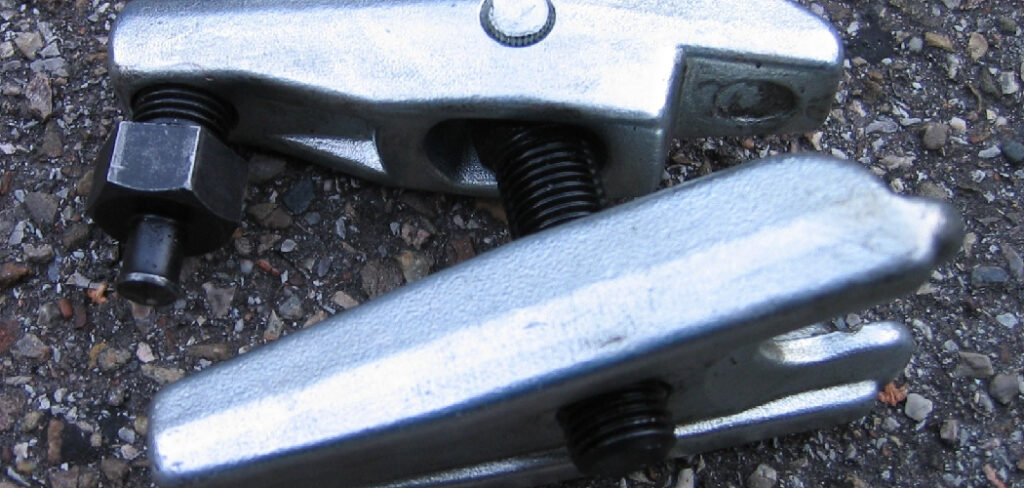
A ball joint removal tool, often called a ball joint press, is a C-shaped clamp with a heavy-duty screw and matching adapters. You use it to push a ball joint out of the steering knuckle or control arm without damaging surrounding parts. Think of it as a controlled, precise way to apply serious pressure exactly where you need it. Unlike a pickle fork, which can tear boots and dented parts, this press works cleanly and lets you reuse hardware when possible.
What You’ll Need
Gather everything before you start so you’re not crawling out from under the car mid-job:
- A ball joint press with a full adapter cup set
- A sturdy floor jack and two jack stands
- Wheel chocks for safety
- A breaker bar and socket set
- A ratchet with extensions
- Penetrating oil (like PB Blaster)
- A ball peen hammer
- A pry bar
- A wire brush for cleaning
- Safety glasses and mechanic’s gloves
- A torque wrench for reassembly
- Your vehicle’s repair manual or torque specs
Step-by-Step Guide on How to Use a Ball Joint Removal Tool
Step 1: Park Safely and Lift the Vehicle
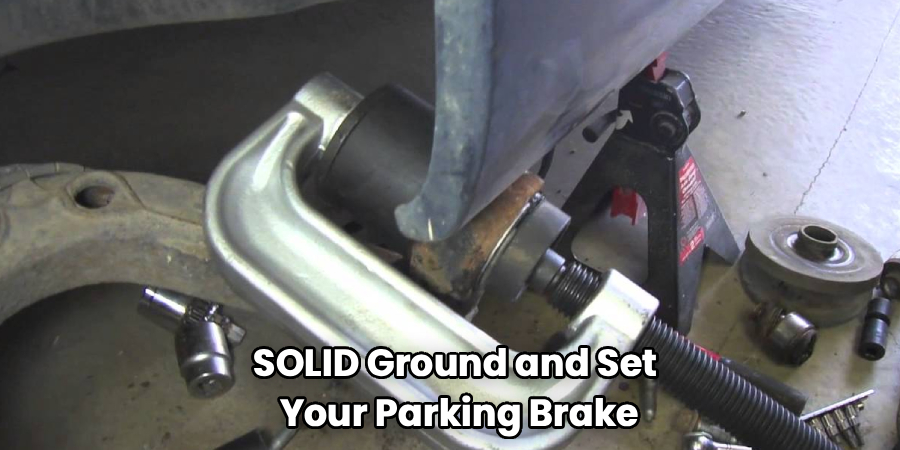
Start on flat, solid ground and set your parking brake. Chock the rear wheels so the car can’t roll while you work. Loosen the lug nuts slightly before you lift, since it’s much easier while the tire is still on the ground.
Then jack up the front end and lower it onto jack stands. Never rely on the jack alone. A car dropping on you is the kind of mistake you don’t recover from. Give the vehicle a firm shake to confirm it’s stable before crawling underneath.
Step 2: Remove the Wheel and Inspect the Area
Take off the lug nuts and pull the wheel aside. Now you have a clear view of the suspension components, including the control arm and steering knuckle. Take a moment to spot the ball joint and how it connects everything.
Look for a torn boot, grease leakage, or obvious play. Wiggling the joint by hand often reveals the problem. Snap a quick photo before you disassemble anything. That reference picture saves you serious guesswork during reassembly.
Step 3: Soak and Loosen the Fasteners
Spray penetrating oil on the castle nut and any bolts holding the ball joint in place. Rust and road grime lock these fasteners tight, so give the oil ten to fifteen minutes to work. This small wait saves you from stripped threads and busted knuckles later.
Remove the cotter pin first, then back off the castle nut. Leave the nut on a few threads for now. That trick keeps the joint from popping loose and smacking you when it finally releases. Use your breaker bar for stubborn nuts.
Step 4: Separate the Joint From the Knuckle
Sometimes the tapered stud stays stuck even after the nut is loose. A sharp tap with your hammer on the side of the knuckle can shock it free. Aim for the boss where the stud seats, not the stud itself.
If it won’t budge, resist the urge to reach for a pickle fork right away. That fork separator gets the job done but often destroys the boot. Since you’re replacing the joint anyway, that’s fine for the old part. Just avoid it on anything you plan to reuse.
Step 5: Position the Ball Joint Press
Now the main event. Fit the C-frame around the control arm so the screw lines up straight with the ball joint. Choose the adapter cup that matches the joint’s size on the pressing side, and a receiving cup large enough for the old joint to slide into.
Alignment is everything here. If the press sits crooked, it can slip or damage the housing. Double-check that both cups sit flush before you apply any pressure. A quick second look now prevents a bent tool later.
Step 6: Press Out the Old Joint
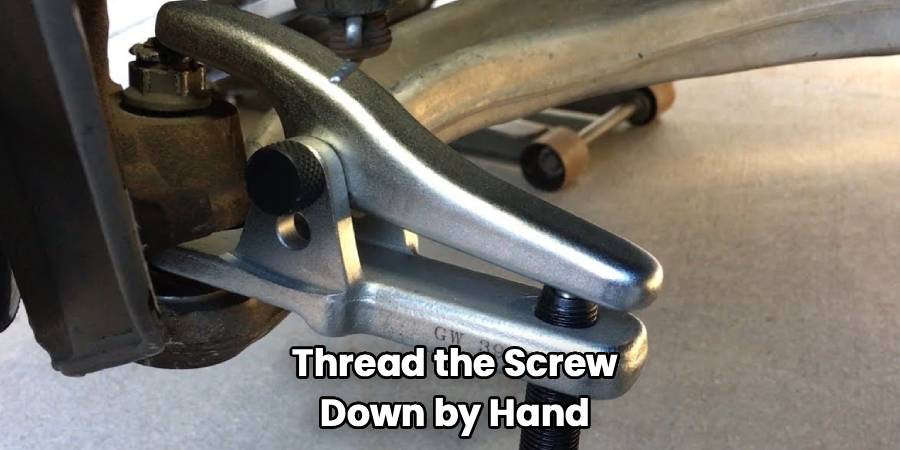
Thread the screw down by hand until everything’s snug. Then turn it with your ratchet, slow and steady. You’ll feel real resistance as the joint starts to move, which is completely normal. Keep the pressure even and let the tool do the heavy lifting.
Stop and recheck alignment if the screw suddenly gets much harder to turn. That’s often a sign something shifted. Never hammer the screw to force it. Patience beats brute force every time on a suspension repair like this.
Step 7: Clean the Bore and Prep the New Joint
Once the old joint drops out, wipe down the mounting bore in the control arm. Use your wire brush to clear away rust, dirt, and old debris. A clean, smooth surface helps the new joint seat evenly and squarely.
Compare the new part against the old one to confirm you’ve got the right size. Match the boot orientation and stud length too. A quick side-by-side check catches ordering mistakes before they cost you a second trip under the car.
Step 8: Press In the New Ball Joint
Set the new joint into the bore by hand, keeping it as straight as possible. Reposition your press with the correct cups to push the joint in rather than out. Turn the screw slowly and watch that the joint goes in dead straight.
A crooked install is the most common mistake here, and it ruins new parts fast. Stop immediately if you see it tilting. Back off, realign, and try again. Seat it fully until it sits flush against the control arm.
Step 9: Reassemble and Torque Everything
Reconnect the joint to the steering knuckle and hand-thread the castle nut. Tighten it to the exact spec in your repair manual using a torque wrench. Guessing on torque here is dangerous, since a loose joint can separate while driving.
Install a fresh cotter pin, then bolt the wheel back on. Lower the car and torque the lug nuts in a star pattern. Give everything one final visual check. When in doubt, verify each fastener twice.
Tips for Best Results
- Warm up stubborn joints. A little heat from a torch on the knuckle boss expands the metal and breaks the rust bond. Just keep flame away from rubber boots and brake lines.
- Grease the press screw. A dab of anti-seize on the threads makes turning smoother and protects your tool. It also gives you better feel for how much resistance you’re really fighting.
- Rent before you buy. Many auto parts stores loan out a ball joint press for free with a deposit. If you only do this repair once, that saves real money.
- Do both sides at once. If one front joint is worn, the other usually isn’t far behind. Replacing both saves you from repeating the whole teardown next month.
- Get an alignment after. Any front end work can shift your alignment. Booking one afterward protects your new tires and keeps steering crisp.
Frequently Asked Questions
Can I Use a Ball Joint Press Without Removing the Control Arm?
Yes, and that’s actually the point of the tool. A quality press fits around the control arm while it stays bolted to the car. This saves you from a much bigger teardown. Just make sure you have enough clearance to position the C-frame straight before you start turning the screw.
What’s the Difference Between a Press and a Pickle Fork?
A pickle fork, or fork separator, is a wedge you hammer between the joint and knuckle to pop them apart. It works fast but almost always destroys the rubber boot. A press applies controlled pressure and keeps parts intact. Use the fork for old joints you’re tossing, and the press for anything you want to reuse.
Is It Safe to Do This Repair at Home?
It absolutely can be, as long as you respect a few rules. Always support the vehicle on jack stands, never just a jack. Follow your manual’s torque specs exactly, since suspension parts affect steering and safety. If a step feels beyond your comfort level, there’s no shame in handing it to a pro.
Why Won’t My Ball Joint Come Loose?
Rust and a tight tapered fit are the usual reasons. Soak the fasteners in penetrating oil and give it time to work. A firm hammer tap on the knuckle boss often shocks the stud free. If it still resists, applying gentle heat usually does the trick.
Do I Need an Alignment After Replacing a Ball Joint?
In most cases, yes. Any work on the front end or tie rod area can nudge your alignment out of spec. Driving on bad alignment wears tires unevenly and hurts handling. Booking a quick alignment afterward protects your investment and keeps the car tracking straight.
How Long Does This Job Usually Take?
For a first-timer, plan on two to three hours per side. Experienced hobbyists often knock it out in about an hour. Rust, seized fasteners, and awkward access can stretch that time. Setting aside a full afternoon keeps you from rushing the steps that matter most.
Conclusion
Swapping a worn joint sounds intimidating, but a ball joint removal tool puts the job well within reach. Remember the key takeaway: work safely, keep everything aligned, and let the tool apply the pressure instead of forcing it. Take your time, double-check your torque specs, and you’ll enjoy a quieter, smoother ride when you’re done.
If you haven’t picked one up yet, check out our recommended products above to find the right press for your vehicle. Ready for your next project? Explore our other suspension and DIY repair guides for more step-by-step help.
