
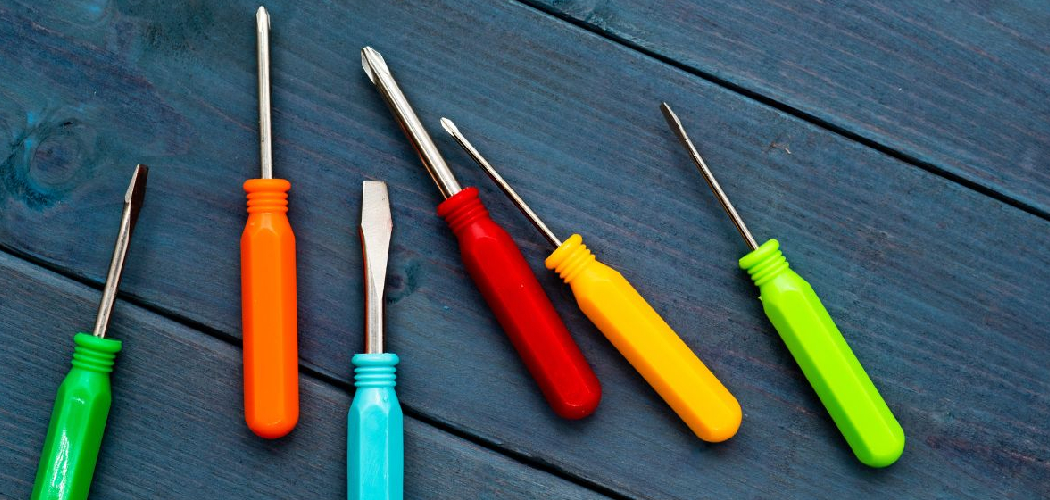
Picture this: you’ve just unboxed a new bookshelf, and the only thing standing between you and a finished project is a pile of screws. You grab a screwdriver, and suddenly the tip keeps slipping, the screw won’t bite, and your wrist starts to ache. Sound familiar? Learning how to use a screwdriver the right way changes everything. It’s one of the simplest tools around, yet a few small techniques make the difference between smooth work and stripped screws.
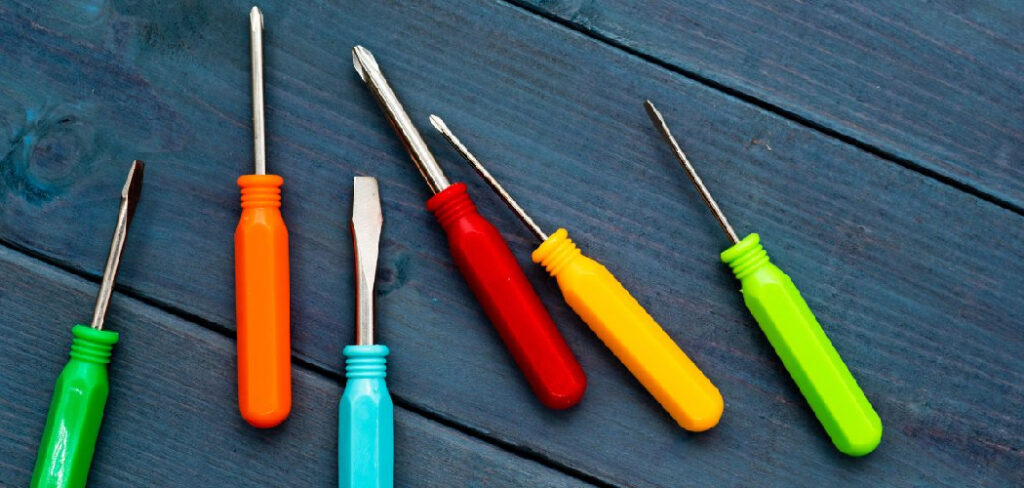
This guide covers the whole thing. You’ll learn how to pick the correct driver, set up your screw, apply the right pressure, and avoid the mistakes that trip up beginners. Whether you’re hanging a picture frame or assembling furniture, these tips will make every turn feel effortless.
What You’ll Need
Before you start, gather your supplies. A little prep keeps the whole job flowing without interruptions.
- A set of screwdrivers (flathead and Phillips, in a few sizes)
- The screws for your project
- The material or item you’re fastening
- A pencil or marker for marking spots
- A small clamp or vise to hold loose pieces
- Safety glasses for protection
- A magnetic pickup tool (handy for dropped screws)
- Beeswax or a bar of soap (for tough hardwoods)
- A drill or awl for making pilot holes (optional)
You won’t need every item for every task. A simple job like tightening a cabinet hinge only calls for the right driver. Grab what fits your project.
Step-by-Step Guide on How to Use a Screwdriver
Work through these steps in order. Take your time, and each turn will feel more natural.
Step 1: Match the Screwdriver to the Screw
Start by looking at the head of your screw. A single straight slot needs a flathead driver, while a cross-shaped slot calls for a Phillips. Using the wrong type is the fastest way to strip a screw head.
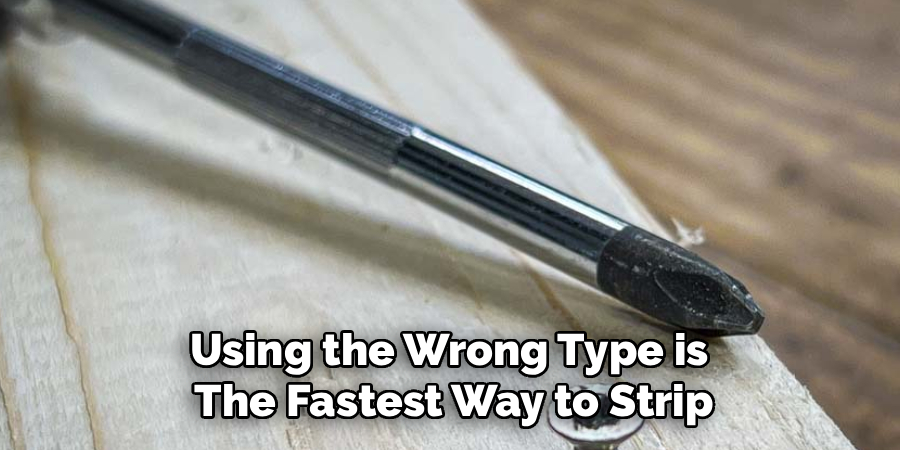
Hold the tip against the screw and check the fit. It should sit snug with no wobble or gaps. A driver that’s too small will slip and chew up the slot. When the size and shape match, you’re set up for clean, easy turns.
Step 2: Choose the Right Size
Even with the correct type, size matters just as much. A driver that’s too big won’t seat fully, and one that’s too small spins uselessly inside the slot. Try a few sizes until the tip fills the screw head completely.
The blade should reach the bottom of the slot without rocking side to side. This snug fit gives you maximum grip and control. A common mistake is grabbing the first screwdriver you see. Spend ten seconds matching it, and you’ll save yourself a stripped screw later.
Step 3: Mark and Prepare Your Spot
Decide exactly where the screw needs to go. Use a pencil to mark the spot so you don’t drift off-center. Accurate marking keeps your work looking clean and professional.
For hardwoods or thick material, drill a small pilot hole first. This guides the screw and prevents the wood from splitting. Softer materials like pine often don’t need one. A quick pilot hole makes driving far easier and protects your project.
Step 4: Position the Screw and Driver
Set the screw upright at your marked spot. Place the tip of the driver firmly into the screw head. Keep the screwdriver in a straight line with the screw, not tilted at an angle.
Steady the screw with your free hand until it catches. A magnetic driver tip helps here, holding the screw so it won’t tip over. Alignment is everything at this stage. A crooked start leads to a crooked screw and a wobbly finish.
Step 5: Apply Steady Downward Pressure
Push down firmly as you begin to turn. This pressure keeps the tip locked in the slot and stops it from slipping out, a problem known as cam-out. Roughly 70% of your effort should be pushing, with only 30% twisting.
Turn slowly and evenly for the first few rotations. Once the screw bites into the material, it pulls itself in. Ease up on the pressure slightly as it goes deeper. Consistent force is the secret to smooth, damage-free driving.
Step 6: Turn in the Right Direction
Remember the classic rule: “righty-tighty, lefty-loosey.” Turn clockwise to drive a screw in, and counterclockwise to back it out. It sounds obvious, but it’s easy to blank on mid-task.
Keep your turns smooth rather than jerky. Short, controlled twists give you better command than fast, wild spins. If the screw suddenly stops, don’t force it. Back it out, check for an obstruction, and try again.
Step 7: Drive the Screw Flush
Continue turning until the screw head sits flush with the surface. For a countersunk finish, drive it just slightly below the surface so it sits neatly. Stop the moment you feel firm resistance.
Overtightening is a rookie error that strips threads or cracks the material. If the driver starts to spin freely, you’ve gone too far. A flush, snug screw holds tight without damaging anything. Trust the feel of resistance to tell you when to stop.
Step 8: Remove a Screw the Right Way
To take a screw out, place your driver firmly in the slot and turn counterclockwise. Apply that same downward pressure so the tip stays seated. Slow, steady turns work best, especially with older or rusted screws.
If a screw won’t budge, a drop of penetrating oil can loosen it. For a stripped head, press hard and turn gently to grab what’s left of the slot. Patience beats force every time. Rushing usually just makes the damage worse.
Step 9: Store Your Tools Properly
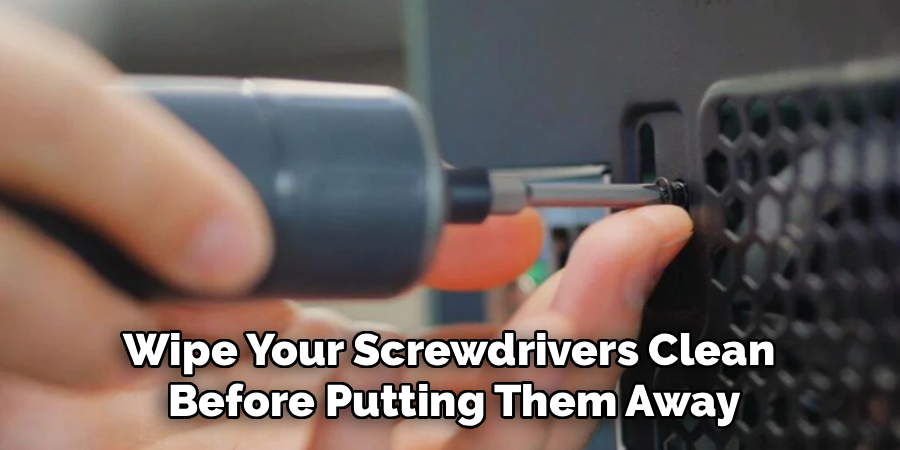
Once you finish, wipe your screwdrivers clean before putting them away. A quick wipe removes moisture that leads to rust. Store them in a dry spot, ideally in a rack or pouch that keeps sizes organized.
Well-kept tools last for decades and always perform better. A magnetic strip on the wall makes grabbing the right size a breeze. Good storage habits save you time hunting for the correct driver next time. Your future self will thank you.
Tips for Best Results
These extra pointers come straight from years of hands-on work.
- Rub the screw threads with beeswax or soap. This lubricant helps screws glide into hardwood with far less effort and reduces the chance of snapping.
- Keep your elbow tucked in. Driving from your shoulder and body, rather than just your wrist, gives you more power and protects your joints on big jobs.
- Buy a driver with a comfortable, grippy handle. A cushioned grip lets you apply more torque without your hand cramping or slipping.
- Use a manual driver for delicate work. Electronics and soft materials need a gentle touch that a power drill can easily overpower.
- Test on scrap first. If you’re unsure about pressure or pilot hole size, a quick practice run on spare material saves your actual project.
Frequently Asked Questions
What’s the Difference Between a Flathead and a Phillips Screwdriver?
A flathead has a single flat blade that fits screws with one straight slot. A Phillips has a cross-shaped, pointed tip that fits screws with a plus-shaped slot. The Phillips design grips better and resists slipping under pressure. Keep both types on hand, since projects often mix the two.
How Do I Stop the Screwdriver From Slipping?
Slipping, or cam-out, usually happens when the tip doesn’t match the screw or you’re not pushing hard enough. Make sure the driver fills the screw head completely and sits straight. Then apply firm downward pressure as you turn slowly. A magnetic or grippy tip also helps the driver stay locked in place.
Can I Use a Screwdriver Instead of a Drill?
Yes, a manual screwdriver works perfectly for small jobs and light-duty fastening. It gives you more control and is quieter, with no risk of overdriving a delicate screw. For lots of screws or dense material, a drill saves time and your wrist. Many people keep both and choose based on the task.
How Do I Remove a Stripped Screw?
Start by pressing the driver down hard and turning slowly to catch any remaining slot. A rubber band placed over the head can add extra grip. If that fails, a screw extractor tool bites into the head and backs it out. Penetrating oil also helps loosen screws that are stuck or rusted.
Is It Safe to Use a Screwdriver on Electrical Work?
Only if you use an insulated screwdriver rated for electrical tasks, and only after cutting the power. Standard drivers can conduct electricity and cause a serious shock. Always double-check that the circuit is off before you touch anything. When in doubt, call a licensed electrician for safety.
Conclusion
Getting comfortable with this everyday tool opens the door to countless projects around your home. Once you know how to use a screwdriver with the right size, steady pressure, and a straight angle, every turn feels smooth and controlled. The trick is matching your driver to the screw and letting technique do the heavy lifting.
If you haven’t picked up a solid set yet, check out our recommended products above to get started. Ready to tackle your next fix? Browse our other tool guides and keep growing your DIY confidence one project at a time.
