
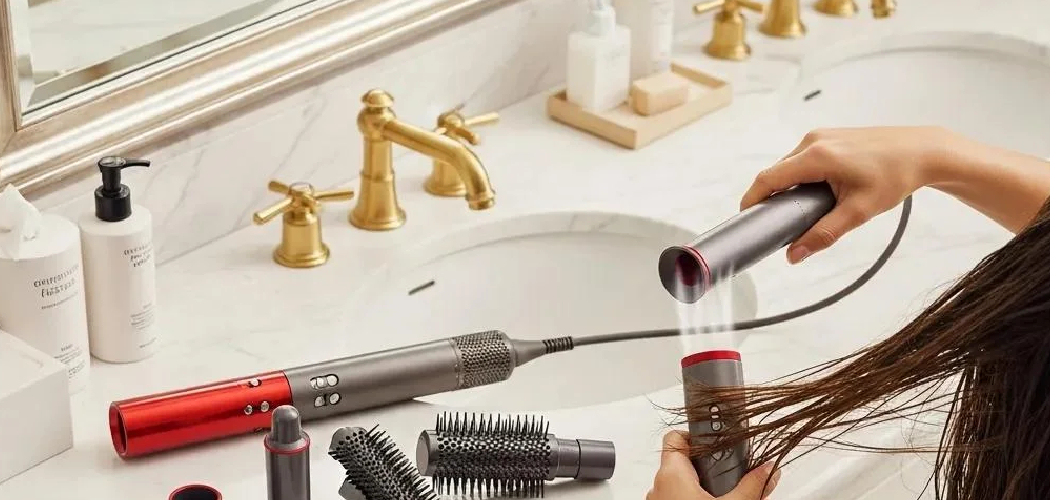
You wash your hair, spend twenty minutes with a round brush and a dryer, then reach for a curling iron to finish the look. By the time you’re done, your arms ache and half your curls have already fallen flat. Sound familiar? The Dyson Airwrap promises to fix that whole routine by drying and styling in one smooth motion. Instead of scorching your strands with extreme heat, it uses fast-moving air to shape your hair as you go.
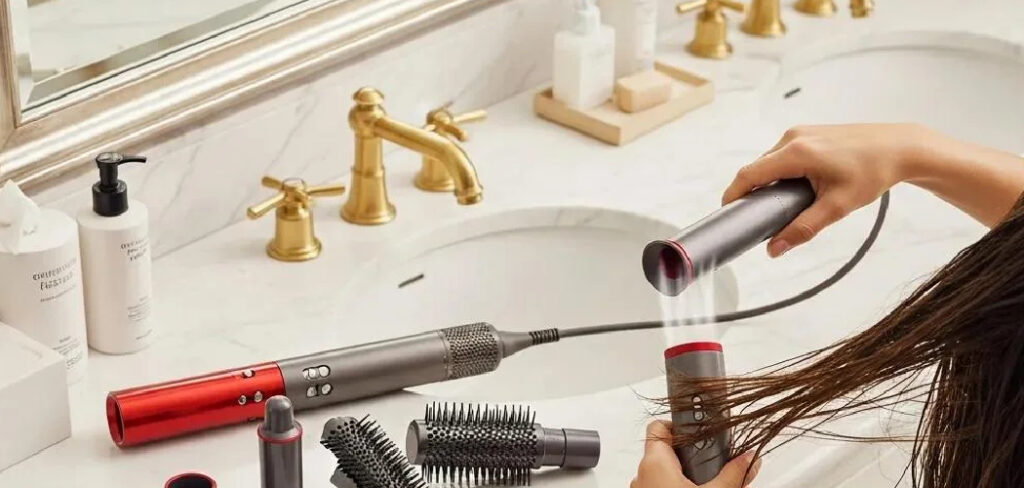
In this guide, you’ll learn exactly how to use a dyson airwrap from start to finish. We’ll cover what you need, walk through each step, share insider tips, and answer the questions people ask most. By the end, you’ll style like a pro at home.
What You’ll Need
Grab these items before you start so your styling session flows without interruptions. Most of them are probably already in your bathroom.
- Your Dyson Airwrap with its attachments
- A towel to blot excess water
- A wide-tooth comb or detangling brush
- Heat protectant spray
- Hair clips or claws to section your hair
- A lightweight mousse or styling primer (optional)
- Hairspray or serum for finishing
- A mirror with good lighting
Step-by-Step Guide on How to Use a Dyson Airwrap
Step 1: Start With the Right Hair Dampness
The magic here depends on getting your hair to the perfect moisture level. Wash your hair, then towel-dry it until it stops dripping. You want it damp, not soaking wet and not bone dry. If your hair is too wet, the airflow won’t shape it properly, and you’ll waste time. If it’s fully dry, the curls and waves simply won’t grab or hold. Aim for that “75% dry” sweet spot for the best results.
Step 2: Prep and Protect Your Strands
Never skip your protectant, even though this styling tool runs cooler than a traditional iron. Spray a light, even layer of heat protectant from mid-length to ends. Comb it through with a wide-tooth comb so every strand gets coated. This step guards against damage and helps your style last longer. If you want extra hold, work in a small amount of mousse or a lightweight primer now. Prepped hair always styles smoother and stays put.
Step 3: Section Your Hair
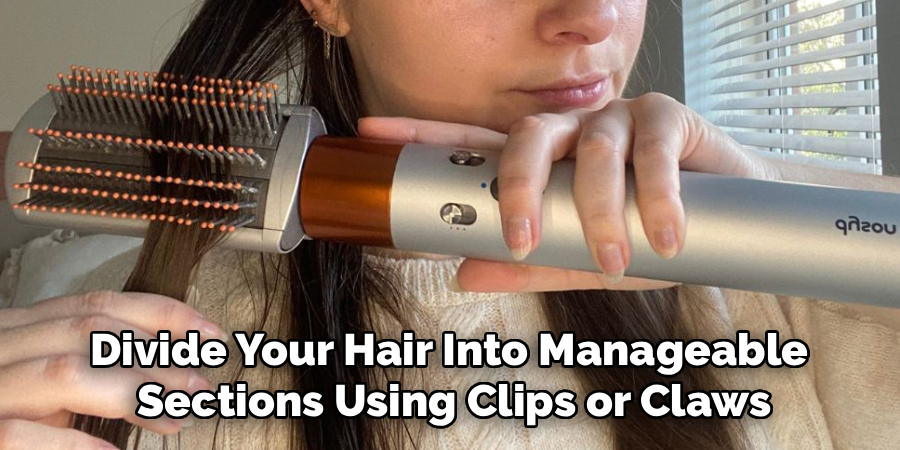
Trying to style everything at once leads to tangles and uneven results. Divide your hair into manageable sections using clips or claws. Start by splitting it top from bottom, then break each half into smaller pieces. Thicker hair needs more sections, so don’t rush this part. Working with two-inch chunks gives you the most control and the cleanest finish. Clip away everything you’re not styling so it stays out of the way.
Step 4: Choose the Right Attachment
Your Airwrap comes with several heads, and each one does a specific job. The curling barrels create bouncy curls and waves, while the round brushes add volume and smooth frizz. The smoothing brush works like a blow-dry, and the pre-styling dryer removes extra moisture first. Match the attachment to the look you want before you begin. Snap it on firmly until you hear it lock into place. Picking the right head saves time and gives you the exact style you’re after.
Step 5: Dry Your Hair First (If Needed)
If your hair still feels quite wet, start with the pre-styling dryer attachment. Point the airflow down the hair shaft, following the direction your cuticle grows. This smooths the surface and cuts down on frizz right away. Move steadily and keep the nozzle a few inches from your scalp. Once your hair reaches that damp-but-not-wet stage, switch to your styling attachment. Rushing straight to curls on soaking hair is the number one beginner mistake.
Step 6: Curl With the Barrel Attachment
Here’s where the fun begins. Hold a small section of damp hair near the barrel, and the airflow will wrap it around automatically. Let it draw the hair in, then hold for about ten to fifteen seconds to set the shape. Alternate the curl direction on each section for a natural, lived-in look. For curls that face away from your face, use the barrel that spins in that matching direction. Keep the sections small and consistent so every curl looks even.
Step 7: Set Each Curl With Cool Air
Heat shapes your hair, but cool air locks it in. After warming each curl, press the cool-shot button before you release the section. This quick blast sets the curl and helps it hold for hours. Skipping this step is why so many people watch their curls drop within minutes. Give each section a couple of seconds of cool air, then gently slide the barrel out. Treat the curl kindly as you release it so it keeps its bounce.
Step 8: Release and Let It Cool
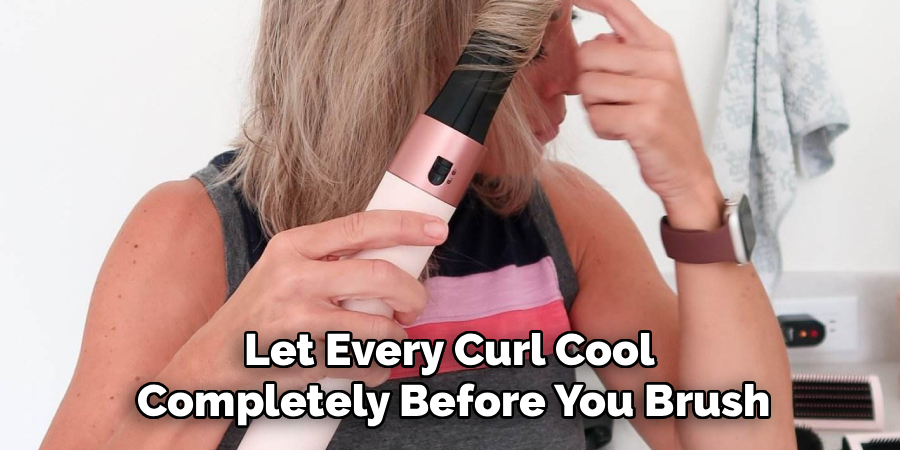
Don’t touch your fresh curls right away. Let each one cool completely in its shape before you brush or style further. If you have the patience, pin the warm curls to your head with a clip and let them set for a few minutes. This little trick makes your style last dramatically longer. Once everything cools, gently run your fingers through to loosen and blend the curls. Rushing this cooldown undoes all your hard work.
Step 9: Finish and Lock In Your Style
Now shape the whole look and make it last. Add a light mist of hairspray for hold, or smooth a drop of serum over the ends to tame flyaways. Flip your head and shake gently to build volume at the roots. Avoid heavy products, since they weigh down the airy, bouncy finish this tool creates. Step back, check your work in good lighting, and touch up any section that needs it. A light finishing touch keeps everything looking fresh and natural.
Tips for Best Results
These extra tricks separate a decent blowout from a salon-worthy one.
- Clean the filter regularly. Lint and product buildup choke the airflow, which weakens your styling power. Wipe the filter cage every few weeks with the little cleaning brush to keep the air moving strong.
- Work with smaller sections than you think. Overloading the barrel gives you loose, floppy curls that fall fast. Thin, consistent sections wrap better and hold their shape far longer.
- Match barrel direction to your face. Curling away from your face on both sides frames your features beautifully. If your barrel only spins one way, just flip your grip for the opposite side.
- Cool down before you touch. Warm hair is soft and easily reshaped, so let every curl set fully. A few extra seconds of patience pays off with all-day hold.
- Refresh, don’t rewash. On day two, a quick spritz of water on damp-ish sections lets you restyle without a full wash. This saves your hair from constant styling and keeps it healthier.
Frequently Asked Questions
Is the Dyson Airwrap Bad for Your Hair?
It’s much gentler than a traditional curling iron or straightener. Instead of blasting your strands with extreme heat, it uses fast airflow and controlled warmth to shape your hair. That said, you should still use a heat protectant and avoid styling every single day. Give your hair rest days to keep it healthy and shiny.
Does My Hair Need to Be Wet or Dry?
Your hair should be damp, roughly 75% dry, for the best styling. If it’s too wet, the airflow can’t shape it, and if it’s fully dry, the curls won’t grab. Towel-dry first, then use the pre-styling dryer attachment to hit that perfect level. This damp stage is the secret behind long-lasting curls.
How Do I Make the Curls Last Longer?
The cool-shot button is your best friend for lasting curls. Warm each section to shape it, then blast it with cool air before releasing. Let every curl cool completely before you brush or touch it. For extra staying power, pin the warm curls up for a few minutes and finish with a light mist of hairspray.
Can I Use It on Short or Thick Hair?
Yes, though your approach changes a little with each hair type. Short hair works well with the smaller barrels and the smoothing brush for a neat finish. Thick hair needs more sections and a bit more patience, so break it into smaller pieces than usual. Take your time, and you’ll get great results on almost any length or texture.
How Often Should I Clean It?
Clean the filter every few weeks, or more often if you style daily. Dust and product buildup block the airflow, which weakens both drying and styling. Slide off the filter cage and use the included brush to clear away lint. A clean filter keeps your tool working like new for years.
Why Won’t My Curls Wrap Around the Barrel?
If your hair won’t wrap, it’s usually too wet, too dry, or the section is too big. Check that your hair sits at that damp sweet spot, not dripping and not fully dried. Try smaller sections and hold them closer to the barrel so the airflow can catch them. A little practice with sizing fixes this fast.
Conclusion
Great hair really comes down to a few simple habits: get your hair to that perfect damp stage, work in small sections, and always lock your curls with cool air. Once the routine clicks, the Dyson Airwrap turns a frustrating morning into a quick, salon-worthy style you’ll actually enjoy creating. Trust the steps, and each session gets faster and smoother.
If you haven’t picked one up yet, check out our recommended picks above. Want to master more styling tricks? Explore our other hair and beauty guides on the site, and happy styling.
