
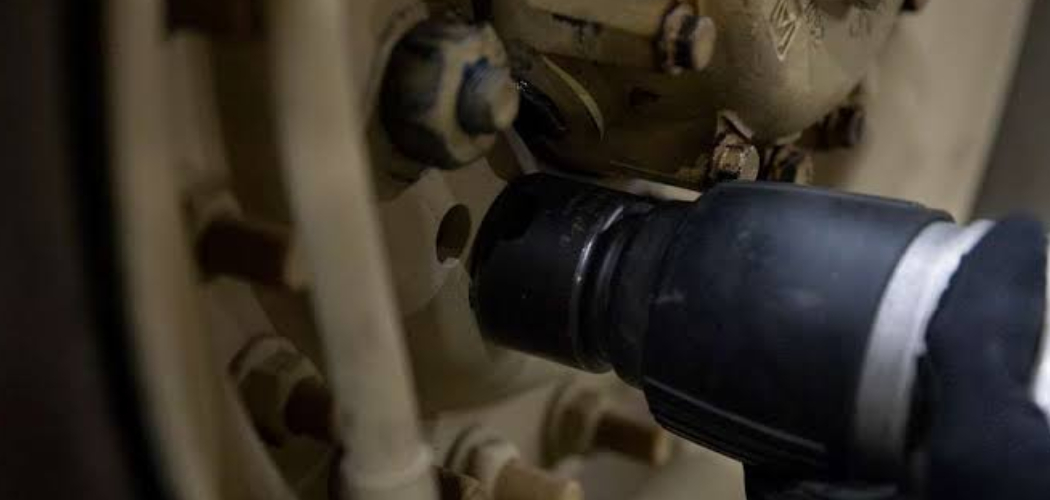
Picture yourself crouched next to a flat tire on the side of the road, straining against a lug nut that won’t budge. Your arms ache, and that manual wrench feels useless. This is exactly where a power tool earns its keep. Learning how to use impact wrench models turns stubborn bolts into a two-second job, whether you’re swapping tires, building a deck, or wrenching on an engine.
In this guide, you’ll learn what gear you need, how to set up the tool safely, and how to work through each fastener without stripping threads or over-tightening. We’ll cover socket choice, torque control, and a few tricks the pros keep to themselves. By the end, you’ll handle bolts and nuts with real confidence.
What You’ll Need
Before you get started, round up a few essentials. Having everything within reach keeps the job smooth and safe.
- An impact wrench (cordless or pneumatic)
- Impact-rated sockets that match your drive size (¼”, ⅜”, ½”, or ¾”)
- A charged battery, or an air compressor and hose for pneumatic models
- Safety glasses and work gloves
- A torque wrench for final tightening
- Penetrating oil for rusted or seized fasteners
- A clean rag and a small brush
- Your project’s spec sheet or manual for torque settings
Keep your sockets organized. A quick sort now saves you digging mid-job.
Step-by-Step Guide on How to Use Impact Wrench
Step 1: Pick the Right Impact Wrench for the Job
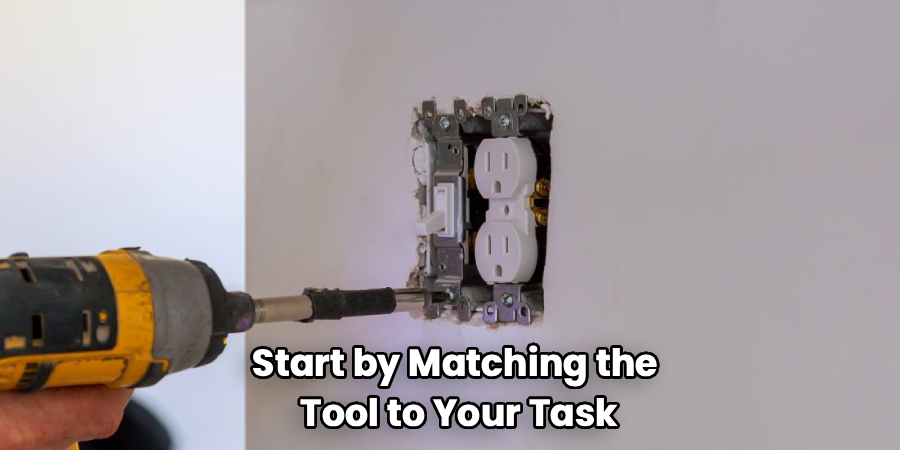
Start by matching the tool to your task. A cordless impact wrench gives you freedom to move without a hose, which is perfect for roadside tire changes or garage work. A pneumatic model runs off an air compressor and often delivers higher torque for heavy-duty shop jobs. Check the drive size too, since a ½” drive covers most automotive work while ¾” tackles larger equipment. Don’t confuse it with an impact driver, which handles screws and lighter fasteners. Choosing the correct tool up front prevents frustration later.
Step 2: Choose the Correct Socket
Never use regular hand sockets on this tool. Standard chrome sockets can shatter under the hammering force, sending sharp pieces flying. Instead, grab impact-rated sockets, usually marked in black and built from thicker, tougher steel. Match the socket size exactly to your bolt or nut, because a loose fit rounds off corners fast. Push the socket firmly onto the drive until the retaining pin or ring clicks into place. This small step protects both your hardware and your hands.
Step 3: Set Up Your Power Source
Get your power ready before you touch a single fastener. For a cordless model, snap in a fully charged battery and confirm the LED shows a full charge. For a pneumatic wrench, connect the air hose and set your compressor to the recommended PSI, often between 90 and 120. Too little air pressure means weak performance, while too much can damage the tool over time. Let the compressor build up before you begin. A steady power source keeps your torque consistent.
Step 4: Adjust the Torque Setting and Direction
Most modern wrenches let you dial in the power. Locate the torque setting selector, often a numbered switch or trigger with variable speed. Start on a lower setting for delicate work and bump it up for rusted or high-torque bolts. Next, check the forward and reverse switch, since running the wrong direction just tightens a stuck nut further. A quick trigger tap tells you the RPM and rotation before you commit. Getting this right saves you from stripped threads and stripped patience.
Step 5: Position the Tool Squarely on the Fastener
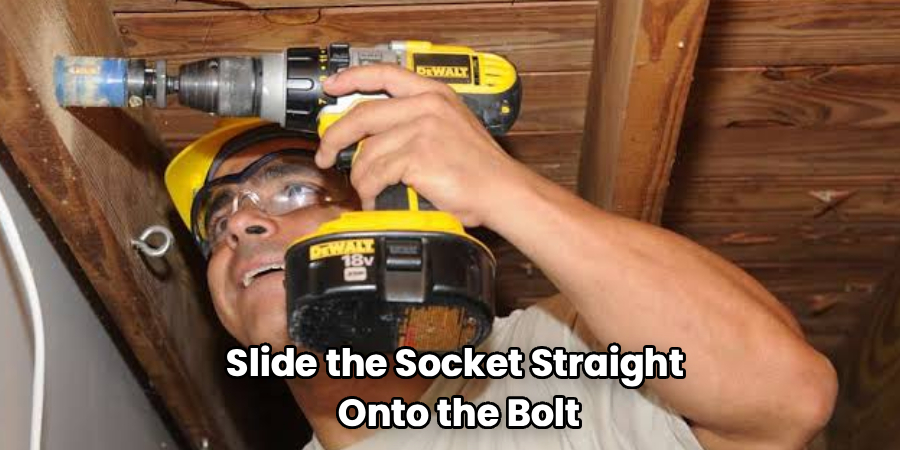
Alignment matters more than muscle here. Slide the socket straight onto the bolt or nut so the tool sits flush, not tilted. A crooked angle rounds off the fastener and can crack the socket. Hold the wrench firmly with both hands if it’s a powerful model, and brace yourself for the sudden torque kick. Keep your fingers clear of the socket and any pinch points. A square, steady grip gives you clean, controlled results every time.
Step 6: Loosen or Tighten in Short Bursts
Now for the satisfying part. Squeeze the trigger in short pulses rather than holding it wide open. These bursts let the internal hammer mechanism build torque and break the fastener free without wrenching your wrist. For rusted bolts, spray penetrating oil first and give it a few minutes to soak in. When tightening, stop as soon as the nut seats firmly, since over-tightening is easy with this much power. Short, controlled taps beat brute force nearly every time.
Step 7: Finish Tightening With a Torque Wrench
Here’s where many beginners slip up. An impact wrench is fantastic for speed, but it’s poor at hitting an exact torque number. Use it to run the fastener down most of the way, then switch to a manual torque wrench for the final pull. Set your torque wrench to the manufacturer’s spec and tighten until it clicks. This two-tool combo protects critical joints like wheel lug nuts and engine parts. Skipping this step risks warped rotors or loose hardware down the road.
Step 8: Clean Up and Store Properly
Good habits extend your tool’s life. Wipe down the wrench and sockets with a clean rag to remove grease and grit. Pop off the socket and store your impact-rated set in a labeled case so nothing walks off. For cordless models, recharge the battery so it’s ready next time, and never leave it fully drained for weeks. Coil your air hose neatly if you ran a pneumatic setup. A little care now means reliable performance later.
Tips for Best Results
Ready to level up? These insider tips go beyond the basics and separate rookies from regulars.
- Warm up seized bolts before blasting them. A quick shot of penetrating oil plus a few gentle taps loosens rust so your tool does less work. Patience here prevents rounded-off heads.
- Keep your battery or PSI at full strength. A cordless wrench loses punch as the charge drops, and low air pressure starves a pneumatic model. Consistent power means consistent torque.
- Match socket depth to the bolt. Deep sockets reach recessed nuts, while shallow ones give better control on flush fasteners. Using the right depth avoids wobble and slippage.
- Learn your tool’s torque limits. Knowing the max output helps you avoid snapping small bolts or stripping soft metals like aluminum. When in doubt, start low.
- Never rely on it for final torque. Even seasoned mechanics reach for a torque wrench to finish critical joints. It’s the difference between “tight” and “spec.”
Frequently Asked Questions
What Is the Difference Between an Impact Wrench and an Impact Driver?
An impact wrench delivers high rotational torque through a square drive, making it ideal for large bolts and lug nuts. An impact driver uses a hex collet and shines when driving screws or lighter fasteners. The wrench packs far more power, while the driver offers finesse for woodwork and assembly. Pick the wrench when you need muscle and the driver when you need precision.
Can I Use Regular Sockets With an Impact Wrench?
No, and this one matters for your safety. Standard chrome sockets aren’t built to handle the hammering force and can crack or shatter mid-use. Always choose impact-rated sockets, which use tougher steel and a black finish. They cost a little more, but they protect both your hardware and your hands from harm.
How Much PSI Do I Need for a Pneumatic Impact Wrench?
Most pneumatic wrenches run best between 90 and 120 PSI. Check your specific tool’s manual, since requirements vary by model and drive size. You’ll also want an air compressor that delivers enough CFM to keep up during continuous use. Too little pressure weakens performance, so let the tank build up before you start.
Is It Safe to Use an Impact Wrench on Lug Nuts?
Yes, and it’s one of the most popular uses. The tool loosens stubborn lug nuts fast and runs new ones down in seconds. Just remember to finish tightening with a torque wrench set to your vehicle’s spec. Over-tightening lug nuts can warp brake rotors and make future removal a nightmare.
Why Does My Impact Wrench Keep Stopping or Losing Power?
A few culprits usually explain this. For cordless models, a low or aging battery is the most common reason, so try a fresh charge or a newer pack. Pneumatic tools often stall from low air pressure or a compressor that can’t keep up. Check your connections, PSI, and RPM settings before assuming the tool is faulty.
Conclusion
Getting comfortable with this tool comes down to a few basics: the right impact-rated socket, a solid power source, controlled trigger bursts, and a torque wrench for the final pull. Once you know how to use impact wrench techniques the right way, stubborn bolts and lug nuts stop being a battle. Don’t stress if your first few jobs feel clunky—confidence builds fast with practice. If you haven’t found your ideal tool yet, check out our recommended picks above. Browse our other DIY guides to keep tackling projects like a pro.
