
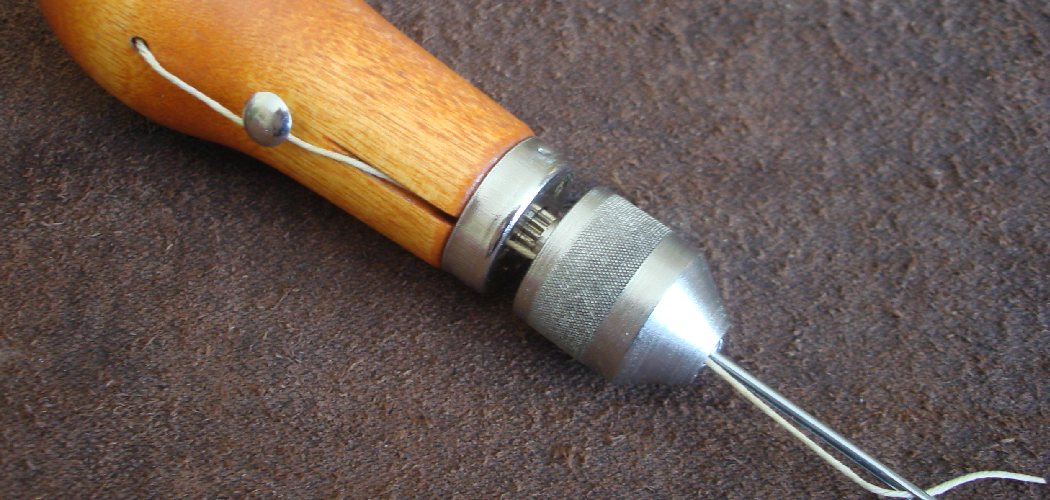
You’ve got a beautiful leather project underway—maybe a wallet, a belt, or a hand-stitched journal cover. Then you hit a wall. The needle won’t push through, the stitches look sloppy, and the holes are all over the place. Sound familiar? Learning how to use a leather awl fixes all of that. This humble little tool is the secret behind clean, even, professional-looking stitches.
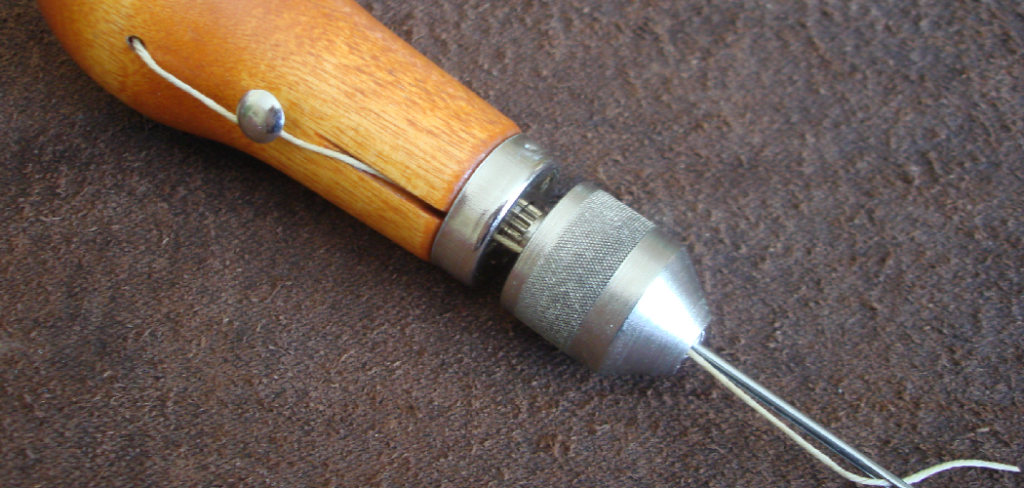
In this guide, you’ll learn exactly what a leather awl does and how to hold it, mark it, and punch clean holes every time. We’ll walk through setup, technique, and cleanup, plus a few insider tips that make a real difference. Whether you’re brand new to leatherwork or a weekend hobbyist wanting sharper results, you’ll finish this article ready to stitch with confidence.
What Is a Leather Awl?
A leather awl is a sharp, pointed hand tool used to pierce holes in leather before you stitch it. The most common type for stitching is the diamond awl, which has a diamond-shaped blade that creates angled slits rather than round holes. Those angled slits let your thread lie flat and tight, giving you that crisp saddle stitch look. Awls also come in scratch and stitching-groove varieties, but the diamond awl is the one you’ll reach for most often.
What You’ll Need
Gather these items before you start so you can work without interruptions. Most of them are affordable and easy to find.
- A diamond stitching awl with a sharp blade
- A cutting mat or self-healing surface
- A stitching pony or clamp to hold your work
- A wing divider or stitching groover for marking
- A ruler or measuring tape
- Waxed thread and two harness needles
- A poly or rubber mallet (optional, for thick leather)
- Beeswax or leather awl wax to lubricate the blade
- A pen or awl scratch tool for marking guidelines
- Scrap leather for practice
Step-by-Step Guide on How to Use a Leather Awl
Step 1: Set Up a Safe, Stable Workspace
Start by clearing a flat, sturdy surface with good lighting. Place a cutting mat down to protect your table and give the awl blade something to bite into. If you have a stitching pony, set it up now so your hands stay free to control the tool.
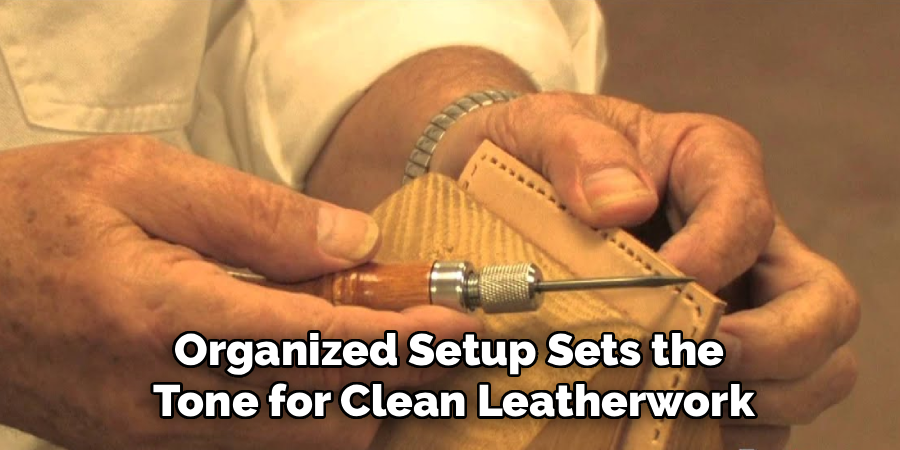
Keep your workspace tidy, since a stray blade or loose thread can trip you up mid-project. Good light matters more than you’d think—it helps you see your marks and keeps your holes accurate. A calm, organized setup sets the tone for clean leatherwork.
Step 2: Mark Your Stitching Line
Before any piercing, you need a guideline to follow. Use a wing divider or a stitching groover to score a straight line along the edge of your leather. This line keeps your holes evenly spaced from the edge, which is what makes hand stitching look sharp. A stitching groove also recesses your thread slightly, protecting it from wear. Run the tool slowly and steadily so the line stays consistent. Take your time here—a crooked guideline leads to crooked stitches every single time.
Step 3: Mark Your Hole Spacing
Now decide how far apart your stitches should sit. Use a stitching chisel, a pricking iron, or a wing divider to make evenly spaced marks along your groove line. Consistent spacing is the difference between a project that looks handmade and one that looks amateur. For most projects, a spacing of about six to eight stitches per inch works well. Press just hard enough to leave a visible dent, not a full hole. These little marks become your roadmap, so keep them tidy and even.
Step 4: Hold the Awl Correctly
Grip the awl handle firmly in your palm, letting the base rest against the meat of your hand. Your index finger and thumb should guide the blade, not force it. Position the diamond blade so its points align with your stitching line—this angle is key to a proper saddle stitch. Hold the tool perpendicular to the leather surface unless you’re intentionally angling your slits. A relaxed but controlled grip gives you both power and precision. Avoid a death grip, since tension makes your holes wander.
Step 5: Pierce Your First Hole
Line the blade up with your first mark and press straight down into the leather. Use steady, controlled pressure rather than a quick stab. The diamond blade should slice cleanly through, creating a neat angled slit. If your leather is thick, a gentle tap with a mallet can help the awl through. Once the tip pokes out the back, ease it out with the same angle you pushed it in. Check that back side—your exit points should be as tidy as your entry points.
Step 6: Keep Your Angle Consistent
Consistency is everything when you punch holes for stitching. Every slit should sit at the same angle, usually a slight diagonal that matches your stitching line. If one hole angles left and the next angles right, your finished stitches will look messy and uneven. Watch the diamond points as you work and keep them aligned with your guideline. It helps to pause every few holes and glance down the row to check your rhythm. A steady angle turns a row of holes into a beautiful, uniform seam.
Step 7: Work in Small Sections
Resist the urge to punch every hole at once before you stitch. Instead, pierce a few holes, stitch them, then pierce a few more. This approach keeps your holes fresh and prevents the leather from stretching or the marks from shifting. It also makes it easier to correct your spacing if something drifts off. Many beginners rush ahead and end up with holes that don’t match their thread path. Slow and sectioned wins every time in leather crafting.
Step 8: Lubricate the Blade as You Go
If the awl starts dragging or feels sticky, rub the blade across a block of beeswax. The wax lets the blade glide through tough leather with far less effort. This small habit protects your wrist and keeps your holes clean, especially on veg-tan or multiple stacked layers. Reapply whenever the resistance builds back up. A well-waxed blade also resists rust and stays sharp longer. It’s a tiny step that makes a big difference in comfort and control.
Step 9: Clean and Store Your Awl
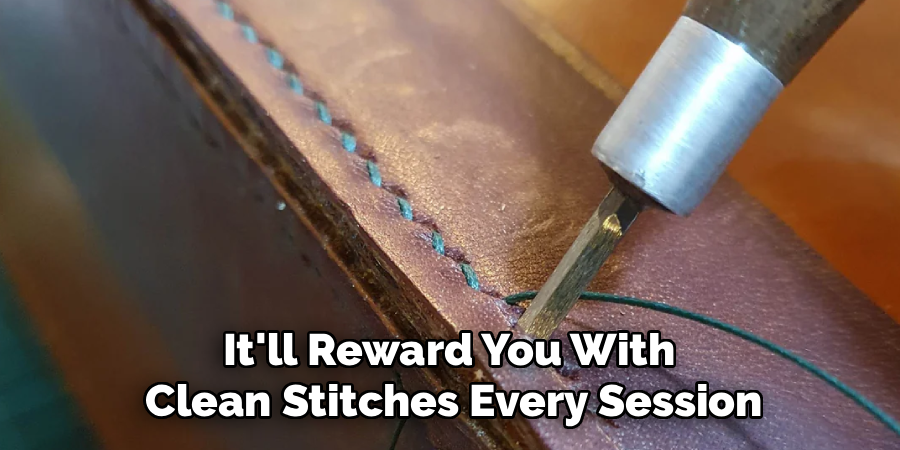
When you’re done, wipe the blade with a soft cloth to remove any leather dust or fibers. A quick pass over beeswax before storage helps prevent rust and keeps the edge protected. Store the awl with a cork or blade guard on the tip so it stays sharp and you stay safe. Keep it in a dry drawer or tool roll away from moisture. A cared-for awl performs better and lasts for years. Treat it well, and it’ll reward you with clean stitches every session.
Tips for Best Results
These small habits separate rough beginner work from polished, professional leatherwork.
- Keep the blade razor sharp. A dull awl tears leather instead of slicing it, leaving ragged holes. Strop the blade on a leather strap with a little polishing compound every few sessions to keep that clean edge.
- Practice on scrap first. Before touching your real project, punch a row of holes into scrap leather. This lets you dial in your angle, spacing, and pressure without ruining anything valuable.
- Match your awl to your thread. The slit should be just big enough for your needle and waxed thread to pass through snugly. Too big, and your saddle stitch looks loose; too small, and you’ll fight every pass.
- Angle your slits the same direction. For that classic hand-stitched look, keep every diamond slit tilted the same way. This tiny detail gives your finished seam a uniform, rope-like pattern.
- Don’t force thick leather. If a layer resists, tap the awl gently with a mallet rather than muscling it. Forcing the blade leads to slips, uneven holes, and sore hands.
Frequently Asked Questions
What Is the Difference Between a Diamond Awl and a Scratch Awl?
A diamond awl has a sharp, diamond-shaped blade designed to create angled slits for stitching. A scratch awl has a round, pointed tip meant for marking lines or making pilot holes, not for stitching. For hand-stitched projects, you’ll want the diamond awl because its slits let thread lie flat and tight. Keep both in your kit—each has its own job in leatherwork.
Do I Need to Sharpen a New Leather Awl?
Yes, most awls arrive with a rough or blunt factory edge that needs refining. A quick sharpening on fine sandpaper followed by stropping on a leather strap makes a huge difference. A properly sharpened blade glides through leather and leaves clean, precise holes. Test it on scrap first, and resharpen whenever you notice the awl starting to drag or tear.
Can I Use a Leather Awl on Thick Leather?
Absolutely, though thicker leather takes a bit more technique. Keep your blade sharp and lubricated with beeswax so it slides through with less effort. For very thick or stacked layers, tap the awl gently with a rubber mallet to help it through. Just keep your angle consistent and avoid forcing it, which can cause the blade to slip.
How Do I Keep My Holes Evenly Spaced?
The secret is marking before you punch. Use a wing divider, pricking iron, or stitching chisel to lay out even marks along your stitching groove. These marks act as a guide so every hole lands in the right spot. Work slowly, follow your marks, and check your row often to catch any drift early.
Is It Safe to Use a Leather Awl for Beginners?
It’s very safe as long as you respect the sharp blade. Always push the awl away from your fingers and body, and keep your free hand clear of the exit point. Use a stitching pony or clamp to hold your work so both hands stay in control. Store the awl with a tip guard, and you’ll craft safely for years.
Conclusion
Getting comfortable with an awl is one of the most rewarding steps in your leathercraft journey. Mark your line, space your holes, keep your angle steady, and stitch in small sections—that’s the whole rhythm. Once you understand how to use a leather awl, those clean, even stitches start coming naturally.
With a little practice on scrap, you’ll be turning out projects you’re genuinely proud of. If you haven’t picked up a quality awl yet, check out our recommended picks above. Ready to build your skills? Explore our other leatherwork guides on the site, and happy stitching.
