
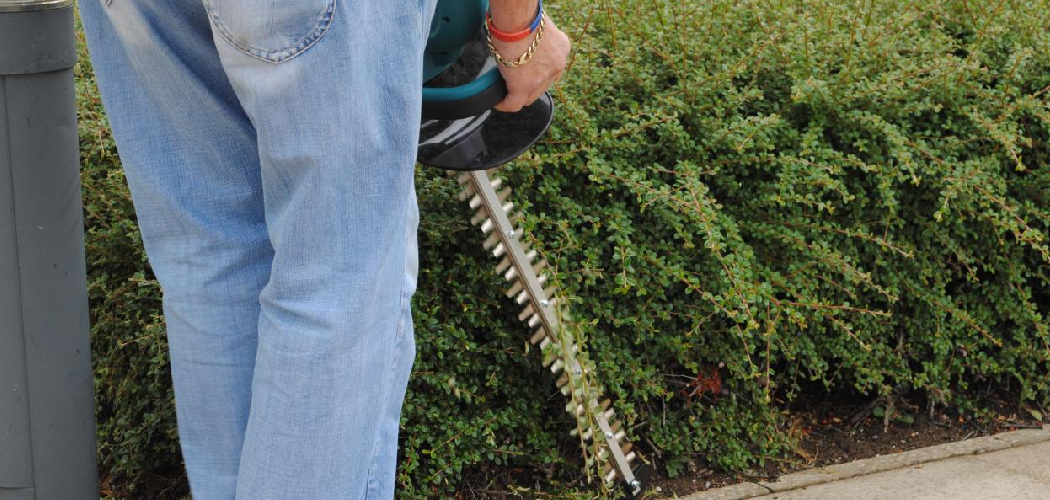
Your hedges have gotten a little wild, haven’t they? Maybe the boxwoods by the front door look shaggy, or that privacy row along the fence is starting to lean into your neighbor’s yard. Grabbing the pruning shears works, but it takes forever. Learning how to use a hedge trimmer changes everything, turning an all-afternoon chore into a quick, satisfying job.
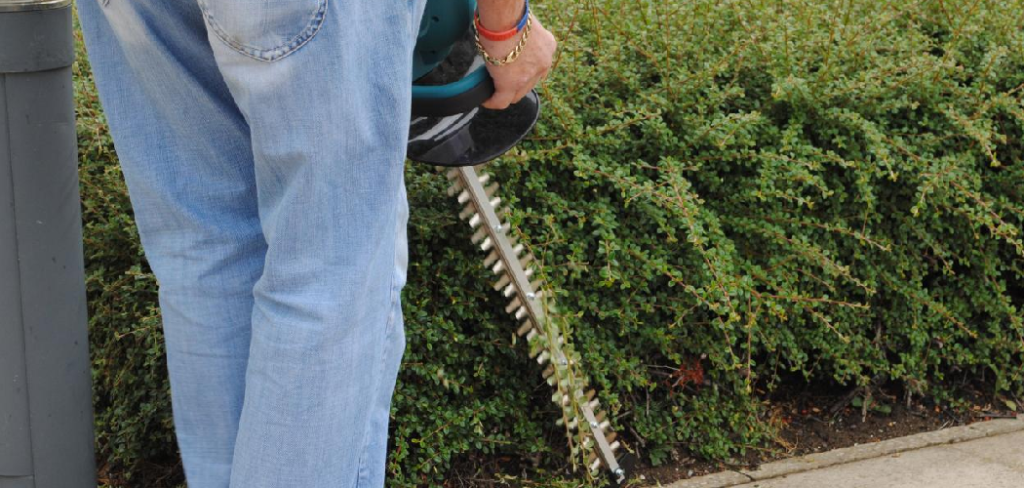
In this guide, you’ll learn how to gear up, handle the tool safely, and shape your shrubs like a pro. We’ll walk through everything from checking your equipment to cleaning up when you’re done. Whether you’re trimming for the first time or just want cleaner lines, these steps have you covered. By the end, you’ll trim with confidence and enjoy the results.
What You’ll Need
Round up these items before you start so you’re not running back to the shed halfway through. Most of it is simple, and you may already have it on hand.
- A hedge trimmer (electric, cordless, or gas)
- Safety glasses or goggles
- Work gloves with a good grip
- Ear protection (especially for gas models)
- Sturdy closed-toe shoes
- A garden hose or extension cord (for corded electric units)
- A stable step stool or ladder for tall hedges
- A tarp or old sheet to catch clippings
- Pruning shears for touch-ups
- A stiff brush and machine oil for cleanup
Step-by-Step Guide on How to Use a Hedge Trimmer
Step 1: Inspect Your Trimmer Before You Start
A quick check saves you headaches later. Look over the blades for rust, chips, or bent teeth, since dull or damaged blades tear branches instead of slicing them clean. Wipe off any old sap or debris stuck between the teeth.
If you’re using a gas model, check the fuel and oil levels, and for a cordless one, make sure the battery is fully charged. Test the trigger and safety lock to confirm they work smoothly. Catching a problem now beats stalling out mid-hedge.

Step 2: Gear Up for Safety
These blades move fast, so protect yourself before you flip the switch. Put on your safety glasses to keep flying bits out of your eyes, and slip on gloves for a secure grip. If you’re running a loud gas engine, add ear protection to save your hearing over long sessions.
Wear closed-toe shoes and long pants, since clippings can sting bare skin. Never trim in loose clothing that could catch in the blades. A minute of prep keeps you comfortable and injury-free.
Step 3: Clear the Area and Set Up
Take a walk around your hedge before you begin. Pull out any hidden obstacles like garden hoses, toys, or large sticks tangled in the branches. Lay a tarp along the base to catch clippings, which makes cleanup a breeze afterward.
Check for wires, especially if the shrub grows near a fence or utility line. If you’re using a corded trimmer, drape the cord over your shoulder so it stays behind you and away from the blades. A tidy setup keeps you focused and safe.
Step 4: Trim the Sides First
Start with the vertical faces of your hedge before touching the top. Hold the trimmer with both hands, keeping the blade flat against the side of the shrub. Work with a slow, sweeping motion from the bottom upward, letting the blade do the cutting instead of forcing it. Here’s a pro trick: angle the trimmer so the hedge is slightly wider at the base than the top. This shape lets sunlight reach the lower leaves, keeping the whole plant green and full.
Step 5: Shape the Top
Once the sides look clean, move on to the top. For short hedges, hold the trimmer flat and glide it across in smooth, level passes. To keep the top perfectly straight, run a string line between two stakes as a guide and trim just above it. On taller shrubs, use a stable step stool rather than stretching on your toes. Never reach above shoulder height with the tool, since you lose control fast. Take your time here, because the top is the part everyone notices.
Step 6: Make Broad, Steady Passes
Now that you know how to use a hedge trimmer on each surface, focus on your rhythm. Move the blade in wide, even sweeps rather than short, choppy jabs. Let the weight of the tool guide it, and keep a relaxed but firm grip to reduce arm fatigue. Overlap each pass slightly so you don’t leave stray sprigs sticking out. If you hit a thick branch the trimmer struggles with, stop and cut it with pruning shears instead. Smooth motions give you those crisp, professional lines.
Step 7: Step Back and Check Your Work
Don’t get so focused that you forget the big picture. Every few minutes, step back and look at the whole hedge from a distance. This helps you spot uneven spots, bulges, or dips you can’t see up close. Fixing small mistakes early is far easier than reshaping later. Walk around to different angles, since the sun can hide flaws depending on where you stand. A quick visual check keeps your hedge looking balanced and neat.
Step 8: Do the Finishing Touches
The trimmer handles the bulk of the work, but the details matter. Grab your pruning shears to clean up any awkward stragglers the blades missed. Snip back branches poking out of an otherwise smooth face for a polished finish. Look into corners and along the base where the trimmer can’t easily reach. If a section looks thin, resist the urge to over-cut, and let it fill in naturally. These little touches separate a decent trim from a great one.

Step 9: Clean and Store Your Trimmer
Good care keeps your tool running for years. Unplug the trimmer or remove the battery before you touch the blades. Brush off sap and debris, then wipe the blades with a rag and apply a light coat of machine oil to prevent rust. Coil the cord loosely or store the battery in a cool, dry spot away from extreme heat. Hang the trimmer on a hook so the blades stay off the ground. A clean tool starts easier and cuts better next time.
Tips for Best Results
These small habits separate a rough trim from a hedge you’ll be proud to show off.
- Trim when it’s dry. Wet leaves clump, clog the blades, and give you a ragged cut. Wait for a dry day, ideally when the sun isn’t blazing overhead, so you and the plant stay comfortable.
- Follow the growth season. Most shrubs respond best to a light trim in late spring and again in mid-summer. Avoid heavy cutting in fall, since fresh growth can get damaged by early frost.
- Keep blades sharp. Dull blades bruise stems instead of slicing them, which leaves brown edges. Sharpen or replace them once a season for clean, healthy cuts every time.
- Use the “wide base” rule. Always leave the bottom of the hedge a touch wider than the top. This simple shaping trick keeps the lower branches from thinning out and going bare.
- Work in good light. Trim in the morning or late afternoon when shadows reveal the hedge’s true shape. Harsh midday sun can hide bumps you’ll notice later.
Frequently Asked Questions
How Often Should I Trim My Hedges?
Most hedges do well with two trims a year, once in late spring and again in mid-summer. Fast-growing varieties may need a light touch-up every few weeks during peak season. Slower shrubs like boxwood can go longer between cuts. Watch your plants, and trim whenever the shape starts to look loose or uneven.
Is It Safe to Use a Hedge Trimmer on Wet Branches?
It’s best to avoid trimming wet hedges for a couple of reasons. Damp leaves clump together and clog the blades, giving you a messy, uneven cut. More importantly, wet ground and electric trimmers are a dangerous mix, raising your risk of shock. Wait for a dry day, and you’ll get cleaner results and stay much safer.
Can I Cut Thick Branches With a Hedge Trimmer?
A hedge trimmer is built for soft, leafy growth, not chunky woody stems. Most models handle branches up to about three-quarters of an inch thick. Anything larger can jam the blades, strain the motor, or kick back at you. For thicker limbs, switch to loppers or pruning shears to protect both the tool and yourself.
What’s the Difference Between Corded, Cordless, and Gas Trimmers?
Corded electric models are lightweight and steady but keep you tethered to an outlet. Cordless battery trimmers give you freedom to roam, though runtime depends on the charge. Gas trimmers pack the most power for big, tough jobs, but they’re heavier and louder. Pick the one that matches your yard size and how far you need to reach.
How Do I Get Perfectly Straight Lines?
The secret is a simple string guide. Drive a stake into each end of the hedge and run a taut string at your target height. Trim just above the line for a level top, and use the string on the sides for straight faces too. Step back often to check, and you’ll get crisp lines every time.
Why Are My Hedges Turning Brown After Trimming?
Brown edges usually point to dull blades that crush stems instead of cutting them cleanly. Sharpen or replace your blades, and the problem often clears up. Trimming during a heat wave or cutting too deep into old wood can also stress the plant. Give it water and time, and healthy shrubs will bounce back.
Conclusion
Shaping your shrubs is honestly one of the most satisfying yard jobs out there. Inspect your tool, gear up, trim the sides before the top, and always step back to check your progress. Once you get the hang of how to use a hedge trimmer, those tidy, even lines come naturally. With a little practice, you’ll trim faster and cleaner every season. If you haven’t picked up the right tool yet, check out our recommended picks above. Ready for more? Explore our other tool guides on the site, and happy trimming.
