

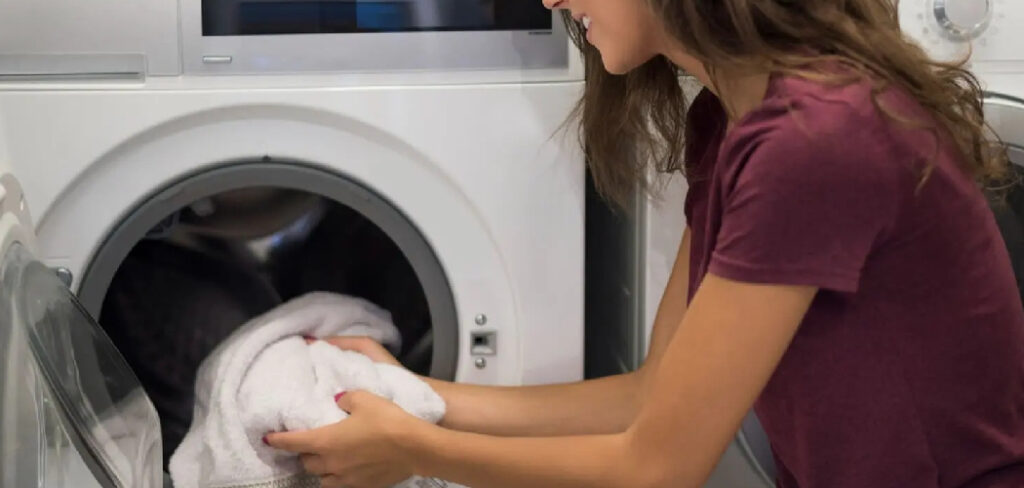
Ever pulled a load of laundry from the machine only to find chalky white streaks across your dark shirts? Or maybe your clothes come out smelling less than fresh, no matter how much detergent you scoop in. These little frustrations are more common than you think, and they usually trace back to how you handle your detergent. Liquid washing powder promises easy dissolving and better cleaning, but only if you use it right.
In this guide, you’ll learn exactly How to Use Liquid Washing Powder, pour, and pair it with your wash cycle for spotless results. We’ll walk through every step, share a few insider tricks, and answer the questions people ask most. By the end, you’ll load your machine with total confidence.
What You’ll Need
Before you start, gather these basics. Having everything ready keeps the process quick and mess-free.
- A bottle of liquid washing powder
- The measuring cap or dosing cup (usually included with the bottle)
- Your washing machine (front-loader, top-loader, or high-efficiency)
- A sorted pile of laundry, split by color and fabric type
- Access to your water source and temperature settings
- A clean, dry cloth for wiping spills
- A stain remover or pre-treatment product for tough spots
- Your machine’s manual for detergent placement (optional but handy)
Keep the cap clean between washes. Dried residue can throw off your measurements next time.
Step-by-Step Guide on How to Use Liquid Washing Powder
Step 1: Sort Your Laundry First

Start by separating your clothes before you even touch the detergent. Split whites from colors, and set delicate fabrics apart from heavy items like towels or jeans. This prevents dye transfer and helps each load get the treatment it needs. Sorting also lets you match water temperature to fabric type, which affects how well the detergent works. Skipping this step is the top reason colors fade or bleed. A few extra minutes here saves you from ruined favorites later.
Step 2: Check the Care Labels
Take a quick look at the tags inside your garments. These labels tell you the safe water temperature, whether an item needs cold washing, and if it’s machine-friendly at all. Detergent behaves differently in hot versus cold water, so this info matters. Warm water helps liquids dissolve and lift grease, while cold water protects bright colors and stretchy fabrics. Ignoring labels can shrink wool or set stains permanently. When in doubt, go cooler and gentler.
Step 3: Measure the Correct Dose
Grab the cap and measure carefully rather than guessing. Most bottles include fill lines for small, medium, and large loads. Pour to the line that matches your laundry amount and your water hardness. Using too much creates that chalky residue and can leave clothes stiff, while too little leaves dirt behind. Hard water often needs a slightly larger dose to cut through minerals. Accurate measuring is the single biggest factor in clean, soft results.
Step 4: Pretreat Stubborn Stains
Tackle spots and marks before the wash begins. Dab a little detergent directly onto grease, food, or grass stains and gently rub it in with your fingers. Let it sit for five to ten minutes so the cleaning agents can break down the mess. For really tough spots, pair it with a dedicated stain remover. Avoid scrubbing too hard on delicate fabrics, as that can damage the weave. This simple pre-treatment step makes a huge difference on high-traffic clothing.
Step 5: Add the Detergent to the Right Spot
Placement depends on your machine type, so this matters more than people realize. For a top-loader, pour the measured dose directly into the drum before adding clothes, or into the dispenser if yours has one. For a front-loader or high-efficiency model, use the designated detergent drawer marked with a symbol. Putting liquid in the wrong compartment can cause it to drain out early or leave suds behind. Check your manual once, and you’ll never second-guess it again.
Step 6: Load Your Clothes Loosely
Add your sorted laundry, but resist the urge to cram it in. Clothes need room to tumble and move so water and detergent circulate freely. An overstuffed drum means uneven cleaning and trapped residue on your fabrics. As a rule, leave a hand’s width of space at the top of the drum. Balance heavy and light items too, which stops the machine from shaking during the spin cycle. A properly loaded machine cleans better and lasts longer.
Step 7: Select the Right Wash Cycle and Temperature
Match your cycle settings to the load you’ve built. Use a gentle cycle for delicates, a normal cycle for everyday cotton, and a heavy-duty option for towels or work clothes. Set the temperature based on those care labels you checked earlier. Warmer water boosts cleaning power on greasy or heavily soiled items, while cold protects colors and saves energy. Picking the wrong cycle can leave clothes dingy or worn. When you’re unsure, the normal cycle handles most everyday washing well.
Step 8: Start the Machine and Verify the Flow

Press start and listen for water filling the drum. In the first minute, glance at the dispenser to confirm the detergent draws in properly and doesn’t just pool. If you notice liquid sitting in the drawer, your water pressure may be low or the drawer needs a rinse. A quick check now beats discovering unwashed clothes at the end. Once you see everything moving smoothly, you can walk away with peace of mind. This habit catches small problems before they become big ones.
Step 9: Remove and Dry Promptly
When the cycle ends, unload your clothes right away. Wet laundry left sitting develops that musty, sour smell within hours. Shake out each item before hanging or tossing it in the dryer to reduce wrinkles. Check a few pieces for lingering stains, and rewash anything that didn’t come fully clean. Prompt drying keeps fabrics fresh and prevents mildew in both your clothes and your machine. This final step locks in all your hard work.
Tips for Best Results
Want to take your laundry from good to great? These insider habits go beyond the basics.
- Match your dose to water hardness. If you have hard water, bump up the amount slightly to fight mineral buildup that leaves clothes dull. Soft water needs less, so you’ll save product and avoid residue.
- Run a monthly machine clean. Leftover detergent and grime collect inside the drum over time. A hot empty cycle, or a dedicated cleaner, keeps your machine fresh and your clothes smelling clean.
- Store the bottle upright and sealed. A tightly capped bottle prevents the formula from thickening or drying out. Keep it away from extreme heat or cold, which can change how well it dissolves.
- Pre-dilute for extra-gentle loads. For delicates or hand washing, mix a small dose into water first before adding clothes. This spreads the cleaning power evenly and avoids concentrated spots on fine fabric.
- Don’t overdose thinking more is better. Extra detergent doesn’t mean cleaner clothes. It usually means sticky residue, stiff fabric, and wasted money.
Frequently Asked Questions
What Is the Difference Between Liquid and Powder Detergent?
Liquid detergent dissolves instantly and works especially well in cold water, making it a strong choice for grease and oily stains. Powder detergent tends to cost less and shines on outdoor dirt and mud. The liquid form also pours easily and doubles as a spot pretreatment. Your choice often comes down to your water temperature and the kind of stains you face most.
How Much Liquid Washing Powder Should I Use per Load?
Follow the fill lines on the measuring cap as your starting point, matching the line to your load size. A standard medium load usually needs one capful, but heavily soiled items may call for a bit more. Hard water areas often require a slightly larger dose to work effectively. When in doubt, use less rather than more to avoid residue.
Can I Use It in a High-Efficiency Washing Machine?
Yes, but check that your detergent is labeled HE-compatible, shown by a small “he” symbol on the bottle. High-efficiency machines use less water, so they need a low-sudsing formula to rinse clean. Pour the measured dose into the detergent drawer rather than straight into the drum. Using a non-HE formula can create excess suds and leave film on your clothes.
Is It Safe to Pour Detergent Directly Onto Clothes?
You can, but only as a pretreatment for stains, not as your main method. Dabbing a little onto a grease spot before washing helps lift it during the cycle. Pouring a full dose directly onto a pile of clothes in the drum can leave concentrated residue on the fabric touching it. For general washing, the dispenser or an even spread across the drum works best.
Why Are My Clothes Coming Out With White Residue?
That chalky film usually means you’re using too much detergent or your machine isn’t rinsing fully. Try cutting back your dose and running an extra rinse cycle. Overloading the drum can also trap product against your clothes. Hard water plays a role too, so adjusting your amount and adding a rinse often clears it up fast.
Conclusion
Getting great laundry results really comes down to a few simple habits: sort carefully, measure the right dose, place your detergent correctly, and dry promptly. Once you know how to use liquid washing powder the smart way, streaky shirts and musty smells become a thing of the past. Don’t worry if it takes a load or two to dial in your routine—you’ll get the hang of it quickly. If you haven’t stocked up yet, check out our recommended picks above. Browse our other home-care guides to keep every chore running smoothly.
