
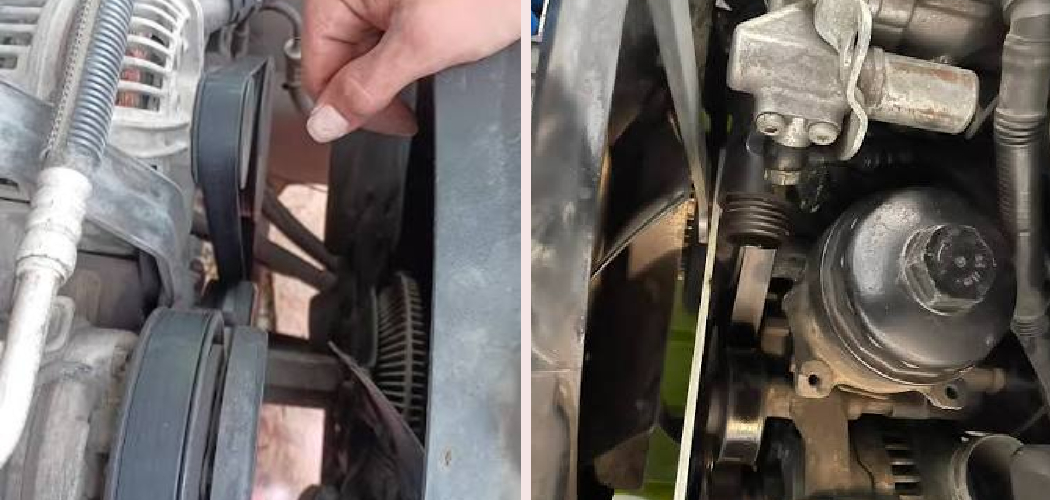
Your engine runs hot, the fan sounds like a wind tunnel, and you’ve traced the problem to a failing fan clutch. Then you hit a wall: every video shows a special fan clutch wrench you don’t own. Sound familiar? The good news is you don’t have to buy one. Learning how to remove a fan clutch without the tool is completely doable with gear you likely already have in your garage.
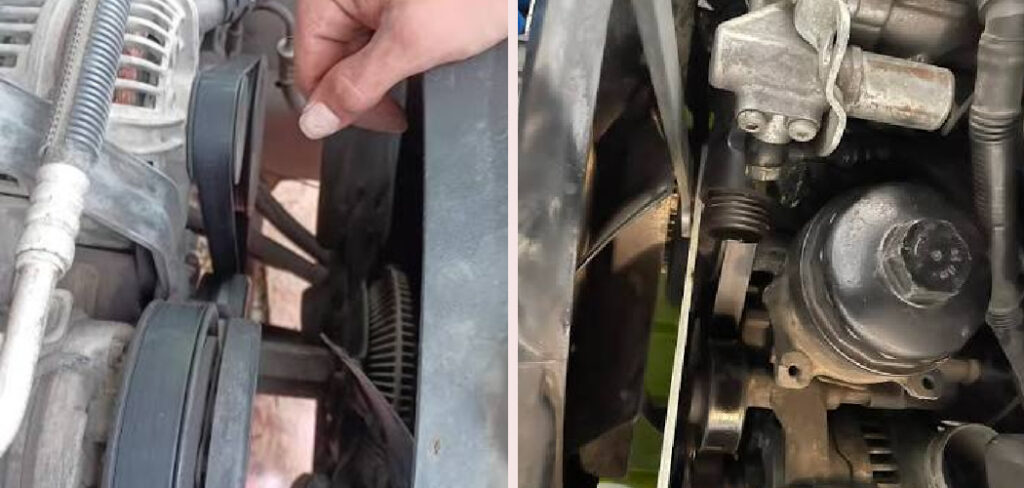
In this guide, you’ll learn what a fan clutch actually does, what to gather before you start, and the exact steps to break it loose safely. We’ll cover the tricky bits, common mistakes, and a few pro tricks along the way. Roll up your sleeves and let’s get that stubborn clutch off.
What Is a Fan Clutch?
A fan clutch is a temperature-controlled coupling that sits between your engine’s water pump and the cooling fan. It uses a special silicone fluid and a bimetallic spring to engage the fan when the engine gets hot and disengage it when things cool down. This clever design saves fuel and reduces noise by only spinning the fan hard when your engine truly needs airflow. When it fails, you’ll notice overheating, a constant roar, or a fan that spins freely by hand even when hot.
What You’ll Need
Gather these before you crawl under the hood:
- A large adjustable wrench or a set of open-end wrenches (36mm is common)
- A flathead screwdriver or a long pry bar
- A rubber mallet or a regular hammer with a block of wood
- Penetrating oil (like PB Blaster or WD-40)
- Work gloves
- Safety glasses
- A drip pan (in case of coolant spills)
- A flashlight or work light
- A rag or two for cleanup
- Optional: a serpentine belt tool if the fan blocks your access
Having everything within reach saves you from crawling in and out mid-job. Trust me, that gets old fast.
Step-by-Step Guide on How to Remove a Fan Clutch Without the Tool
Step 1: Let the Engine Cool Completely
Never touch cooling components on a hot engine. The fan clutch and surrounding parts hold serious heat, and coolant under pressure can cause nasty burns. Park the vehicle, pop the hood, and give it at least an hour to cool down. Touch the radiator hose gently to confirm it’s no longer hot. This patience protects your skin and lets you work without rushing. A cool engine also makes the metal less likely to expand and bind up.
Step 2: Gain Access to the Fan and Shroud
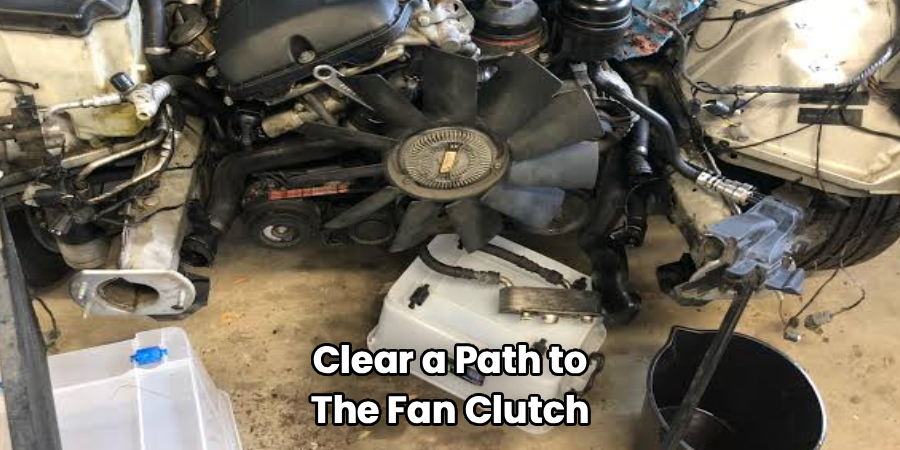
Clear a path to the fan clutch so you have room to swing a wrench. On many vehicles, you’ll need to remove the fan shroud first, which usually clips or bolts to the radiator. Set those clips and bolts in a labeled cup so nothing goes missing. You may also need to loosen the serpentine belt to keep the pulley from spinning while you work. Take a quick photo before disassembly so reassembly is stress-free later. Good access is half the battle here.
Step 3: Identify the Nut and Its Thread Direction
Look closely at where the fan clutch threads onto the water pump shaft. Most fan clutches use a large central nut, and here’s the catch: many have reverse (left-hand) threads. That means you loosen by turning clockwise, not the usual counterclockwise. Check your vehicle’s specs or look for an arrow stamped on the clutch. Getting the direction wrong is the number one mistake people make, and it only tightens the nut further. Confirm before you apply any real force.
Step 4: Soak the Nut With Penetrating Oil
Corrosion is your biggest enemy on an old fan clutch. Spray penetrating oil generously around the nut and where it meets the water pump shaft. Give it a solid 15 to 20 minutes to seep into the threads and break up rust. If the clutch has been on for years, a second application won’t hurt. This simple wait dramatically reduces the force you’ll need later. Skipping it often leads to rounded nuts and a much harder job.
Step 5: Lock the Pulley in Place
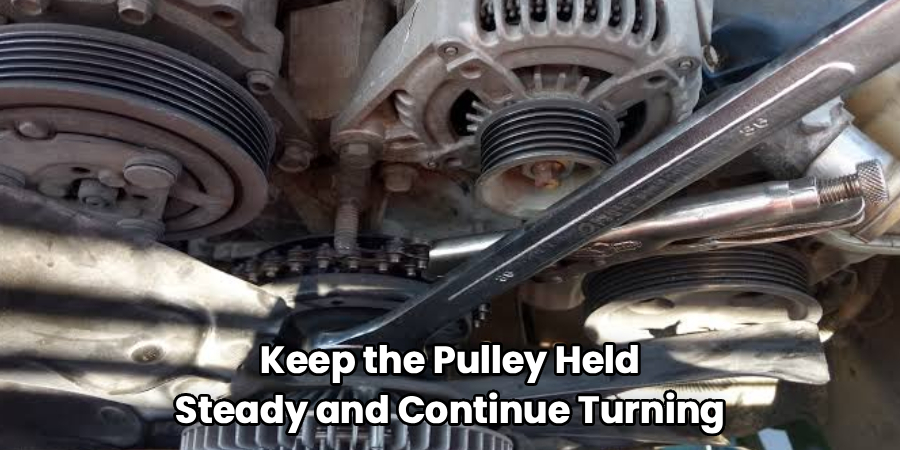
The pulley wants to spin the moment you push on the nut, so you need to hold it steady. Wedge a flathead screwdriver or pry bar between two of the water pump pulley bolts to stop rotation. If your belt is still on and snug, it may hold the pulley for you. For extra grip, have a helper hold the fan blades still while you work the wrench. Keep your fingers clear of the blade edges. A locked pulley lets all your effort go into loosening the nut.
Step 6: Break the Nut Loose With Your Wrench
Fit your large adjustable wrench snugly onto the nut, making sure it grips flat and won’t slip. Remembering the thread direction, apply steady, firm pressure. If it won’t budge, place the wrench and give the end a few sharp taps with your rubber mallet. Those quick shocks often crack the corrosion better than slow force. Avoid yanking wildly, since a slipped wrench can bruise knuckles or round the nut. Once it breaks free, the rest turns easily by hand.
Step 7: Unthread and Remove the Fan Clutch
With the nut loose, keep the pulley held steady and continue turning until the clutch spins off the shaft. Support the weight of the fan and clutch as it comes free, because it’s heavier than it looks. Guide it out carefully so the blades don’t scratch the radiator fins. If the fan and clutch are bolted together as one unit, you can lift them out together and separate them on the bench. Set the assembly aside on a flat surface. You’ve done the hard part.
Step 8: Inspect and Clean the Mounting Surface
Before installing a new unit, take a moment to check the water pump shaft and threads. Wipe away old grease, rust, and grime with a clean rag. Look for damage to the threads that might cause the new clutch to seat poorly. A quick cleanup ensures the replacement threads on smoothly and seals properly. This step also helps you spot any water pump issues you might want to address now. Clean threads make the next removal far easier too.
Step 9: Reinstall and Reassemble Everything
Thread the new fan clutch on by hand first to avoid cross-threading, then tighten it in the correct direction. Snug it firmly, but don’t overtighten, since these nuts don’t need brute force to stay put. Reinstall the fan shroud, reconnect the serpentine belt, and double-check every clip and bolt from your photo. Give the fan a gentle spin to confirm nothing rubs the shroud. Start the engine and watch for smooth operation and steady temperatures. Congratulations, the job is finished.
Tips for Best Results
- Warm the nut slightly if it’s truly stuck. A quick pass with a heat gun (never an open flame near fuel or plastic) expands the metal and helps stubborn corrosion release. Just let it cool enough to handle before you grip it.
- Use a longer wrench for more leverage. If your standard wrench isn’t cutting it, slip a length of pipe over the handle to extend it. That extra reach multiplies your force without any extra muscle.
- Mark the thread direction with a paint pen. Once you confirm which way loosens, dab a small arrow on the housing. It saves confusion halfway through and prevents accidentally tightening it further.
- Replace the clutch as a pair with a tired water pump. If your pump is aging, doing both at once saves you from tearing everything apart again in a few months. It’s a smart time-saver while you’re already in there.
- Keep a magnet handy for dropped hardware. Bolts love to disappear into the engine bay. A telescoping magnet pulls them out before they become a headache.
Frequently Asked Questions
Can I Really Remove a Fan Clutch Without the Special Tool?
Absolutely. While the dedicated fan clutch wrench makes the job neater, a large adjustable wrench and a way to hold the pulley steady get the job done just fine. Thousands of home mechanics do this every weekend with basic gear. The key is patience, penetrating oil, and knowing your thread direction before you start.
Which Way Does the Fan Clutch Nut Turn to Loosen?
This depends on your specific vehicle, so always verify first. Many fan clutches use reverse (left-hand) threads, meaning you turn clockwise to loosen them. Check for an arrow stamped on the clutch or look up your model’s specs. Turning the wrong way is the most common mistake and only makes things tighter.
Is It Safe to Do This Job Myself at Home?
Yes, as long as you take a few precautions. Let the engine cool fully, wear safety glasses and gloves, and keep your fingers away from the fan blades. Work on level ground with good lighting and give yourself plenty of room. If a step feels beyond your comfort level, there’s no shame in calling a pro.
What If the Nut Is Rusted Solid and Won’t Budge?
Start with a generous soak of penetrating oil and let it sit for 20 minutes or longer. If it still resists, tap the wrench with a mallet to shock the corrosion loose, or apply gentle heat to expand the metal. A pipe over your wrench handle adds leverage for extra grip. Take your time rather than forcing it and rounding the nut.
How Do I Know If My Fan Clutch Is Actually Bad?
Watch for a few telltale signs. A constant loud roaring from the engine bay, overheating in traffic, or a fan that spins too freely by hand all point to a failing clutch. You might also spot silicone fluid leaking from the unit. If you notice any of these, it’s time for a replacement.
Conclusion
Tackling this repair yourself feels great, and now you know how to remove a fan clutch without the tool using gear from your own garage. Remember the essentials: let the engine cool, confirm your thread direction, soak that nut, and hold the pulley steady. Take it slow and you’ll have the old clutch off in no time. If you still need a solid wrench or penetrating oil, check out our recommended picks above to gear up. Ready for your next project? Browse our other DIY auto guides on the site for more hands-on tips and step-by-step walkthroughs.
