
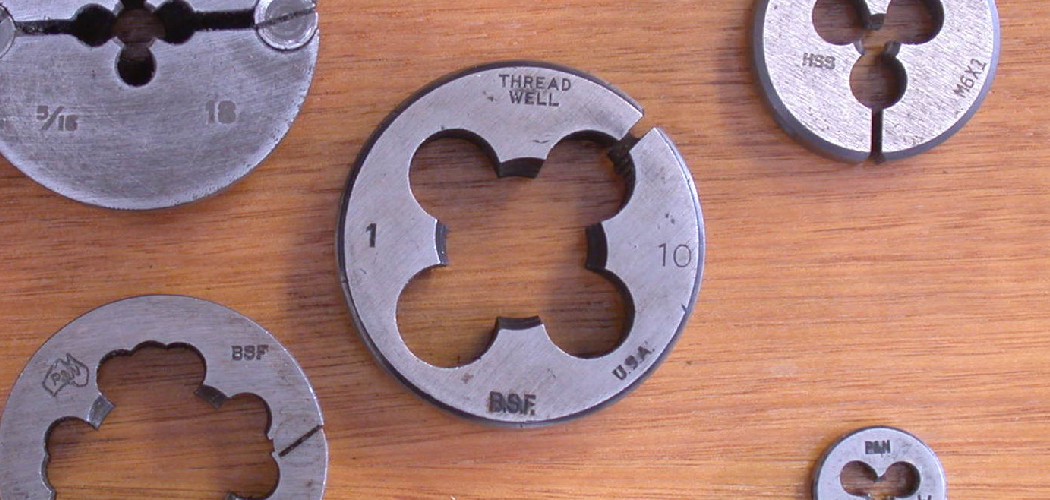
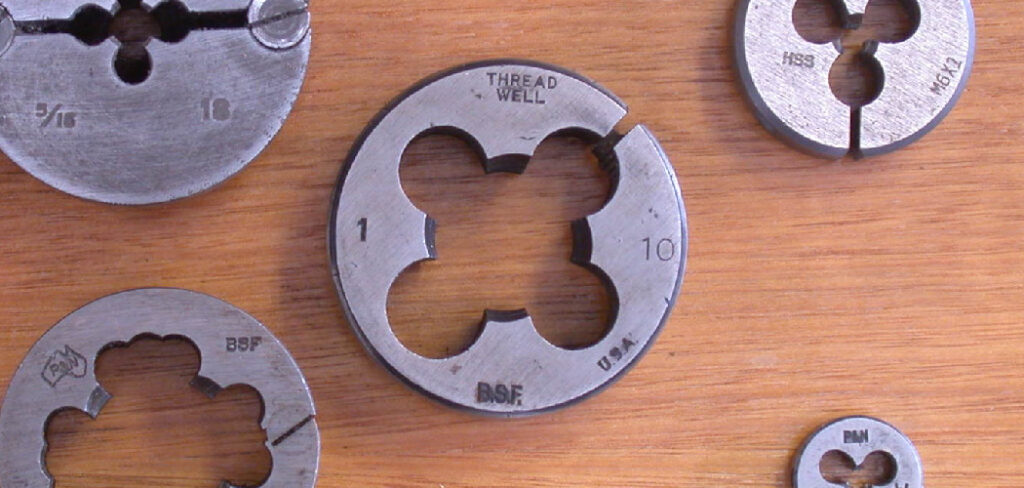
You go to bolt something back together, and the nut just won’t spin on. The threads look fine at a glance, but they’re gummed up with rust, paint, or a little damage from the last time. That’s the moment a thread chaser saves your day. Instead of tossing out a perfectly good bolt or fighting with a cross-threaded fastener, you clean those threads back to smooth, working shape.
In this guide, you’ll learn exactly How to Use a Thread Chaser and how to use it without wrecking your parts. We’ll cover the supplies you need, a clear step-by-step process, and a few pro tips. Whether you’re a weekend hobbyist or fixing up your first project car, you’ll walk away confident. Let’s get those threads running clean again.
What Is a Thread Chaser?
A thread chaser is a hand tool designed to clean and restore existing threads on bolts, studs, or inside holes. Unlike a tap and die set, which cuts brand-new threads, this tool follows the path that’s already there. It clears out rust, grime, and minor damage without removing much metal. Think of it as a comb for threads, straightening things out rather than starting over.
What You’ll Need
Gather these items before you start, so nothing slows you down mid-job.
- A thread chaser set (external dies and internal restorers)
- A thread pitch gauge to identify the correct size
- Penetrating oil or cutting fluid
- A wire brush for loose debris
- Clean rags or shop towels
- Safety glasses and work gloves
- A vise or clamp to hold the workpiece
- A tap wrench or ratchet handle (depending on your set)
- Compressed air or a small brush for clearing chips (optional)
Step-by-Step Guide on How to Use a Thread Chaser
Take these steps in order, and you’ll restore threads cleanly every time. Go slow on your first few attempts, since patience matters more than speed here.
Step 1: Identify the Thread Size and Pitch
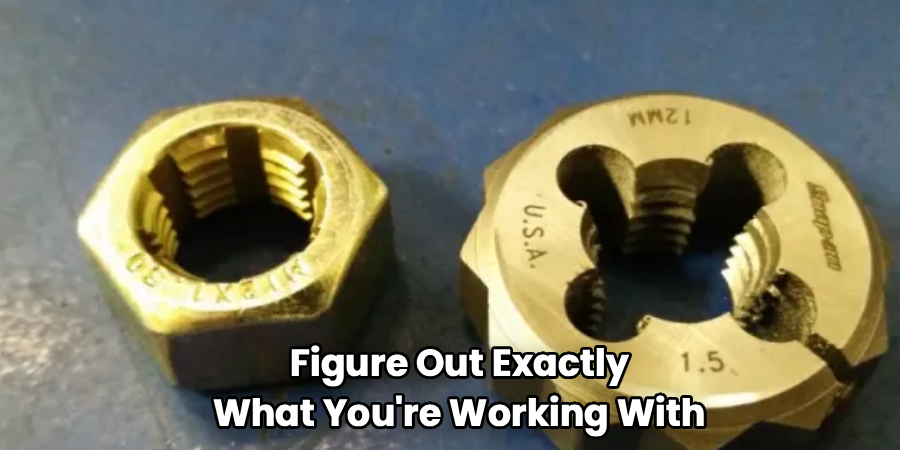
Before anything else, figure out exactly what you’re working with. Use a thread pitch gauge to match the ridges on your bolt or hole. Getting this right is critical, because the wrong size can cut fresh threads instead of cleaning the old ones. Check whether your fastener is metric or standard (SAE), since mixing them up ruins parts fast. Write the size down if you’re doing several. A one-minute check now saves you an expensive mistake later.
Step 2: Clean Off Loose Debris First
Give the threads a rough cleaning before the tool touches them. Wipe away grease, dirt, and flaking rust with a rag and a wire brush. If corrosion is heavy, spray on penetrating oil and let it soak for a few minutes. This step keeps big chunks of grime from clogging the tool right away. Clearing loose material also lets you see the actual condition of the threads. You’ll spot serious damage that might need more than a quick chase.
Step 3: Secure Your Workpiece
Clamp the part firmly in a vise or hold it steady with a solid grip. A moving workpiece makes it far too easy to start the tool at an angle. If you’re chasing threads inside a hole on an engine block or frame, make sure you have clear access. Protect delicate surfaces with soft vise jaws or a rag. The more stable your part, the straighter your tool runs. Stability equals control, and control keeps your threads true.
Step 4: Apply Lubricant Generously
Never run a thread chaser dry. Coat the threads and the tool itself with cutting fluid or penetrating oil. The lubricant reduces friction, carries away debris, and keeps heat from building up. Dry chasing can gall the metal, which means the surfaces grab and tear each other. Reapply oil as you work, especially on longer bolts or deep holes. A well-oiled job feels smooth, and smooth is exactly what you want here.
Step 5: Start the Tool Squarely by Hand
Line the tool up perfectly straight with the threads and begin turning by hand. For external threads, slip the die over the bolt end. For internal threads, insert the restorer into the hole. Turn slowly and feel for the moment the tool catches the existing grooves. If it feels like it’s fighting or cutting new metal, stop and reset your angle. Starting square is the single most important habit for good results.
Step 6: Turn Forward, Then Back to Clear Chips
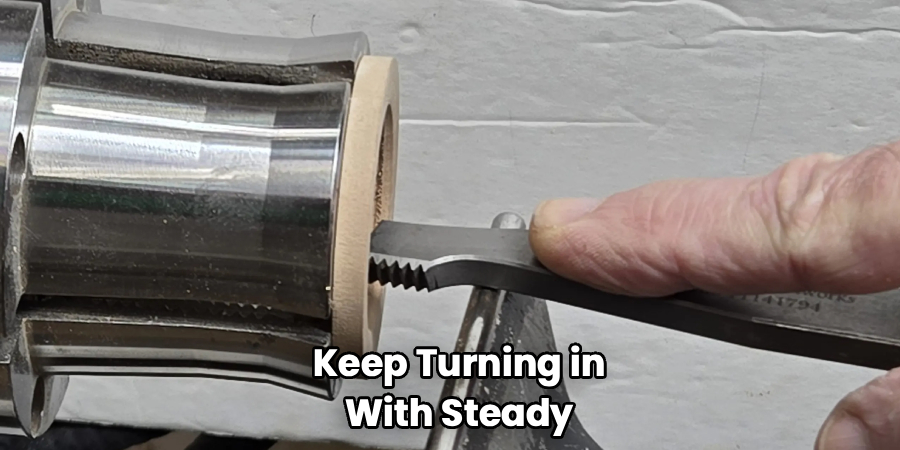
Once the tool bites, keep turning in with steady, even pressure. After every half or full turn, back it off a quarter turn to break and clear the chips. This forward-and-back rhythm stops debris from packing up and jamming the tool. You’ll feel the resistance ease as the threads clean up. Don’t force it; let the tool do the work at its own pace. Rushing here is how people snap tools or damage bolt threads.
Step 7: Work Through the Full Length
Continue chasing until you’ve covered the entire threaded section. On a long stud or deep hole, this may take several passes and a few reloads of oil. Pause now and then to clear built-up chips with compressed air or a brush. Feel for any spots that still catch, since those are the damaged areas needing extra attention. Ease off as you reach the end so you don’t run the tool off the threads suddenly. Consistency across the whole length gives you a fastener that spins freely.
Step 8: Back the Tool Out and Inspect
Reverse the tool smoothly to remove it once the threads run clean. Wipe everything down and take a close look at your work. The threads should look uniform, bright, and free of burrs or gunk. Test-fit a matching nut or bolt to confirm it threads on with light finger pressure. If it still binds, run another light pass with fresh oil. A clean test-fit is your green light that the job is done.
Step 9: Clean and Store Your Tools
Finish by caring for your gear so it lasts. Wipe the tool free of oil, metal chips, and grit before it goes away. A light coat of oil on the tool prevents rust during storage. Keep the pieces in their case so nothing gets lost or knocked out of size. Store everything somewhere dry, away from humidity and corrosion. Well-kept tools stay sharp and accurate for years of thread repair.
Tips for Best Results
These pointers come from folks who restore threads all the time.
- Chase, don’t cut. If you feel the tool removing lots of metal or shaving curls, stop. A true thread restorer should only clean, not carve. Heavy cutting usually means you grabbed the wrong size or started crooked.
- Double-check metric versus standard. So many ruined bolts come from a close-but-wrong match. When in doubt, test the gauge on an undamaged section of the same fastener first.
- Keep the oil flowing. More lubricant almost always means better results. It flushes chips, cools the metal, and leaves you with a cleaner finish on every pass.
- Know when a bolt is beyond saving. If threads are stripped flat or badly cross-threaded, chasing won’t fix them. Replace the fastener rather than trusting a repair that could fail under load.
- Blow out blind holes often. Debris collects at the bottom of a closed hole and packs hard. Clearing it with compressed air prevents jams and gives you accurate depth.
Frequently Asked Questions
What Is the Difference Between a Thread Chaser and a Tap and Die?
A tap and die set cuts brand-new threads into raw metal. A thread chaser only cleans and restores threads that already exist. Because the chaser removes very little material, it’s much gentler on your parts. Reach for a tap or die when you need fresh threads, and grab the chaser when you’re rescuing damaged ones.
Can I Use It on Rusty or Corroded Bolts?
Yes, and that’s one of its best jobs. Soak the threads in penetrating oil first to loosen the rust and grime. Wire-brush away the loose flakes, then chase the threads slowly with plenty of lubricant. Just remember that heavy corrosion may have eaten away the metal, so inspect closely and replace anything too far gone.
How Do I Know Which Size to Choose?
Use a thread pitch gauge to match the ridges on your fastener exactly. Identify whether the thread is metric or standard first, since that changes everything. Test the gauge on an undamaged section for the truest reading. Picking the correct size protects your threads and keeps the tool from cutting where it shouldn’t.
Is It Safe to Use on Aluminum or Soft Metals?
It can be, as long as you go slow and use plenty of oil. Soft metals like aluminum gall easily, meaning the surfaces grab and tear. Light pressure and steady lubrication keep things smooth. Back the tool out often to clear chips, because packed debris does the most damage in softer materials.
Do I Really Need Cutting Fluid?
For the cleanest results, yes. Cutting fluid or penetrating oil reduces friction, clears chips, and prevents heat damage. Running the tool dry risks galling the metal and dulling your tool faster. Even a light machine oil beats nothing, so keep some within reach for every job.
Can a Thread Chaser Fix Stripped Threads?
Not always. If the threads are simply dirty, rusted, or slightly deformed, chasing brings them back beautifully. But if they’re stripped flat or the metal is torn away, there’s nothing left to clean. In those cases, you’ll need a thread insert repair or a new part instead.
Conclusion
Stuck, gummed-up threads don’t have to send a good bolt to the scrap bin. With a little care, a thread chaser turns a frustrating fastener into one that spins on smoothly again. Just remember the essentials: match the size, keep it well-oiled, start square, and let the tool do the work. Nail those habits, and thread repair becomes one of the easiest wins in your shop.
If you haven’t picked one up yet, check out our recommended picks above to find the right set. Ready to sharpen your skills? Browse our other DIY tool guides and tackle your next project with confidence.
