
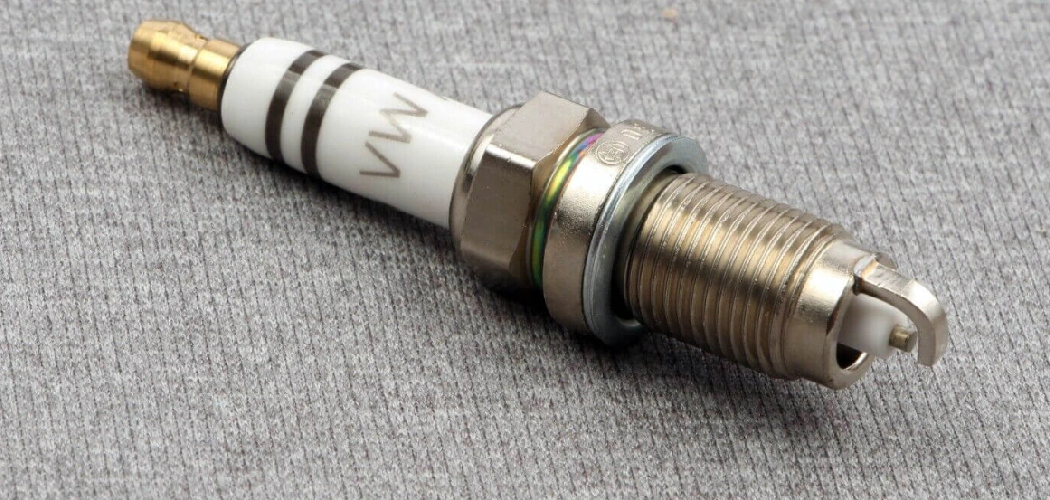
Your engine sputters at a red light, or maybe fuel economy has slipped for no clear reason. Nine times out of ten, the culprit hides in a tiny gap you can barely see. That’s where a spark plug gapping tool comes in. This little gadget lets you set the exact distance between your spark plug’s electrodes, which keeps your ignition firing clean and strong.
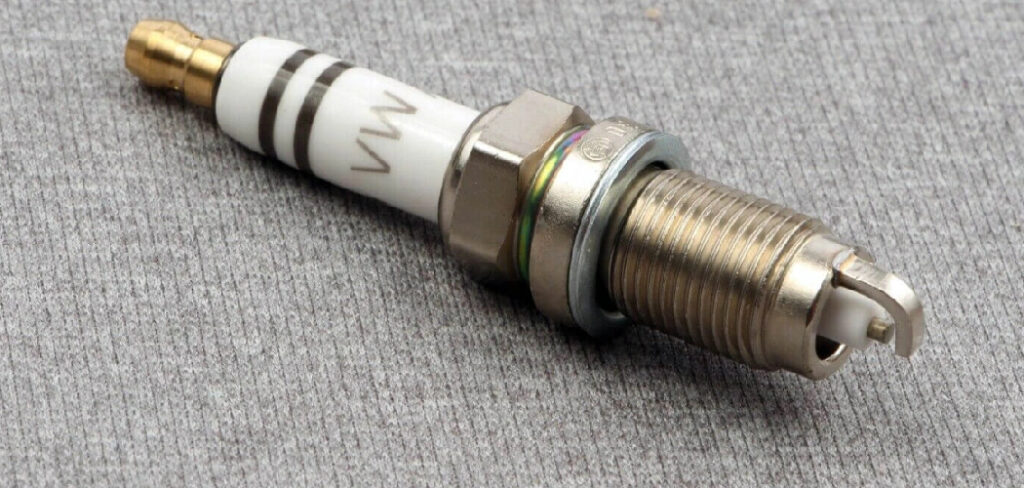
In this guide, you’ll learn what this handy tool does, what supplies to grab, and how to use a spark plug gapping tool step by step. We’ll cover expert tips and answer the questions most DIYers ask. By the end, you’ll be able to check and adjust your plugs like you’ve done it a hundred times. Let’s dig in and get that engine running smoothly again.
What Is a Spark Plug Gapping Tool?
A spark plug gapping tool is a small device made to measure and adjust the gap between the center and ground electrodes on a spark plug. That gap controls how the spark jumps, which directly affects combustion. Most versions look like a coin with graduated edges or a set of thin wire feeler gauges. Some also include a small notch or ramp to gently bend the ground electrode when the gap size is off.
What You’ll Need
Grab everything before you start so you don’t stop mid-job:
- A spark plug gapping tool (coin-style or feeler gauge type)
- New or cleaned spark plugs
- Your vehicle’s OEM spec for the correct gap size
- A clean rag or shop towel
- A well-lit workspace
- A soft mat or towel to rest plugs on
- Anti-seize (optional, check your plug maker’s guidance)
- A steady hand and a few spare minutes
That’s it. No power tools or fancy gear needed here.
Step-by-Step Guide on How to Use a Spark Plug Gapping Tool
Step 1: Find Your Correct Gap Specification
Before you touch a single plug, learn the exact gap your engine needs. Check your owner’s manual, the underhood sticker, or a trusted repair database. Gap sizes are usually listed in inches or millimeters, like 0.044 inches or 1.1 mm. Setting the wrong gap size can cause an engine misfire, rough idling, or poor fuel economy. Write the number down so you don’t second-guess yourself later. This one detail makes or breaks the whole job.
Step 2: Set Up a Clean Workspace
Find a flat, well-lit area where you can lay out your plugs and tools. Spread a soft towel so plugs don’t roll off or get dinged. Good lighting matters here because the electrodes and the gap are tiny. Any dust or grit that lands on a plug can cause problems once it’s installed. Keep your rag nearby to wipe your hands and the plugs as you work. A tidy setup saves you frustration and protects delicate parts.
Step 3: Inspect Each Spark Plug
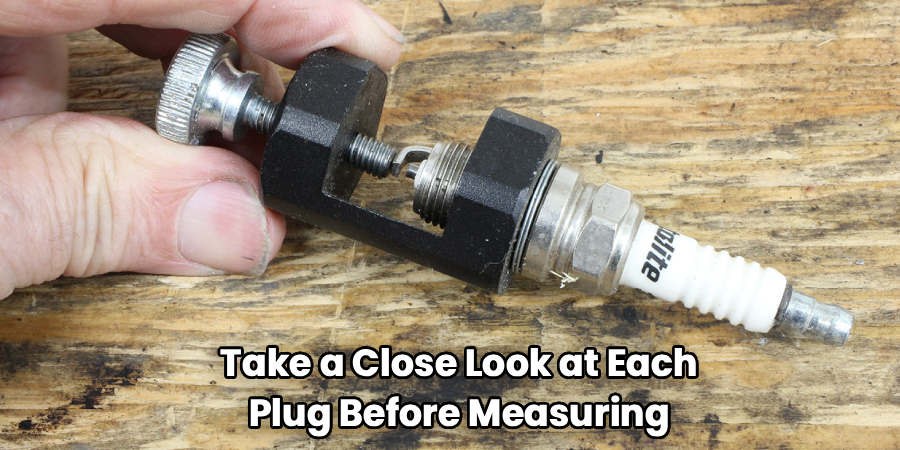
Take a close look at each plug before measuring. Check the center electrode and the ground electrode for cracks, chips, or heavy buildup. If a plug looks damaged or badly worn, replace it rather than trying to save it. On new plugs, make sure the ceramic and threads are clean and intact. A quick inspection now stops you from installing a faulty plug that could hurt your ignition. This habit becomes second nature once you’ve done a few.
Step 4: Measure the Existing Gap
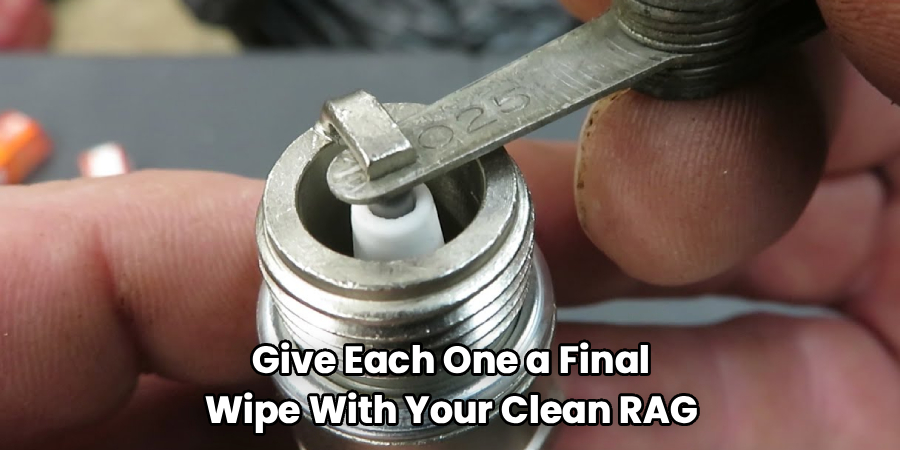
Slide the correct wire or edge of your tool between the two electrodes. If you’re using a wire feeler gauge, pick the wire that matches your OEM spec. The right-size gauge should slip through with a slight drag, not too loose and not too tight. If it won’t fit or slides through with no resistance, the gap size needs adjusting. Take your time and measure each plug individually, since they can vary. This reading tells you exactly what to fix next.
Step 5: Adjust the Gap if It’s Too Wide
When the gap runs too wide, you need to close it slightly. Use the notch or ramp on your spark plug gapping tool to gently press the ground electrode inward. Move in tiny increments and recheck often, because a little pressure goes a long way. Never force it or push hard, since you can snap the electrode clean off. Work slowly and let the tool do the shaping. Patience here beats a broken plug every time.
Step 6: Adjust the Gap if It’s Too Narrow
If the gap is too tight, you’ll need to open it up a touch. Hook the tool under the ground electrode and lift with light, steady pressure. Bend it just a hair, then measure again with your feeler gauge. Small moves prevent overshooting the target gap size. Avoid prying against the center electrode, as that can crack the porcelain and ruin the plug. Keep nudging until the gauge slides with that perfect slight drag.
Step 7: Recheck the Gap After Adjusting
Once you think you’ve nailed it, measure one more time to confirm. The correct gauge should pass through with gentle resistance, just like before. Double-checking catches mistakes before the plug goes into your engine. It only takes a second and can save you from an annoying engine misfire down the road. If the reading is still off, make another tiny adjustment and test again. Consistency across all plugs keeps your ignition running evenly.
Step 8: Wipe Down and Prepare for Installation
After every plug is gapped and verified, give each one a final wipe with your clean rag. Remove any fingerprints, oil, or debris from the threads and electrodes. If your plug maker recommends anti-seize, apply a thin film to the threads now, but don’t overdo it. Handle each plug by the ceramic to avoid smudging the tip. Line them up in order so you install them without mixing anything up. Now they’re ready to go back into the engine.
Tips for Best Results
- Buy plugs that are pre-gapped, but always check anyway. Many new plugs come set close to spec, yet handling and shipping can shift the gap. A quick measurement takes seconds and prevents a rough-running engine.
- Use a wire-style gauge for smaller gaps. Coin-style tools can be less accurate on fine gaps common in modern engines. A wire feeler gauge gives you a more precise reading where it counts.
- Never adjust platinum or iridium plugs by pressing the center electrode. These fine-wire tips are fragile and expensive. Bend only the ground electrode, and do it gently to protect the coating.
- Gap plugs one at a time and install right away. This keeps you from confusing which plugs you’ve finished. It also lowers the chance of dropping a gapped plug and knocking it out of spec.
- Keep your spec sheet visible the whole time. It’s easy to misremember a number mid-job. Having it in plain sight keeps every plug consistent and accurate.
Frequently Asked Questions
What Happens if the Spark Plug Gap Is Wrong?
An incorrect gap throws off how the spark ignites your fuel mixture. Too wide, and the spark may struggle to jump, causing an engine misfire and hard starts. Too narrow, and the spark can be weak, leading to poor performance and fouling. Setting the gap to your OEM spec keeps combustion clean and your engine happy.
How Do I Know Which Gap Size My Engine Needs?
Your vehicle’s owner’s manual and the underhood emissions sticker both list the correct gap. You can also look it up in a trusted repair guide or database using your make, model, and year. Always trust the manufacturer’s number over generic advice. Writing it down before you start keeps every plug consistent.
Can I Reuse Old Spark Plugs After Gapping Them?
You can regap lightly used plugs if the electrodes are still in good shape and free of heavy wear. Inspect each one for cracks, corrosion, or a rounded electrode first. If a plug looks worn out, replace it instead of fighting to restore it. Fresh plugs almost always give you smoother ignition and better fuel economy.
Is It Safe to Use a Coin-Style Tool on Iridium Plugs?
Coin-style tools can nick the delicate fine-wire tips found on iridium and platinum plugs. For these premium plugs, a wire feeler gauge is the safer choice for measuring. When adjusting, bend only the ground electrode and never press against the center tip. Treating them gently protects the special coating and keeps them performing well.
How Often Should I Check My Spark Plug Gap?
It’s smart to check the gap any time you install new plugs, even pre-gapped ones. Beyond that, inspect your plugs during routine tune-ups or if you notice rough idling or lost power. Following your service schedule keeps small issues from turning into an engine misfire. A quick check now and then goes a long way.
Do New Spark Plugs Come Pre-Gapped?
Many new plugs arrive set close to a common spec, but that doesn’t guarantee it matches your engine. Shipping and handling can also shift the gap slightly. Always measure each plug with your spark plug gapping tool before installing. That one habit saves you from a surprise misfire later.
Conclusion
Setting your spark plug gap doesn’t take special training or a shop full of gear. With a spark plug gapping tool and a few careful minutes, you can dial in each plug to your engine’s exact spec. Just remember the routine: look up your gap size, measure, adjust gently, and recheck before installing. That simple habit keeps your ignition strong and your engine running smoothly. If you haven’t picked up a quality tool yet, check out our recommended picks above. Ready for your next project? Explore our other DIY maintenance guides on the site.
