
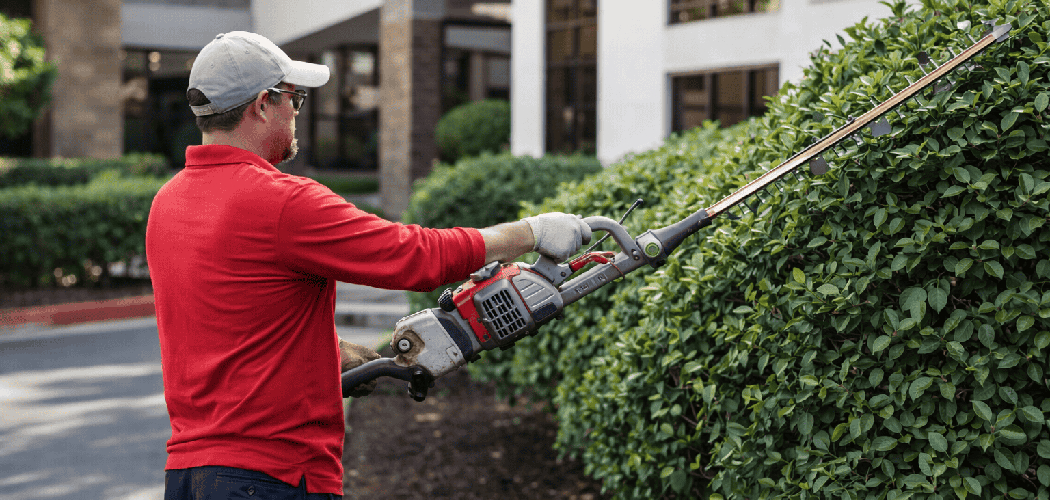
You finish shaping the hedges, step back to admire your work, and notice the blades are caked with sticky green gunk. Next time you fire up the trimmer, it drags, jams, and leaves ragged cuts instead of clean lines. Sound familiar? Knowing how to clean a hedge trimmer is the simplest way to keep it cutting like new and lasting for years.
Sap, dirt, and moisture are the silent killers of any good trimmer. Left alone, they lead to sticky blades, rust, and a motor that works twice as hard. The good news? A proper cleaning takes less than 30 minutes and only needs a few basic supplies.
In this guide, you’ll learn each step from start to finish. We’ll cover sap removal, blade cleaning, lubricating blades, and smart rust prevention along the way.
What You’ll Need
Gather these supplies before you start. Having everything within reach makes the job faster and safer.
- Work gloves — thick ones to protect against sharp blades
- Safety glasses — for stray debris and cleaning spray
- Stiff brush or old toothbrush — to scrub off dried grime
- Putty knife or plastic scraper — for stubborn sap and buildup
- Clean rags or shop towels — plenty of them
- Resin or sap remover — a citrus-based cleaner works great
- Warm soapy water — mild dish soap in a bucket
- Rubbing alcohol or mineral spirits — for tougher residue
- Machine oil or blade lubricant — for smooth cutting and protection
- Rust remover or fine steel wool — only if rust has started
- Compressed air (optional) — to blast debris from tight spots
Set up in a well-lit spot with good airflow. A workbench or sturdy table beats crouching on the ground.
9 Step-by-Step Guide on How to Clean a Hedge Trimmer
Follow these steps in order. Skipping ahead can leave grime behind or, worse, put your fingers near the blades before it’s safe.
Step 1: Power Down and Disconnect the Trimmer
Safety comes first, always. For electric models, unplug the trimmer from the outlet or remove the battery completely. For gas models, disconnect the spark plug wire so the engine can’t fire accidentally.
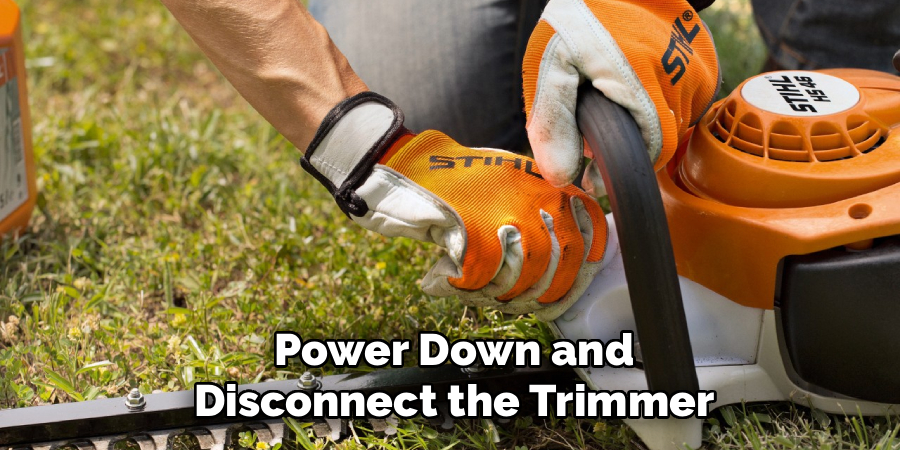
Never trust a power switch alone. A single bump can start the blades spinning while your hands are near them. Once it’s fully disconnected, give the machine a moment to cool if you’ve just been using it. This one step prevents the most serious injuries.
Step 2: Put On Your Safety Gear
Slip on your gloves and safety glasses before touching the blades. Hedge trimmer teeth stay sharp even when the tool is off, and a small slip can cause a nasty cut. Thick gloves give you a confident grip and protect your fingers.
Safety glasses matter too, especially once you start scraping and spraying. Bits of dried sap and cleaner can flick up toward your face. Take these precautions seriously, even for a quick clean. Working carefully keeps this a chore, not a trip to the first-aid kit.
Step 3: Brush Off Loose Debris
Start with the easy stuff. Use a stiff brush or an old toothbrush to knock away loose leaves, grass clippings, and dried dirt clinging to the blades. Work along the teeth, brushing in the direction of the blade edges.
Pay attention to the gaps between the teeth, where debris loves to hide. If you have compressed air, a quick blast clears out packed material fast. Getting rid of loose grime first makes the deeper blade cleaning much easier. Don’t rush this part, since leftover debris traps moisture and invites rust.
Step 4: Tackle the Sap and Sticky Buildup
Now for the toughest layer. Spray a resin or sap remover directly onto the blades and let it sit for a minute or two. This softens the sticky residue so it lifts off without heavy scrubbing. A citrus-based cleaner cuts through sap beautifully and smells far better than harsh solvents.
Use a plastic scraper or putty knife to gently peel away the softened gunk. Work carefully so you don’t nick the metal or dull the edges. For stubborn spots, dab a rag with rubbing alcohol and rub until the sap lets go. Thorough sap removal keeps your blades gliding smoothly through branches.
Step 5: Wash the Blades With Soapy Water
Once the sap is gone, wipe the blades down with a rag dipped in warm, soapy water. Mild dish soap works perfectly and won’t harm the metal. This washes away leftover cleaner, fine dirt, and any greasy film.
Avoid soaking the whole tool or letting water run into the motor housing. Water and electronics are a bad mix, and trapped moisture leads straight to rust. Focus the washing on the blade surface only. A damp rag gives you plenty of control without flooding anything.
Step 6: Dry Everything Completely
Grab a fresh, dry rag and wipe every inch of the blades until no moisture remains. This step is easy to skip, but it’s one of the most important for rust prevention. Even a thin film of water can start corrosion within hours.
Get into the gaps between the teeth, where water tends to linger. If you can, let the trimmer air-dry in a sunny spot for a few minutes too. Dry metal is happy metal. Never store or oil the blades while they’re still wet.
Step 7: Inspect and Treat Any Rust
With the blades clean and dry, take a close look at the metal. Small rust spots show up as reddish-brown patches, usually along the edges or in the gaps. Catching them early makes them easy to fix.
Rub the affected area with fine steel wool or a bit of rust remover until the metal looks clean again. Work gently to protect the cutting edge. This is also a great time to check for dull or bent teeth that might need sharpening. Regular tool maintenance like this saves you money on repairs down the line.
Step 8: Lubricate the Blades
A clean trimmer still needs oil to run its best. Apply a light coat of machine oil or a dedicated blade lubricant along both sides of the blades. Wipe it evenly so every tooth gets a thin, protective layer.

Lubricating blades reduces friction, keeps cuts smooth, and forms a barrier against moisture. It’s your best defense for long-term rust prevention. Work the blades open and closed a few times by hand to spread the oil into the joints. A well-oiled blade cuts cleaner and puts less strain on the motor.
Step 9: Reassemble and Store Properly
Once everything is clean, dry, and oiled, reconnect the spark plug wire or reinsert the battery. Give the trimmer a quick test run to make sure the blades move freely and sound smooth. Listen for any grinding, which could mean debris is still hiding somewhere.
Store the trimmer in a dry spot away from humidity, ideally with a blade cover on. Hanging it up keeps the blades off damp floors. Proper storage is the final piece of good tool maintenance. Do this every time, and your trimmer will reward you season after season.
Tips for Best Results
These extra pointers go beyond the basics and can make a real difference in how your trimmer performs.
- Clean after every use, not just at season’s end. Wiping the blades down while sap is still fresh takes two minutes and prevents hard, baked-on buildup that’s tough to remove later.
- Use a citrus-based cleaner instead of harsh chemicals. It cuts through sap just as well, protects the blade coating, and won’t damage plastic housings or leave a strong chemical smell behind.
- Keep a “trimmer rag” pre-soaked in oil. Store an oily rag in a sealed container and give the blades a quick swipe after each job. It combines cleaning and lubrication into one easy habit.
- Sharpen while you clean. Once the blades are grime-free, you can actually see the cutting edges. A quick pass with a flat file keeps them slicing instead of tearing branches.
- Check the screws and joints. Cleaning is the perfect time to tighten loose bolts and add a drop of oil to pivot points, keeping the whole tool running quietly and smoothly.
FAQ Section
How Often Should I Clean My Hedge Trimmer?
Ideally, wipe the blades down after every use to remove fresh sap before it hardens. A deeper clean with sap remover and lubrication is smart once a month during heavy trimming season. At minimum, do a full cleaning before storing the tool for winter. Regular attention keeps the blades sharp and the motor healthy.
Can I Use WD-40 to Clean the Blades?
WD-40 works well for loosening sticky sap and displacing moisture, so it’s fine for the cleaning step. That said, it’s a light solvent, not a long-term lubricant. After cleaning, apply a proper machine oil or blade lubricant for lasting protection. Think of WD-40 as a helper, not a replacement for real blade oil.
What’s the Best Way to Remove Dried Sap From the Blades?
Spray the blades with a resin or citrus-based sap remover and let it soak for a minute to soften the buildup. Then gently scrape it away with a plastic putty knife, working along the teeth. For any leftover residue, rub with a rag dampened in rubbing alcohol. Patience here protects the blade edges from nicks.
Is It Safe to Clean the Blades Without Removing the Battery?
No, always disconnect the power first. Remove the battery on electric models or pull the spark plug wire on gas models before touching the blades. Even a switched-off trimmer can start unexpectedly if a button gets bumped. This simple habit is the single best way to avoid a serious cut.
How Do I Prevent Rust on My Hedge Trimmer Blades?
Rust prevention comes down to two things: drying and oiling. Always dry the blades completely after washing, especially in the gaps between teeth. Then apply a thin coat of machine oil to seal out moisture. Store the trimmer in a dry space with a blade cover, and rust rarely stands a chance.
Can I Wash the Whole Trimmer With Water?
You can wash the blades with a damp, soapy rag, but never hose down or soak the entire tool. Water can seep into the motor, battery compartment, or engine and cause serious damage. Keep moisture away from any electrical or fuel components. A controlled wipe-down gives you clean blades without the risk.
Conclusion
Keeping your trimmer in top shape really is that simple. With regular sap removal, careful drying, and a light coat of oil, your blades will stay sharp and rust-free for years. Learning how to clean a hedge trimmer the right way saves you money, effort, and frustrating jams down the road.
Make it a habit after each use, and you’ll always be ready for the next round of trimming. If you haven’t upgraded your gear yet, check out our recommended picks above. Ready for more? Explore our other guides for handy tool care tips and tricks.
