
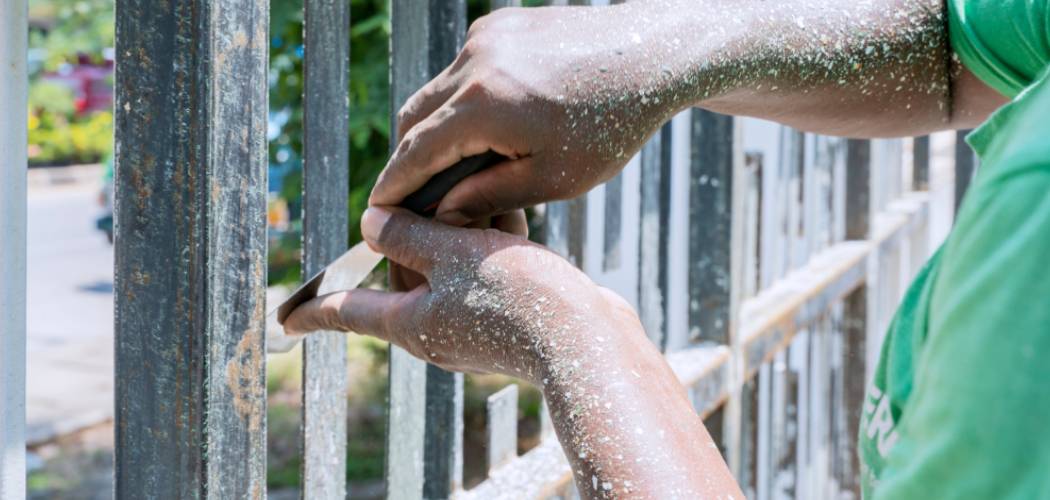
You just finished patching a wall, and your blade is caked with dried compound. It feels crusty, stiff, and honestly, a little gross. Toss it in a drawer like that, and you’ll regret it next time you reach for it. Learning to clean putty knife properly keeps your tool sharp, smooth, and ready for the next project.
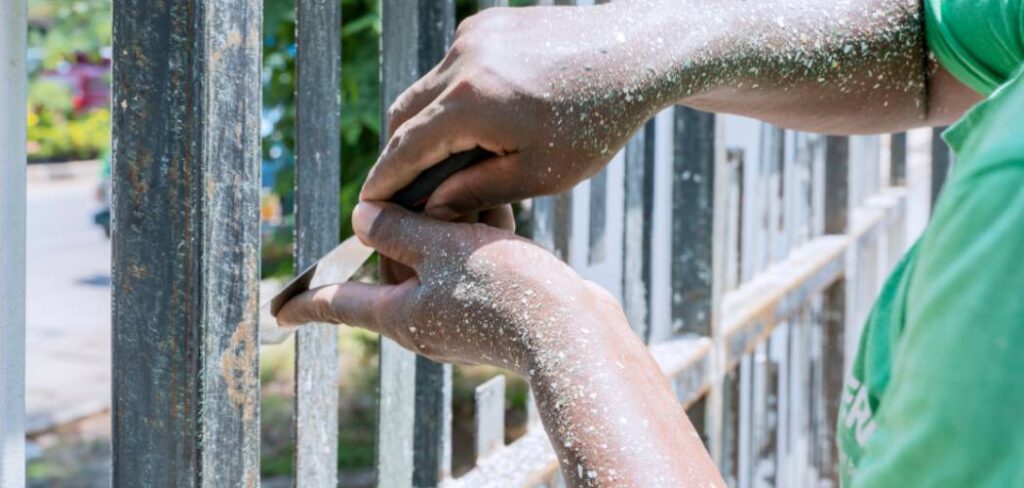
In this guide, you’ll learn exactly how to do it. We’ll cover the supplies you need, walk through each step, and share pro tips that stop rust before it starts. Whether you’ve been scraping spackling or spreading drywall compound, these methods work. By the end, your blade will look almost new. Let’s get that grime off and protect your investment.
What You’ll Need
Before you start scrubbing, round up a few basic supplies. Most of these already sit in your garage or under the sink.
- Warm water in a bucket or sink
- Dish soap or a mild degreaser
- A stiff-bristle brush or old toothbrush
- A clean rag or two
- Fine-grit sandpaper or steel wool (for stubborn spots)
- A plastic scraper tool for lifting dried compound
- White vinegar or a solvent for tough residue
- Machine oil or WD-40 for rust protection
- Rubber gloves (optional, but nice for solvents)
None of this costs much. Keep these items together so cleanup becomes a quick habit rather than a chore. A little prep now saves you serious hassle later.
Step-by-Step Guide on How to Clean Putty Knife
Follow these steps in order. The fresher the mess, the easier the job, so try not to wait too long after your project.
Step 1: Clean the Blade While It’s Still Wet
Timing matters more than anything here. If you tackle the mess right after finishing, most spackling or drywall compound wipes off in seconds. Wet filler slides off easily under running water, while dried compound turns into a stubborn crust. Give the blade a quick rinse the moment you set it down. Then wipe both sides with a damp rag. This single habit cuts your total cleanup time in half.
Step 2: Scrape Off Excess Compound
Sometimes filler dries before you get to it. Don’t panic. Grab a plastic scraper tool and gently lift the hardened bits off the metal. Work from the handle toward the edge so you don’t nick the blade. Avoid using another metal tool, since that can scratch or pit the surface. For thick chunks, tap the flat side against a hard edge to knock them loose. Patience beats force every time.
Step 3: Soak in Warm, Soapy Water
Fill a bucket or sink with warm water and a squirt of dish soap. Submerge the blade and let it sit for five to ten minutes. The warm water softens dried residue and loosens grime stuck in tight spots. This soak does most of the hard work for you. If the handle is wooden, keep it above the waterline so it doesn’t swell or crack. A short soak makes the next steps almost effortless.
Step 4: Scrub Away the Grime
Now grab your stiff-bristle brush or an old toothbrush. Scrub both sides of the blade in small circles to lift softened residue. Pay close attention to the edge and the spot where the blade meets the handle, since gunk loves to hide there. For a truly clean putty knife, don’t rush this part. Rinse as you go to check your progress. The metal should start to shine through the film.
Step 5: Tackle Stubborn Residue
Some jobs leave behind paint, caulk, or baked-on filler that won’t budge. This is where a little extra muscle helps. Dip a rag in white vinegar or a mild solvent and hold it against the spot for a minute. Then rub firmly until the residue lifts. For really tough patches, lightly buff with fine-grit sandpaper or steel wool. Move with the length of the blade, not across it, to keep the finish smooth.
Step 6: Rinse and Inspect the Blade
Once the grime is gone, rinse the blade thoroughly under clean running water. This washes away soap, solvent, and loose debris that could cause spots later. Hold the tool up to the light and inspect both surfaces. Look for leftover residue near the edge or any early signs of rust. Catching problems now saves you trouble down the road. Run a finger along the edge to confirm it feels smooth and clean.
Step 7: Dry the Tool Completely
Water is the enemy of metal, so don’t skip this step. Wipe the blade dry with a clean rag right after rinsing. Get into the corners and the joint near the handle, where moisture likes to linger. Even a few stray drops can trigger rust overnight. If you have time, let the tool air-dry for a few minutes afterward. A bone-dry blade stays sharp and rust-free far longer.
Step 8: Remove Any Light Rust
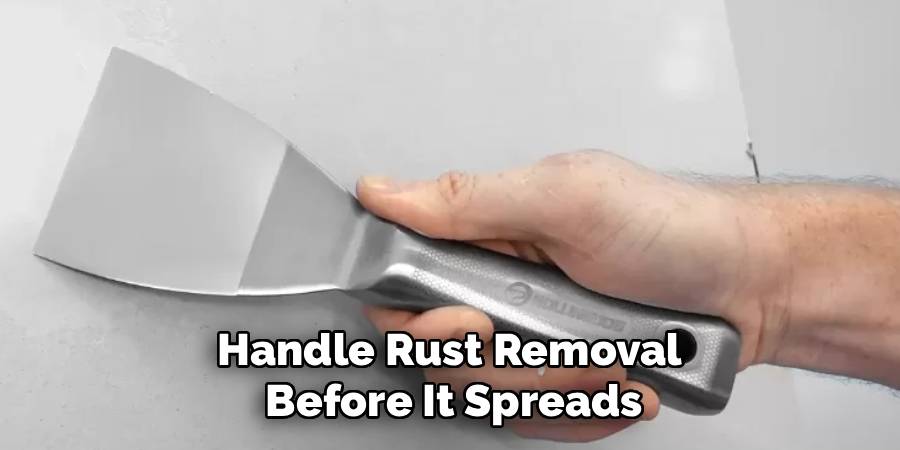
Spot a few orange freckles forming? Handle rust removal before it spreads. Rub the affected area with steel wool or fine sandpaper until the metal shines again. For heavier corrosion, soak the blade in white vinegar for an hour, then scrub. Wipe the surface dry the moment you finish. Staying on top of small rust spots keeps your blade in great shape and saves you from buying a replacement.
Step 9: Add a Protective Coat
Here’s the step most people forget. After the blade is clean and dry, apply a thin layer of machine oil or a quick spray of WD-40. Wipe it across the metal with a rag so a light film remains. This barrier blocks moisture and stops rust before it starts. It also helps the blade glide smoothly on your next job. Simple blade maintenance like this doubles the life of your tool.
Step 10: Store It the Right Way
How you store the tool matters just as much as how you clean it. Hang the blade on a hook or lay it flat in a dry drawer. Never toss it into a damp toolbox with other tools banging against the edge. That leads to nicks, bends, and rust. Keep it somewhere with good airflow and low humidity. Smart storage protects all your hard cleaning work.
Tips for Best Results
These extra pointers go beyond the basic routine. They’ll help you keep your blade in top form for years.
- Clean between coats, not just at the end. If you’re doing multiple layers of filler, wipe the blade between passes. This prevents dried compound from building up and dragging streaks into your next coat.
- Keep a damp rag on your belt. A quick wipe as you work stops residue from hardening in the first place. It’s the easiest form of tool care you’ll ever practice.
- Never let solvents sit on a wooden handle. Vinegar and harsh solvents can dry out or crack wood over time. Focus them on the metal and wipe the handle with just soap and water.
- Buff the edge, not across it. When sanding away rust or residue, always work along the length of the blade. Scrubbing sideways can create tiny grooves that ruin a smooth spread.
- Do a monthly check. Even stored tools can develop rust in humid spaces. A quick monthly look-over lets you catch and fix issues early.
Frequently Asked Questions
How Do I Clean Dried Compound Off a Putty Knife?
Start by scraping the hardened bits with a plastic scraper tool, working from the handle toward the edge. Then soak the blade in warm, soapy water for five to ten minutes to soften what’s left. Scrub with a stiff brush, rinse, and dry completely. For extra-stubborn spots, a little vinegar or fine-grit sandpaper does the trick.
Can I Put My Putty Knife in the Dishwasher?
It’s better to skip the dishwasher. The intense heat and moisture can warp a wooden handle and speed up rust on the blade. Handwashing gives you far more control and takes only a couple of minutes anyway. Stick with warm water, dish soap, and a quick towel dry for the best and safest results.
Is It Safe to Use Vinegar to Clean Putty Knife Blades?
Yes, white vinegar is a safe and effective option for cutting through residue and light rust. Soak the metal or apply it with a rag, let it work for a few minutes, then scrub and rinse. Just keep the vinegar off wooden handles, since it can dry out the wood. Always dry the blade fully afterward to prevent new rust.
How Do I Stop My Putty Knife From Rusting?
The secret is moisture control and a protective barrier. Dry the blade completely after every wash, getting into the joint near the handle. Then wipe on a thin coat of machine oil or WD-40 to block humidity. Store the tool flat or hanging in a dry spot, and you’ll rarely see a speck of rust.
What’s the Best Way to Clean Paint Off a Putty Knife?
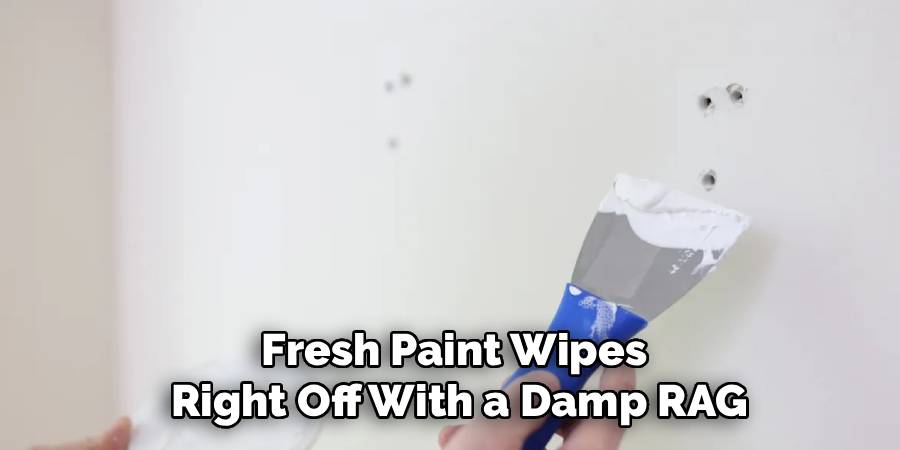
Fresh paint wipes right off with a damp rag, so act fast if you can. For dried paint, soak the blade in warm, soapy water, then scrub with a stiff brush. Latex paint often lifts with soap alone, while oil-based paint may need a mild solvent. Finish with a rinse, a full dry, and a light oil coat for protection.
How Often Should I Clean My Putty Knife?
Clean it after every single use, ideally while the compound is still wet. This quick habit prevents buildup and keeps the blade smooth for spreading. Beyond that, give it a monthly inspection for rust or grime, especially if you store it in a humid garage. Regular blade maintenance means the tool is always ready when you need it.
Conclusion
Keeping your blade in great shape isn’t hard once you build the habit. Clean it while the filler is fresh, dry it fully, and add a light coat of oil to fight rust. With a little regular tool care, your blade will spread smooth and last for years. Learning to clean putty knife the right way truly pays off on every project.
If you’re due for an upgrade, check out our recommended products above to find a durable blade worth caring for. Want more handy know-how? Explore our other DIY and tool guides on the site.
