
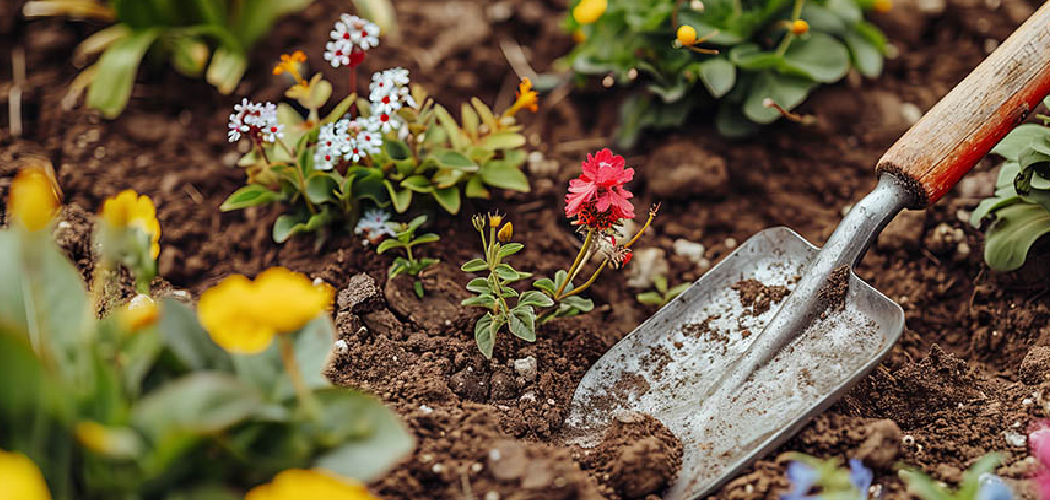
You wrap up a weekend of planting, lean the shovel against the shed wall, and forget about it. A month later, you grab it again and find the blade caked in dried mud, spotted with rust, and dull as a butter knife. Learning how to clean shovel gear properly saves you from this frustrating scene. A quick cleaning routine keeps your tools sharp, prevents rust, and adds years to their life.
In this guide, you’ll learn exactly how to wash off caked dirt, tackle stubborn rust, sharpen the edge, and store your shovel the right way. We’ll walk through each step together, share a few tricks the pros swear by, and answer common questions. Whether you use a garden spade or a snow shovel, these habits keep every blade in top shape. Let’s get your tool looking brand new.
What You’ll Need
Gathering your supplies first makes the job quick and painless. Most of these items are already sitting in your garage or under the sink.
- A garden hose or bucket of warm water to rinse off loose dirt
- A stiff wire brush or steel wool for scrubbing grime and rust
- A putty knife or scraper to remove hard-caked mud
- Dish soap for greasy or sticky buildup
- White vinegar to dissolve rust naturally
- A metal file or sharpening stone to restore the edge
- Coarse and fine sandpaper for smoothing wooden handles
- Linseed oil or boiled linseed oil to protect wood
- Machine oil or WD-40 to guard the metal blade
- Clean rags or old towels for drying and wiping
- Work gloves and safety glasses to protect yourself
Simple jobs may only need water, a brush, and a rag. Save the vinegar and file for tools that need extra love.
Step-by-Step Guide on How to Clean a Shovel
Follow these steps in order. Take your time, and your shovel will reward you with easier digging next season.
Step 1: Gather Your Supplies and Gear Up
Start by laying out everything you need in one spot. Nothing slows you down like hunting for a rag halfway through the job. Slip on your work gloves and safety glasses before you touch anything sharp or rusty. Metal shavings and flying rust flakes can irritate your skin and eyes.
Pick a well-ventilated area, ideally outdoors or in an open garage. Good airflow matters when you’re working with vinegar or oil. Set down an old towel or cardboard to catch drips and mess. A little prep now keeps cleanup fast at the end.
Step 2: Knock Off Loose Dirt and Debris
Begin by removing the big chunks of soil clinging to the blade. Tap the shovel against a hard surface or bang two tools together to shake loose the worst of it. For dried, stubborn mud, use your putty knife or scraper to lift it away. Work from the top of the blade down to avoid pushing dirt into crevices.
Don’t skip this step in a rush to reach the water. Rinsing over thick mud just creates a slurry that clings tighter. Getting the bulk off first makes the deep clean far easier. A few minutes of scraping saves you real scrubbing later.

Step 3: Wash the Blade With Soap and Water
Now grab your hose or bucket of warm water. Rinse the blade thoroughly, then add a squirt of dish soap for any greasy or sticky spots. Scrub the surface with your stiff wire brush, working in small circles to lift grime. Pay attention to the edges and the joint where the blade meets the handle.
Soap cuts through sap, fertilizer residue, and oily buildup that plain water leaves behind. Rinse again until the water runs clear. Avoid soaking a wooden handle too long, since excess moisture can cause swelling and cracking. Wipe as you go to keep water off the wood.
Step 4: Tackle Rust With Vinegar
If you spot orange rust patches, white vinegar is your best friend. Soak a rag in vinegar and drape it over the rusty areas, or submerge the blade in a vinegar bath for a few hours. The mild acid dissolves rust without harsh chemicals. For light surface rust, twenty minutes may do the trick.
After soaking, scrub the loosened rust away with steel wool or a wire brush. Rinse the blade well and dry it right away to stop new rust from forming. Stubborn, deep rust may need a second round or a dedicated rust remover. Never let a freshly cleaned blade air-dry with water sitting on it.
Step 5: Dry the Shovel Completely
Drying is the step most people rush, and it’s where rust sneaks back in. Wipe the entire blade down with a clean, dry rag until no moisture remains. Pay special attention to seams, rivets, and the socket where water likes to hide. Even a few damp spots invite fresh corrosion overnight.
Set the shovel in the sun for a bit if the weather cooperates. For wooden handles, make sure they feel dry to the touch before moving on. A bone-dry tool holds oil better and stores cleanly. Think of drying as insurance for all your hard work.
Step 6: Sharpen the Cutting Edge
A sharp blade slices through soil and roots with far less effort. Secure the shovel in a vise or brace it firmly against a stable surface. Run a metal file along the beveled edge at a consistent angle, pushing in one direction only. Follow the existing bevel rather than creating a brand-new angle.
Ten to twenty strokes usually restores a crisp edge on a garden shovel. Feel for a slight burr on the back, then smooth it with a light pass. Wear your gloves here, since a sharpened edge bites skin easily. A well-honed blade makes your next digging job noticeably faster.
Step 7: Smooth and Treat the Handle
Turn your attention to the handle, especially if it’s wooden. Rub it down with coarse sandpaper to remove splinters, rough patches, and old grime. Follow up with fine sandpaper for a smooth, splinter-free grip. Wipe away the dust with a dry rag before treating the wood.
Apply a thin coat of linseed oil with a rag, working it into the grain. The oil seals the wood, prevents cracking, and keeps moisture out. Let it soak in for a few minutes, then wipe off any excess. Fiberglass and metal handles just need a quick wipe with a damp cloth.
Step 8: Oil the Blade for Protection
A light coat of oil is the secret to a rust-free blade between uses. Apply machine oil, WD-40, or even a bit of linseed oil to a rag. Wipe the entire metal surface in a thin, even layer. This barrier keeps air and moisture from reaching the bare steel.
Don’t overdo it, since a thick, gooey layer just attracts dirt. A light film is all you need to seal the deal. Some gardeners keep a bucket of sand mixed with oil and plunge the blade in after each use. That simple trick cleans and coats the metal in one motion.
Step 9: Store Your Shovel Properly
Where and how you store your tool matters as much as the cleaning. Hang the shovel on a wall hook or store it blade-up in a dry corner. Keeping the blade off damp concrete prevents moisture from wicking into the metal. A dry, sheltered spot is your best defense against rust.
Avoid piling tools on top of each other, which dulls edges and bends handles. Give your shovel its own dedicated space if you can. Check on it once a season and reapply oil as needed. Good storage habits keep all your work from going to waste.
Tips for Best Results
These insider habits take your maintenance routine from good to great:
- Clean after every use, not every season. A quick rinse and wipe right after digging takes thirty seconds and prevents 90 percent of rust and buildup. Waiting months turns an easy job into a chore.
- Keep a sand-and-oil bucket by the door. Mix builders’ sand with a cup of used motor oil in a pail. Plunging the blade in a few times cleans off dirt and leaves a protective coat instantly.
- Sharpen little and often. A few file strokes after each heavy job beats one giant sharpening session. A consistently keen edge saves your back and shoulders on tough soil.
- Test the vinegar first on a small spot. On coated or painted blades, dab vinegar on a hidden area to check the finish holds up. This avoids stripping any protective coating by accident.
- Store handles vertically to protect the grain. Standing a wooden handle upright keeps it straight and prevents the warping that comes from leaning it at odd angles for months.
Frequently Asked Questions
How Often Should I Clean My Shovel?
Give your shovel a quick rinse and wipe-down after every use, especially if you’ve been digging in wet or clay-heavy soil. This simple habit stops dirt from hardening and rust from taking hold. Plan a deeper clean, including sharpening and oiling, once or twice a season. Regular light care beats occasional heavy scrubbing every time.
Can I Use Vinegar to Remove Rust From a Shovel?
Yes, white vinegar works wonderfully as a natural rust remover. Soak the rusty blade in vinegar for a few hours, then scrub the loosened rust away with steel wool or a wire brush. Rinse and dry the blade completely afterward to prevent new rust. For heavy corrosion, you may need a second soak or a commercial rust remover.
What Oil Should I Use to Protect the Blade?
Machine oil, WD-40, or boiled linseed oil all work well to shield the metal from moisture. Wipe a thin, even coat over the clean, dry blade with a rag. Avoid heavy layers, which just trap dirt and grit. For wooden handles, stick with linseed oil to seal and preserve the grain.
Is It Safe to Sharpen a Shovel at Home?
Absolutely, sharpening a shovel is a simple and safe task with basic tools. Secure the blade in a vise, wear gloves and safety glasses, and run a metal file along the existing bevel. Push the file in one direction and keep the angle consistent. A sharp edge makes digging easier and puts less strain on your body.
How Do I Stop My Shovel From Rusting Again?
The best defense is a good drying and oiling routine after every clean. Never store a damp blade, and always wipe on a light coat of oil before putting it away. Keep the tool in a dry spot, hung up or standing blade-up off the floor. A sand-and-oil bucket by the shed door makes this effortless.
Can I Clean a Wooden Handle the Same Way as the Blade?
Not quite, since wood and metal need different care. Avoid soaking wooden handles in water, which causes swelling and cracking. Instead, sand away rough spots and splinters, then rub in a coat of linseed oil to seal the grain. This keeps the handle smooth, strong, and comfortable to grip.
Conclusion
Keeping your tools in shape is easier than you think once you build the habit. Now that you know how to clean shovel gear the right way, from scraping off mud to sharpening the edge and oiling the blade, you’re set for many seasons of smooth digging.
Remember to dry thoroughly, oil lightly, and store your shovel in a dry spot. If you’re after a quality shovel or a fresh sharpening file, check out our picks above. When you’re ready for more, browse our other DIY guides for hands-on tips.
