
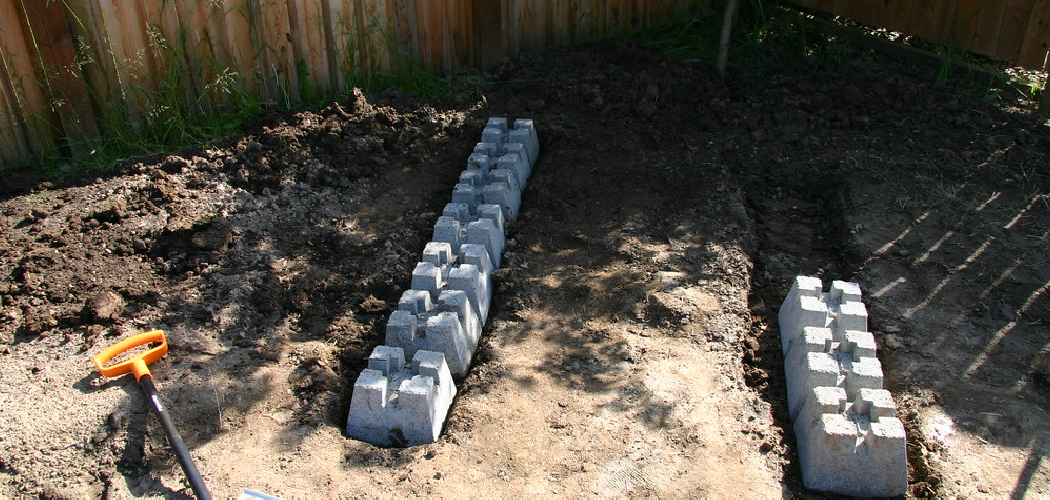
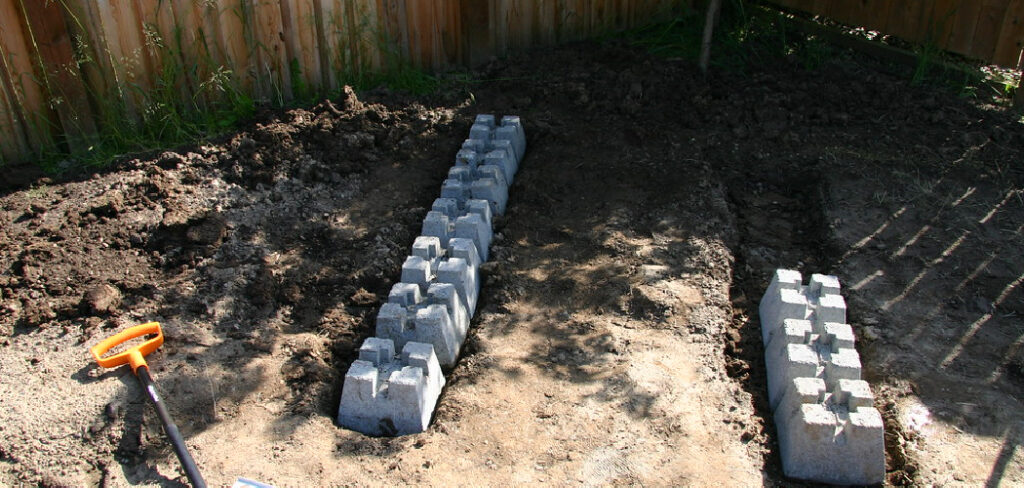
You want a patio deck, a garden platform, or a spot to park the grill, but the thought of digging deep holes and pouring wet cement makes you want to give up before you start. Good news: you don’t always need all that. A concrete deck block gives you a solid, ground-level foundation without the heavy labor of traditional footings. These blocky little heroes sit right on the ground and cradle your posts and beams in place.
In this guide, you’ll learn How to Use a Concrete Deck Block, what supplies to grab, and how to set them up step by step. You’ll also pick up insider tips for keeping everything level and stable. By the end, you’ll feel ready to build a sturdy floating deck this weekend.
What Is a Concrete Deck Block?
A concrete deck block is a precast pier, usually square or pyramid-shaped, with slots or a post base molded into the top. Those slots hold a 4×4 post, a 2x on-edge beam, or joists directly, depending on how you set it. The block spreads the weight of your structure across the ground so your deck stays put. Builders love them for floating decks, sheds, and walkways because they skip the digging and concrete pouring entirely.
What You’ll Need
Gather these before you dig in so you’re not running back to the store mid-project.
- Precast deck blocks (one per support point)
- Pressure-treated 4×4 posts and 2x beams
- A bag or two of gravel for the base
- A tamper or heavy hand tamper
- A long level (48-inch works great)
- A string line and wooden stakes
- A tape measure and pencil
- A shovel and a garden rake
- A rubber mallet for adjustments
- Landscape fabric to block weeds (optional)
Step-by-Step Guide on How to Use a Concrete Deck Block
Follow these steps in order, and take your time with the leveling. Rushing the base is the number one mistake beginners make, so slow down where it counts.
Step 1: Plan and Mark Your Layout
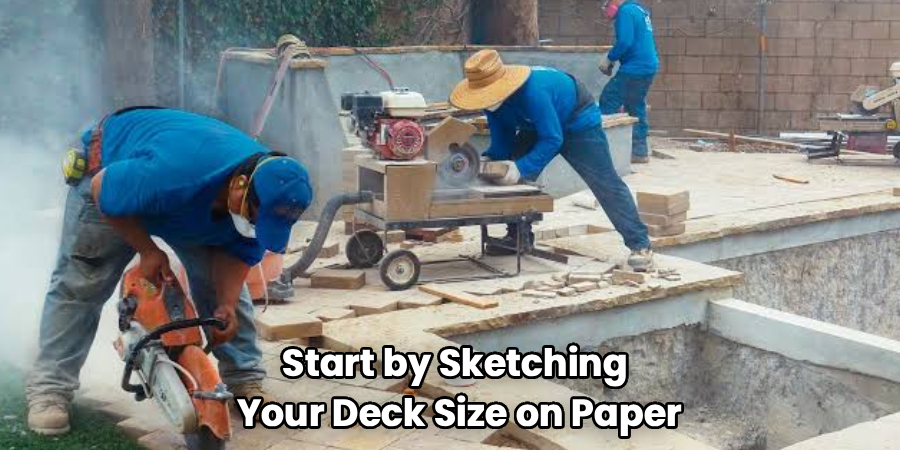
Start by sketching your deck size on paper, then move outside. Drive stakes at each corner and run a string line between them to outline the footprint. Measure your diagonals to make sure the corners sit square. Mark each spot where a support point will go, usually every 4 to 6 feet along your beams. Good spacing keeps your deck framing strong and prevents sagging. A crooked layout now means headaches later, so double-check before you dig.
Step 2: Check Your Local Codes and Frost Line
Before you buy a thing, call your local building office. Some areas allow floating decks on blocks; others require footings below the frost line. The frost line is the depth where soil freezes in winter, and freezing ground can heave your blocks upward. Knowing this rule saves you from tearing everything out later. If codes allow surface blocks, you’re clear to keep going. When in doubt, a quick permit check protects your hard work.
Step 3: Clear and Level the Ground
Remove grass, roots, and rocks from each support spot with your shovel. Dig down a few inches to create a flat, firm pad for each block. Lay landscape fabric across bare soil if you want to keep weeds from creeping up. Rake the area smooth and check that the ground looks even. A clean, flat base is the secret to a deck that doesn’t wobble. Loose or bumpy soil will shift under weight, so don’t skip this.
Step 4: Add and Tamp a Gravel Bed
Pour about 2 to 4 inches of gravel into each cleared spot. A gravel bed drains water away and stops your blocks from sinking over time. Spread it evenly, then pack it down hard with your tamper until it feels solid underfoot. Well-compacted gravel is what keeps everything stable through rain and seasons. Loose gravel settles unevenly and throws your whole deck off. This layer does quiet, important work, so tamp it well.
Step 5: Set the Blocks in Place
Place a block on top of each gravel pad, lining it up with your string layout. Press it down firmly so it seats into the gravel. Rotate the block so its slots face the right direction for your posts or beams. Give it a gentle wiggle to confirm it doesn’t rock. If it moves, pull it up, adjust the gravel, and reset. Each block should feel planted, not perched.
Step 6: Level Every Block
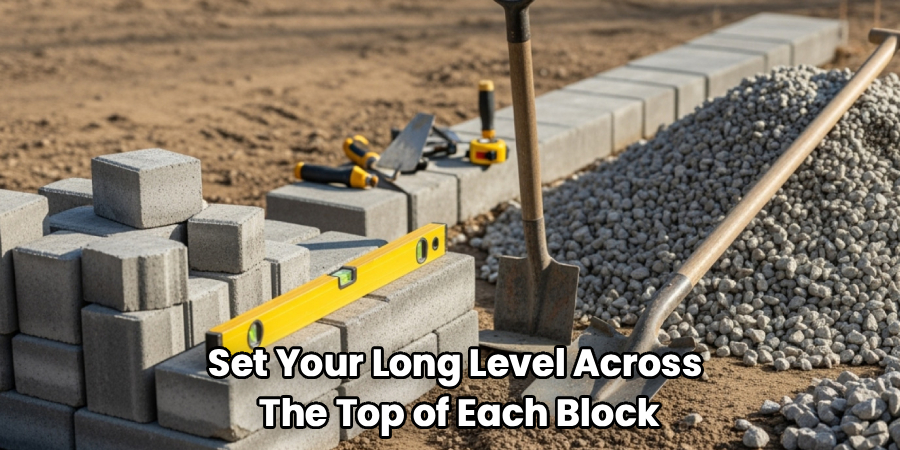
Set your long level across the top of each block and check it in both directions. Add or remove a little gravel underneath to raise or lower one side. Then lay a straight board with your level spanning two neighboring blocks to match their heights. This is the fussiest part, but a level foundation makes the rest of the build smooth. Tap blocks gently with a rubber mallet for fine adjustments. Take your time here; it pays off later.
Step 7: Install Posts or Beams
Now drop your pressure-treated posts into the post base slots, or set your beams directly into beam slots. Cut posts to the height you need for a level deck surface up top. Use your level again to make sure each post stands plumb and straight. Secure posts to the block with screws or brackets where the design allows. This connection ties your framing to the foundation and keeps things from shifting. Snug, square posts set you up for solid framing.
Step 8: Build Your Deck Frame
Attach your beams to the posts, then fasten your joists across the beams. Keep checking for level as you go, since small errors add up fast. Use galvanized or coated fasteners so they hold up outdoors for years. Space your joists according to your decking material, usually 16 inches apart. A square, level frame gives you a flat, safe surface to walk on. Step back now and then to eyeball the whole structure.
Step 9: Add Decking and Final Checks
Lay your deck boards across the joists, leaving a small gap between each for drainage. Screw them down evenly, working from one end to the other. Once the boards are on, walk across the whole deck to feel for any bounce or wobble. If you notice movement, revisit the block underneath and add gravel to firm it up. A quick final inspection now keeps your deck safe for the long haul. Give yourself a pat on the back; you earned it.
Tips for Best Results
These pointers come from people who’ve built plenty of decks and learned a few things the hard way.
- Overbuild your base slightly. Add an extra inch of gravel and tamp it twice. Extra compaction now prevents settling and saves you from re-leveling next spring.
- Use more blocks than you think. Closer spacing means less flex and a firmer feel underfoot. If you’re between two spacing options, choose the tighter one for peace of mind.
- Keep water moving away. Slope the surrounding ground slightly so rain drains off, not toward your blocks. Standing water softens soil and undermines even the best gravel bed.
- Dry-fit before you fasten. Set posts and beams loosely first to check everything lines up. Catching a mistake before screwing things down saves time and materials.
- Recheck level after the first rain. Fresh gravel can settle once, so inspect and adjust a week later. One small tweak early keeps your deck flat for years.
Frequently Asked Questions
What Is a Concrete Deck Block Used For?
It works as a surface foundation for floating decks, sheds, walkways, and other ground-level structures. The block holds a post or beam and spreads the load across the ground without deep digging. This makes it a favorite for quick, low-cost projects. It shines anywhere a full footing feels like overkill.
Do I Need to Dig Below the Frost Line?
That depends entirely on your local building codes and climate. In areas with hard winters, frost can push surface blocks upward and shift your deck. Some regions require footings poured below the frost line for permanent structures. Always check with your local office before you build to stay safe and legal.
How Far Apart Should I Space the Blocks?
Most builders place supports every 4 to 6 feet, but it depends on your beam size and load. Heavier decks and thinner beams need closer spacing to prevent sagging. When you’re unsure, tighter spacing is always the safer bet. Check a span table for your lumber to nail down the right distance.
Can I Use Deck Blocks for a Full-Size Deck?
Yes, but they work best for low, freestanding decks close to the ground. Tall or attached decks usually need traditional footings for extra stability and code approval. For a simple floating deck or platform, blocks are a solid, affordable choice. Match the method to the size and height of your project.
Is It Safe to Skip the Gravel Bed?
It’s not a good idea. Without a gravel base, blocks sink unevenly and trap water against the soil. That leads to shifting, wobbling, and a deck that won’t stay level. A few inches of tamped gravel is cheap insurance for a stable, long-lasting foundation.
Conclusion
Building a solid, low deck doesn’t have to mean days of digging and pouring cement. A concrete deck block lets you create a sturdy floating foundation with basic tools and a free weekend. Just remember the key steps: level ground, a well-tamped gravel bed, careful leveling, and smart spacing. Nail those, and your deck will stay flat and stable for years.
If you haven’t grabbed your blocks yet, check out our recommended picks above to get started. Ready to keep building? Browse our other DIY and outdoor project guides for your next weekend win.
