
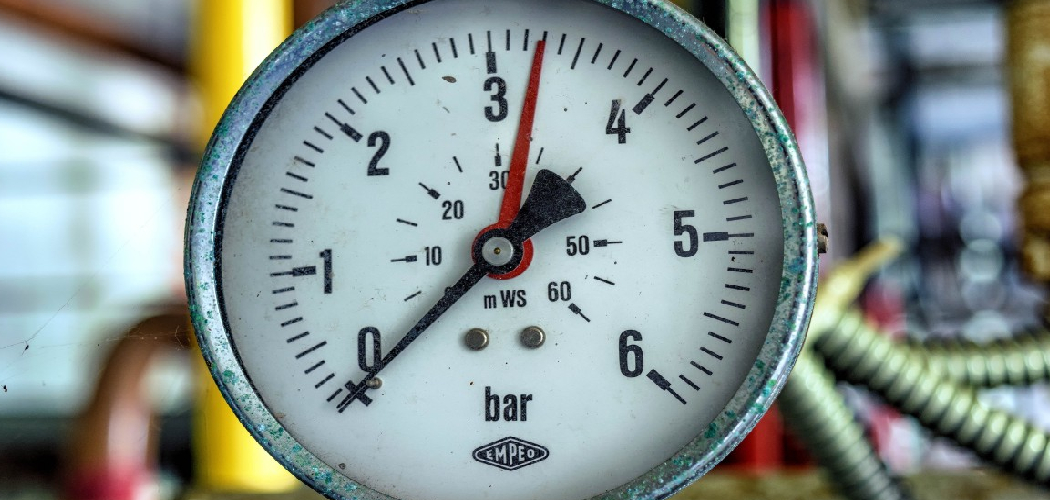
You just installed a new part, but something feels off. Maybe a wheel wobbles, a shaft doesn’t spin true, or a surface won’t sit flat no matter how you adjust it. Your eyes can’t catch tiny errors, and your hands can only guess. That’s where a dial gauge indicator earns its keep. This little tool measures movement down to a thousandth of an inch, turning invisible flaws into clear numbers you can read at a glance.
In this guide, you’ll learn what this tool does, how to use a dial gauge indicator, and how to take accurate readings step by step. We’ll cover the gear you need, the process from start to finish, and a few insider tips that save you headaches. By the end, you’ll measure with confidence.
What Is a Dial Gauge Indicator?
A dial gauge indicator is a precision measuring tool that shows tiny movements on a round, clock-like dial. A spring-loaded plunger presses against a surface, and any motion pushes a needle around the face. It reads small changes in position — usually in thousandths of an inch or hundredths of a millimeter. Machinists, mechanics, and hobbyists use it to check runout, flatness, alignment, and other measurements the naked eye can never spot.
What You’ll Need
Gather these before you start. Most fit in a small toolbox.
- A dial indicator (0.001″ resolution works for most jobs)
- A magnetic base or a rigid stand
- A clean, stable work surface or machine
- A reference gauge block or known standard (for calibration)
- Lint-free cloth and mild solvent for cleaning
- Fine gloves or clean hands to avoid oil transfer
- A notepad or your phone to record readings
- Good lighting so you can read the dial clearly
Step-by-Step Guide on How to Use a Dial Gauge Indicator
Work through these steps in order. After one or two projects, the whole routine becomes second nature.
Step 1: Clean Everything First
Dirt and oil throw off precision measurements fast. Wipe the plunger tip, the dial face, and the surface you plan to measure. Use a lint-free cloth and a little solvent for stubborn grime. Even a tiny chip of metal under the tip can add error to your reading. Check the contact point for wear or damage while you’re at it. A clean setup is the foundation of every accurate measurement.
Step 2: Mount the Indicator on a Solid Base
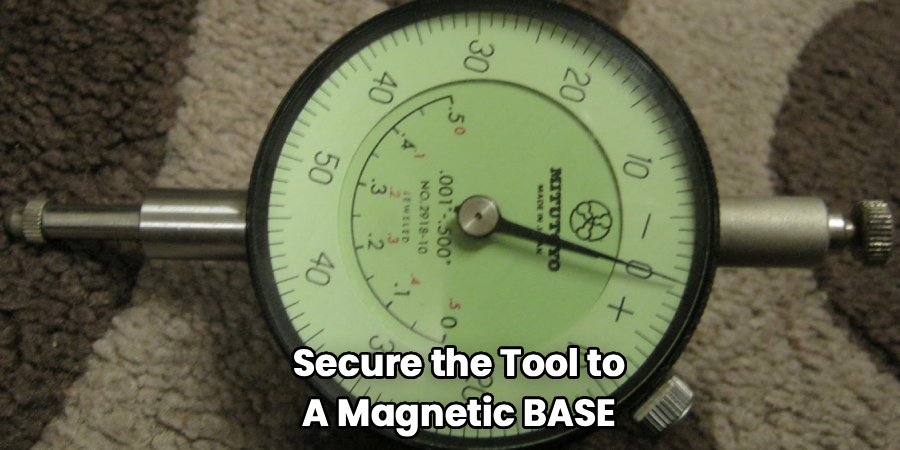
Secure the tool to a magnetic base or a rigid stand. Any wobble in the mount shows up as false movement on the dial. Clamp the base to a heavy, stable surface like a machine bed or a thick steel plate. Tighten every joint on the stand’s arm so nothing shifts mid-measurement. Give the whole setup a gentle push to confirm it doesn’t budge. Stability here decides whether your numbers mean anything at all.
Step 3: Position the Contact Point Correctly
Aim the plunger so it meets the surface at roughly a 90-degree angle. An angled tip reads short and gives you misleading values. Line up the contact point over the exact spot you want to check. For flat surfaces, keep the plunger straight up and down. For round parts, aim at the highest point, called top dead center. Proper positioning is one of the biggest factors in getting a true reading.
Step 4: Apply the Right Amount of Preload
Preload means pressing the plunger in slightly before you take a reading. Lower the indicator until the needle moves about a quarter to half a turn. This keeps the plunger in contact even when the surface dips away. Too little preload lets the tip lift off and miss dips. Too much wears the mechanism and can peg the needle. A steady, moderate preload gives you room to read movement in both directions.
Step 5: Zero the Dial
Now set your starting point. Loosen the bezel lock, then rotate the outer ring until the needle lines up with zero. Lock the bezel so it can’t drift while you work. This zero becomes your reference for every reading that follows. Tap the base lightly and check that the needle returns to zero. If it drifts, your mount isn’t tight enough, so fix that before moving on.
Step 6: Take Your First Reading
Slowly rotate or move the part while you watch the needle. Note how far it swings in each direction from zero. On a spinning shaft, turn it by hand one full revolution and track the total sweep. The difference between the highest and lowest points is your runout, or total movement. Read the dial straight on to avoid parallax error, where an angled view distorts the number. Record the value right away so you don’t forget it.
Step 7: Interpret the Numbers
Each small mark on the dial usually equals 0.001 inch, but check your tool’s face to be sure. Count the marks the needle travels to find your measurement. Total indicated runout is the full swing from lowest to highest reading. Compare your result to the tolerance your project calls for. If the movement exceeds spec, you’ve found the problem you set out to catch. Understanding what the numbers mean turns raw data into a real fix.
Step 8: Adjust and Re-Measure
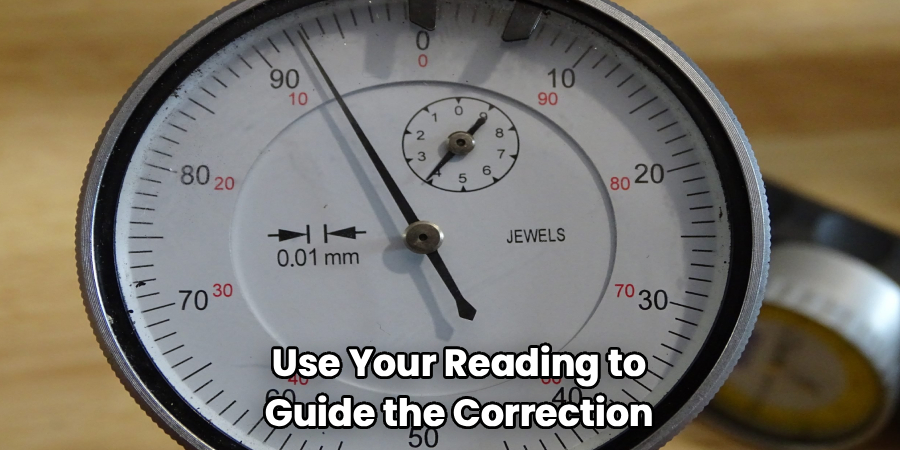
Use your reading to guide the correction. Shim, tighten, or realign the part, then measure again from the same zero point. Repeat this cycle until the movement falls within tolerance. Always re-zero if you move the base or change the contact spot. Small, patient adjustments beat one big guess every time. This back-and-forth is exactly how pros dial in tight fits.
Step 9: Clean and Store the Tool
When you finish, wipe the plunger and dial face with a clean cloth. Retract the plunger fully so the spring rests, which extends its life. Store the indicator in its case, away from dust, moisture, and heavy vibration. A drop of light oil on the stem keeps it moving smoothly over time. Treat this precision instrument gently and it’ll stay accurate for years.
Tips for Best Results
These extra pointers come straight from hands-on shop experience.
- Check calibration against a known standard. Set the tip on a gauge block of a known size and confirm the reading matches. Do this before any critical job so you trust your numbers.
- Watch out for temperature swings. Metal expands with heat, so let parts settle to room temperature before measuring. A part fresh off a machine reads differently than a cool one.
- Mind the parallax. Always read the dial from directly in front, not from the side. A slight angle can shift your reading by several thousandths.
- Keep the plunger travel short. Work near the middle of the plunger’s range for the most accurate results. The extreme ends of travel are less reliable.
- Tap-test your setup. A light tap on the base should send the needle back to zero. If it doesn’t, tighten every joint before you trust a single reading.
Frequently Asked Questions
What Is a Dial Gauge Indicator Used For?
You use it to measure tiny movements, alignments, and surface variations with high precision. Common jobs include checking runout on rotating shafts, testing flatness, and aligning machine parts. Mechanics use it on brake rotors and engine components, while machinists rely on it for setup work. Anytime you need to catch errors smaller than the eye can see, this is the tool.
How Accurate Is a Dial Indicator?
Most standard models read to 0.001 inch, which is about the width of a strand of hair split several times. Higher-precision versions measure down to 0.0001 inch for demanding work. Your real-world accuracy depends on a clean tip, a rigid mount, and correct positioning. Sloppy setup ruins even the finest instrument, so technique matters as much as the tool.
Can I Use a Dial Indicator to Check Brake Rotors?
Yes, and it’s one of the most popular home-mechanic uses. Mount the indicator so the tip rests on the rotor face, then spin the rotor by hand one full turn. The total needle swing shows you the rotor’s runout. Compare that number to your vehicle’s spec, and you’ll know if the rotor needs machining or replacement.
Why Does My Reading Keep Changing?
Inconsistent readings usually point to a loose setup or a dirty contact point. Check that every joint on your stand is tight and that the base sits on a solid surface. Wipe the plunger tip and the measured surface, since debris causes jumpy numbers. Temperature changes and reading the dial at an angle can also throw you off.
How Do I Zero a Dial Indicator?
Bring the plunger into contact with your surface and apply a slight preload. Then loosen the bezel lock and rotate the outer ring until the needle points to zero. Lock the bezel so it stays put while you measure. Give the base a light tap to confirm the needle returns to zero before you begin.
Is a Dial Indicator Better Than a Digital One?
Both have their place, so it comes down to your needs. Dial versions need no batteries, handle vibration well, and let you watch needle movement in real time. Digital models add easy-to-read numbers and can output data to a computer. For quick shop work, many pros still prefer the classic dial for its reliability and simplicity.
Conclusion
Measuring with precision feels great once the process clicks, and a dial gauge indicator makes it far simpler than it looks. Keep the essentials in mind: clean everything, mount it solid, position the tip square, and read the dial straight on. Nail those basics and you’ll catch flaws that used to slip right past you.
If you haven’t picked one up yet, check out our recommended picks above to find a reliable model and base. Ready to sharpen your skills further? Browse our other how-to guides on the site for more hands-on measuring and repair tips. Happy measuring.
