
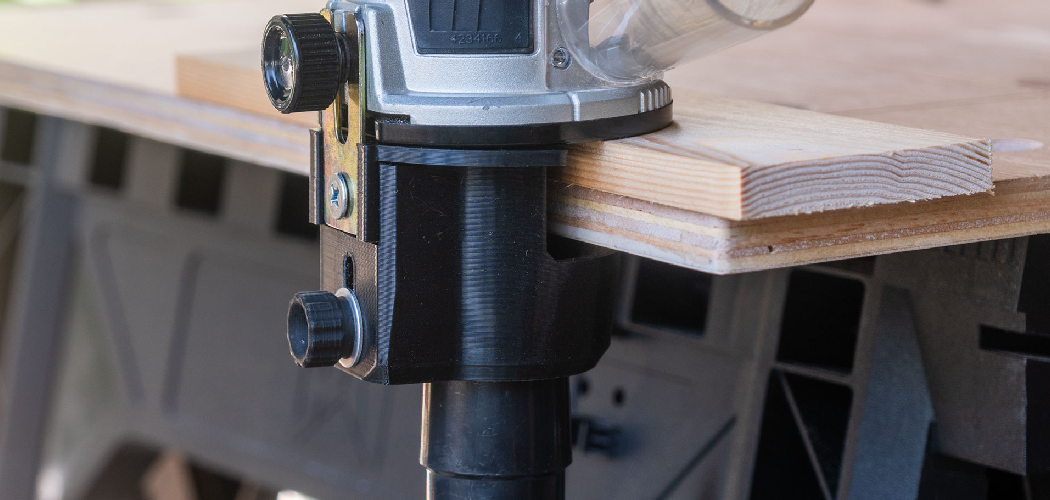
You’ve spent hours cutting boards, sanding edges, and dry-fitting a drawer, only to watch the corners pull apart the moment you add weight. Frustrating, isn’t it? Those weak butt joints and wobbly glue lines just don’t hold up over time. A dovetail jig fixes that problem for good. This clever tool guides your router to cut interlocking joints that lock together like puzzle pieces, giving you strong, professional-looking corners.
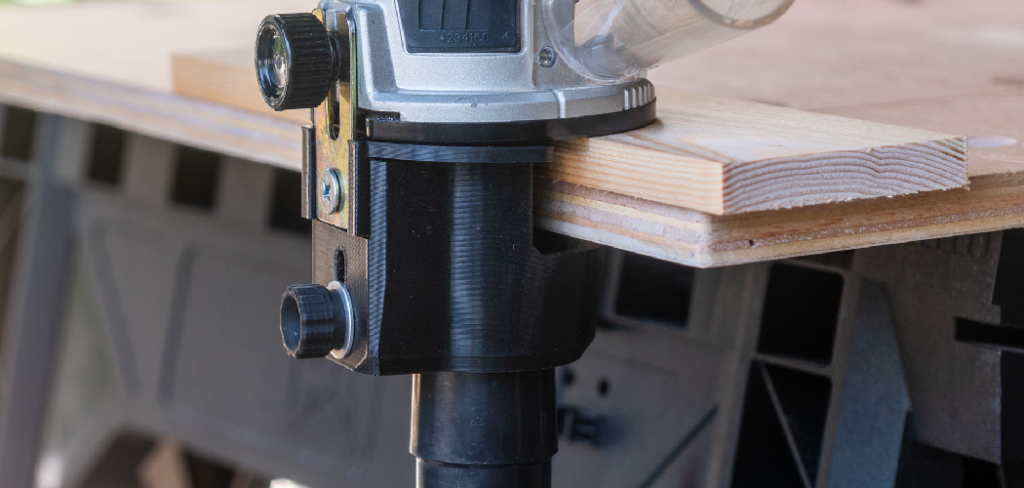
In this guide, you’ll learn how to use a dovetail jig, what to gather before you begin, and how to use it step by step. We’ll walk through setup, test cuts, common mistakes, and the questions woodworkers ask most. By the end, you’ll cut clean, tight joints that make your drawers and boxes look like they came from a fine cabinet shop.
What Is a Dovetail Jig?
A dovetail jig is a woodworking tool that guides a router to cut precise, interlocking dovetail joints. It uses a metal or plastic template with evenly spaced fingers that control where your router bit cuts the tails and pins. Woodworkers rely on it for building drawers, boxes, and cabinets that need both strength and good looks. Instead of cutting these tricky joints by hand, the jig lets you repeat perfect results in a fraction of the time.
What You’ll Need
Gather everything before you start so you’re not hunting for parts mid-project. Each item here is common in most woodworking shops.
- A dovetail jig with template and clamps
- A plunge or fixed-base router
- The correct dovetail router bit (usually 1/2″ or 14°)
- A matching guide bushing for your router
- Two square, planed boards for the joint
- A pencil and marking gauge
- Clamps to secure the jig to your bench
- Scrap wood for test cuts
- Safety glasses and hearing protection
- A vacuum or brush for chip cleanup
Step-by-Step Guide on How to Use a Dovetail Jig
Step 1: Read Your Manual First
Every jig model works a little differently, so start with the instructions. Some cut half-blind dovetails for drawer fronts, while others handle through dovetails for boxes. Check which bit and guide bushing your model needs, since the wrong pairing throws off your spacing. Note the recommended board thickness too, as most jigs have a set range. Ten minutes of reading now saves you hours of trial and error later. Keep the manual nearby while you set up.
Step 2: Set Up Your Router Bit
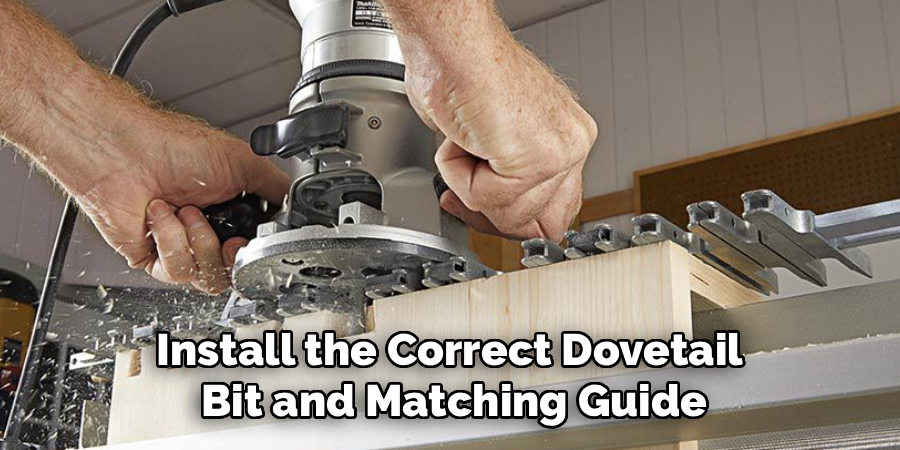
Install the correct dovetail bit and matching guide bushing into your router. The bit’s angle and diameter must match what your jig calls for, or the tails and pins won’t fit. Set the bit depth carefully, because even a small change affects how tight the joint sits. Most manuals list an exact depth to start with, so use that as your baseline. Tighten the collet firmly and give the bit a gentle wiggle to confirm it’s locked. A loose bit ruins cuts and creates a real safety hazard.
Step 3: Prepare and Mark Your Boards
Choose two square boards that are flat, planed, and free of twist. Warped stock never produces tight joints, no matter how good your setup is. Mark the inside face and top edge of each piece with a pencil. This orientation keeps you from cutting the joint backward, a mistake almost every beginner makes at least once. Label the boards “A” and “B” so you always clamp them the same way. Good marking habits keep your corners consistent across the whole project.
Step 4: Clamp the Boards in the Jig
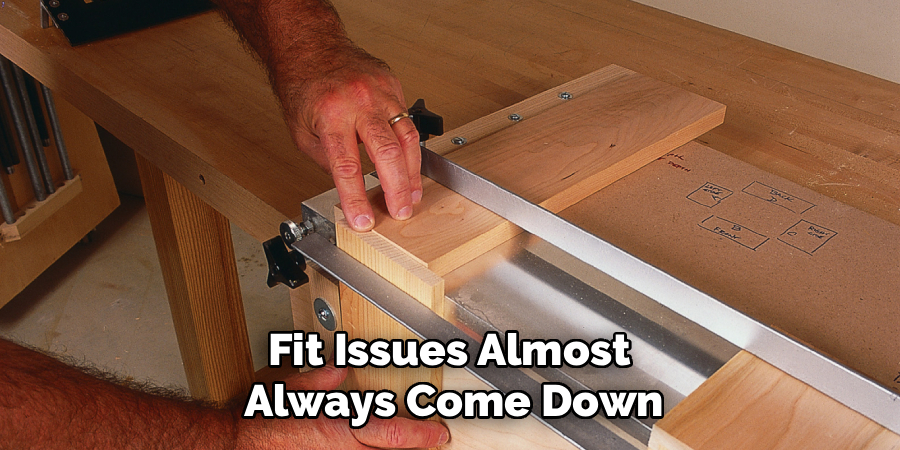
Position your boards in the jig exactly as the manual shows, usually one vertical and one horizontal. Line up the edges flush against the stops so the joint aligns properly. Tighten the clamps firmly, since any shifting during the cut leaves gaps in the finished joint. Double-check that both boards sit tight against the template fingers. Take your time here, because clamping is where most spacing errors begin. A rock-solid setup gives you clean, repeatable results every time.
Step 5: Make a Test Cut First
Never cut your good stock before running a test. Grab two scrap pieces of the same thickness and clamp them just like the real boards. Run the router along the template fingers in a smooth, steady pass. Then dry-fit the scrap joint to check the fit. If it’s too loose, lower the bit slightly; if it’s too tight, raise it a touch. This quick test dials in your depth and saves your project wood from costly mistakes.
Step 6: Rout the Joint
Once your test fits well, cut the real boards. Turn on the router and let it reach full speed before touching the wood. Guide the base along the template fingers, keeping steady contact so the bushing follows every curve. Move at a consistent pace, not too fast or you’ll get tear-out, not too slow or you’ll scorch the wood. Keep the router flat against the jig the whole time. Follow the fingers fully so each tail and pin cuts completely.
Step 7: Clean Out the Chips
After each pass, clear away the sawdust and chips before inspecting your work. Built-up debris hides gaps and can throw off your next cut. Use a brush or shop vacuum to clean the template and the joint. Check that every socket cut fully and that no fuzzy fibers remain. Light sanding or a chisel tap removes any stubborn bits. Clean cuts here mean the pieces slide together smoothly during assembly.
Step 8: Dry-Fit the Joint
Before reaching for glue, fit the two boards together by hand. They should slide together snugly with light hand pressure, not hammer blows. A joint that’s too tight can crack the wood, while a loose one leaves ugly gaps. If the fit isn’t right, adjust your bit depth and cut a fresh test piece. This dry run is your last chance to catch problems. Trust your eyes and fingers here before committing to glue.
Step 9: Glue and Assemble
Once the fit feels right, spread a thin, even layer of wood glue on the tails and pins. Press the boards together and tap them home gently with a mallet and a scrap block. Wipe away any squeeze-out right away with a damp cloth. Clamp the joint square and check it with a try square before the glue sets. Let it cure fully before sanding or finishing. That patience rewards you with a corner that lasts for decades.
Tips for Best Results
These extra tricks separate frustrating results from flawless joints.
- Mark the finished side clearly. A quick pencil note on the “keep” face stops you from routing the wrong edge. This single habit prevents the most common beginner mistake.
- Match your bit and bushing exactly. Mismatched parts are the top cause of loose joints. Keep the matched set together in a labeled bag so you never grab the wrong one.
- Take shallow passes on hardwood. Dense woods like oak and maple tear out easily. A slightly slower feed and a sharp bit give you crisp edges without burning.
- Keep a fit log. Write down the exact bit depth that worked for each wood thickness. Next time, you’ll dial in the setup in seconds instead of running five test cuts.
- Wax the template fingers. A light coat of paste wax helps the router glide smoothly. Smoother movement means fewer chatter marks and cleaner cuts.
Frequently Asked Questions
What Kind of Router Do I Need for a Dovetail Jig?
A basic plunge or fixed-base router with a 1/4″ or 1/2″ collet works well for most jigs. You’ll want enough power to cut hardwood cleanly, so a mid-range model handles the job nicely. Make sure your router accepts the guide bushing your jig requires. Variable speed is a bonus, since it lets you slow down for dense or figured wood.
Why Is My Joint Too Loose or Too Tight?
Fit issues almost always come down to bit depth. A joint that’s too loose means your bit sits too high, so lower it slightly and test again. If it’s too tight, raise the bit a hair and recut a scrap piece. Always adjust in tiny increments, since even a small change makes a big difference in the fit.
Can I Cut Dovetails Without a Jig?
Yes, you can cut them by hand with a saw and chisel, and many woodworkers enjoy that skill. Hand-cut joints offer more flexibility in spacing and a satisfying, traditional look. That said, a jig delivers faster, more consistent results, especially for drawers and repeated cuts. For beginners chasing clean corners quickly, the jig is the friendlier path.
What Wood Thickness Works Best?
Most jigs handle stock between 1/2″ and 1″ thick, though your model’s manual lists the exact range. Thin plywood or very thick timber often falls outside those limits and won’t fit the template properly. Stick to solid, flat boards within the recommended range for the tightest joints. When in doubt, run a test cut on scrap of the same thickness.
Is It Safe to Use a Router in a Jig?
It’s safe when you respect the tool and follow a few basics. Always wear safety glasses and hearing protection, and clamp both the jig and your boards firmly. Let the router reach full speed before it touches the wood, and keep your hands well clear of the bit. Unplug the router whenever you change bits or make adjustments.
Conclusion
Strong, beautiful joints really come down to a few reliable habits: match your bit and bushing, dial in the depth with test cuts, clamp everything tight, and dry-fit before you glue. Once the process clicks, a dovetail jig turns wobbly corners into rock-solid joints you’ll be proud to show off. Trust the steps, and each project will look sharper than the last.
If you haven’t picked one up yet, check out our recommended picks above. Ready to build something great? Explore our other woodworking and joinery guides on the site, and happy building.
