
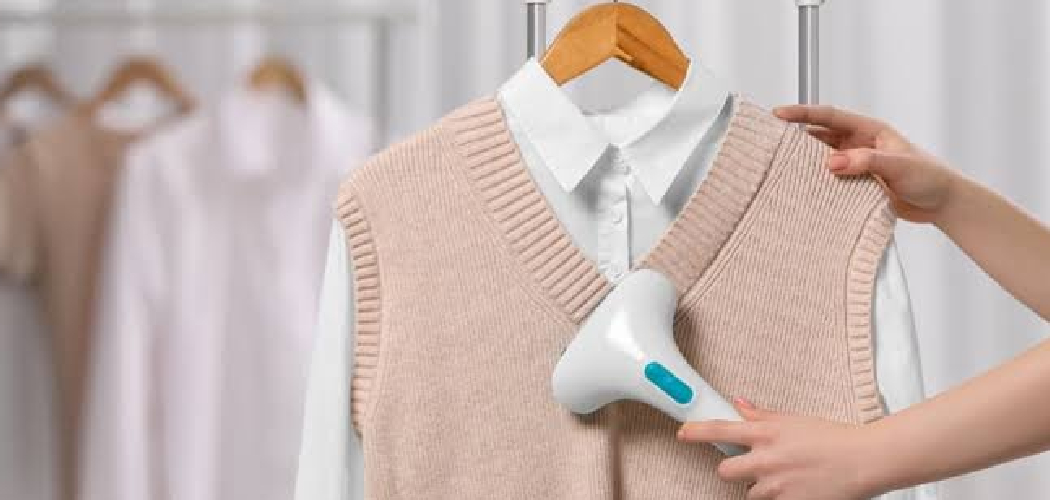
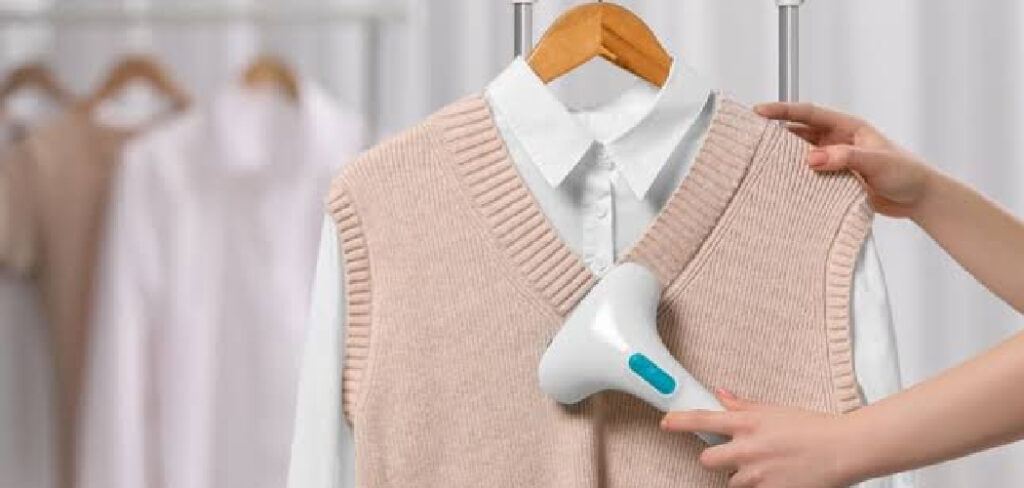
Picture this: you’ve got an important event in twenty minutes, you reach for your favorite shirt, and it’s a crumpled mess. The ironing board feels like too much fuss, and you’re already short on time. That’s exactly where a clothes steamer saves the day. Learning how to use clothes steamer properly can turn wrinkled clothes into crisp, fresh outfits in just minutes.
In this guide, you’ll learn how to fill, heat, and glide your garment steamer for smooth results every time. We’ll cover the supplies you need, walk through each step, and share insider tips. By the end, you’ll steam like a pro and keep your wardrobe looking sharp. Let’s get started.
What You’ll Need
Gather these items before you begin so your steaming session goes smoothly.
- A clothes steamer (handheld steamer or standing model)
- Distilled or filtered water
- A sturdy hanger
- A door hook, shower rod, or garment rack to hang clothes
- A heat-safe glove or cloth to protect your free hand
- A clean towel for laying flat items
- A steaming mitt or pressing pad (optional but handy)
- Access to a power outlet
Distilled water matters more than you might think. Tap water often carries minerals that build up inside the tank and clog the nozzle over time. Using filtered water keeps your steamer working longer and prevents white spots on your fabrics.
Step-by-Step Guide on How to Use Clothes Steamer
Follow these steps in order. Each one builds on the last, so you’ll get the smoothest, wrinkle-free finish possible.
Step 1: Fill the Water Tank Correctly
Start by removing the water tank from your steamer and filling it with distilled or filtered water. Most tanks have a clear fill line, so don’t go past it. Overfilling can cause spitting or leaking during use.
Secure the tank back in place until it clicks. A loose tank can drip and interrupt your steaming session. If your model has a removable reservoir, double-check the seal before you plug in. This small step keeps steam heat flowing evenly.
Step 2: Let the Steamer Heat Up Fully
Plug in your steamer and switch it on. Most units need 30 to 60 seconds to heat the water and produce steam. Wait for the ready light or steady stream before you start.
Rushing this step leads to weak steam and water droplets on your clothes. A fully heated steamer delivers consistent steam heat that relaxes fibers fast. While you wait, hang your garment so it’s ready to go. Patience here pays off with better results.
Step 3: Hang Your Garment Properly
Hang the item you want to steam on a sturdy hanger. Use a door hook, shower rod, or garment rack so the fabric hangs freely. Vertical steaming works best when clothes drape straight down.
Smooth the fabric with your hand to remove any bunching. A flat, taut surface lets the steam penetrate deeply. Avoid steaming clothes while they’re piled or folded, since trapped wrinkles won’t release. Give the garment room to breathe.
Step 4: Test on an Inconspicuous Spot
Before steaming the whole piece, test a hidden area first. Try the inside seam or hem to see how the fabric reacts. This is especially important for delicate fabrics like silk or synthetic blends.
Some materials can water-spot or lose their shape under direct steam. A quick test saves you from a ruined outfit. If the fabric handles the steam well, you’re good to continue. When in doubt, keep the nozzle a little farther away.
Step 5: Steam From Top to Bottom
Hold the steamer head lightly against the fabric and glide it downward. Work from the top of the garment to the bottom in slow, steady strokes. Gravity helps pull wrinkles out as you go.
Keep the nozzle moving so you don’t oversaturate one spot. For thicker fabrics, press gently and move a touch slower. This wrinkle remover technique tackles creases without the flattening effect of an iron. Let the steam do the heavy lifting.
Step 6: Pull the Fabric Taut While Steaming
Use your free hand to gently stretch the fabric as you steam. Pulling it slightly taut helps the steam reach every fiber. Protect that hand with a heat-safe glove or cloth to avoid burns.
This trick works wonders on stubborn wrinkles around collars and cuffs. The tension smooths the surface so creases release faster. Just don’t tug too hard on delicate fabrics. A little pressure goes a long way toward a polished look.
Step 7: Steam Tricky Areas With Care
Collars, sleeves, and pockets need extra attention. For collars, lay them flat against a towel or use your hand as backing. Steam sleeves by holding them out and gliding down each side.
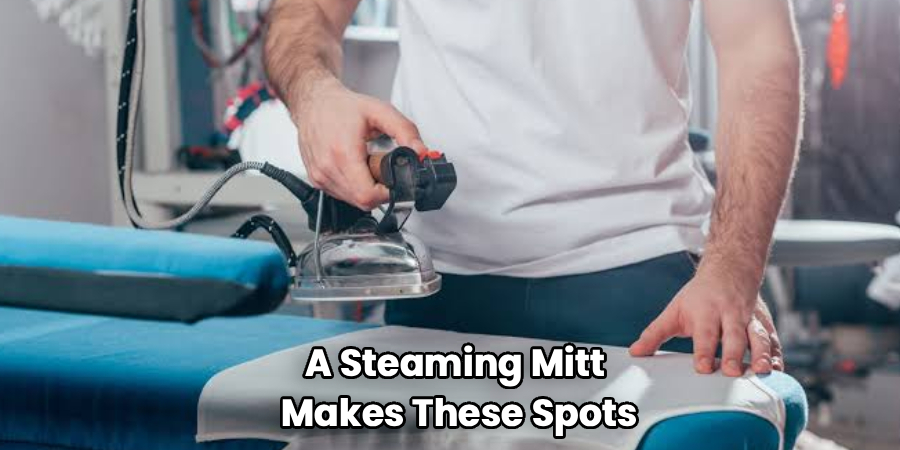
A steaming mitt makes these spots much easier and safer to handle. Move slowly around buttons and seams where wrinkles love to hide. Knowing how to use clothes steamer on these detailed areas separates a rushed job from a crisp finish. Take your time here.
Step 8: Let Garments Dry Before Wearing
After steaming, your clothes may feel slightly damp. Let them hang for a few minutes so the moisture evaporates fully. Putting on a damp shirt can cause new wrinkles to form.
This short wait also lets the fabric set into its smooth shape. Use the time to steam your next item or tidy up. A quick dry keeps your hard work looking sharp all day. Then you’re ready to head out the door.
Step 9: Empty and Store Your Steamer
Once you finish, unplug the steamer and let it cool down. Pour out any leftover water to prevent mineral buildup inside the tank. Leaving water in can lead to mold or clogs over time.
Wipe the nozzle with a soft cloth and coil the cord loosely. Store your handheld steamer in a dry spot away from dust. Proper care keeps it ready for your next wrinkle emergency. A little maintenance extends its life for years.
Tips for Best Results
These insider tips help you get salon-quality results at home.
- Always use distilled water. Minerals from tap water clog the nozzle and shorten your steamer’s lifespan. Distilled or filtered water keeps steam flowing clean and prevents spotting on light-colored fabrics.
- Steam in the morning shower steam. Hanging a lightly wrinkled shirt in a steamy bathroom loosens fibers before you even start. This trick speeds up your fabric steaming and uses less water.
- Group similar fabrics together. Steam delicate fabrics first while the steam is gentler, then move to heavier cottons and linens. This saves time and protects your most sensitive pieces.
- Keep the steamer upright. Tilting a handheld steamer too far can spit hot water instead of steam. Hold it at a slight angle to keep vertical steaming smooth and safe.
- Refresh, don’t just de-wrinkle. Steam also kills odor-causing bacteria and freshens clothes between washes. A quick pass keeps garments smelling clean without extra laundry.
Frequently Asked Questions
What Fabrics Can I Safely Steam?
Most fabrics respond well to steam, including cotton, wool, polyester, and linen. Delicate fabrics like silk and cashmere need a gentle touch, so keep the nozzle a few inches away. Always test a hidden spot first if you’re unsure. Avoid steaming waxed materials, suede, or anything labeled “do not steam.”
How Is a Clothes Steamer Different From an Iron?
A steamer uses steam heat to relax fabric fibers, while an iron presses wrinkles out with direct heat and pressure. Steamers are gentler and great for delicate fabrics that scorch easily. They also work faster for hanging clothes and refresh garments between washes. An iron still wins for sharp creases and stiff collars.
Can I Use Tap Water in My Steamer?
You can, but it’s not the best choice for your machine. Tap water contains minerals that build up inside the tank and clog the nozzle over time. This buildup weakens the steam and can leave white spots on your clothes. Distilled or filtered water keeps your handheld steamer running clean and lasting longer.
Why Is My Steamer Spitting Water Instead of Steam?
Spitting usually means the steamer hasn’t fully heated yet, so give it more time. Holding the unit at too steep an angle can also cause water to escape. Keep it upright and wait for a steady stream before you start. If it continues, mineral buildup may be blocking the nozzle and need cleaning.
Is It Safe to Steam Clothes While Wearing Them?
It’s best not to steam garments while you’re wearing them. The steam heat can burn your skin quickly, even through fabric. Always hang clothes on a hanger for safe vertical steaming. If you need a fast touch-up, take the item off and steam it properly first.
How Do I Prevent Wrinkles After Steaming?
Let your clothes hang and dry fully before wearing or folding them. Damp fabric wrinkles easily, so a few minutes of drying makes a big difference. Store steamed clothes with space between them to avoid new creases. Hanging garments instead of folding keeps them crisp longer.
Conclusion
Steaming your clothes is one of the easiest ways to look polished without the fuss of ironing. Once you know how to use clothes steamer the right way, you’ll wonder how you ever managed without one. Just remember to use distilled water, heat it fully, and glide from top to bottom for smooth, wrinkle-free results.
If you haven’t picked up a reliable steamer yet, check out our recommended picks above to find your perfect match. Ready to keep your wardrobe fresh? Browse our other garment care guides and steam with confidence.
