
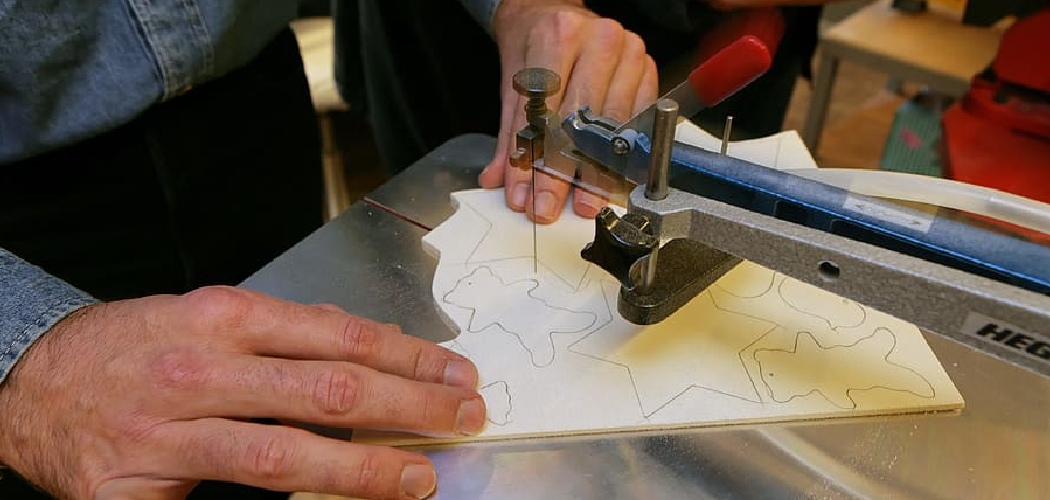
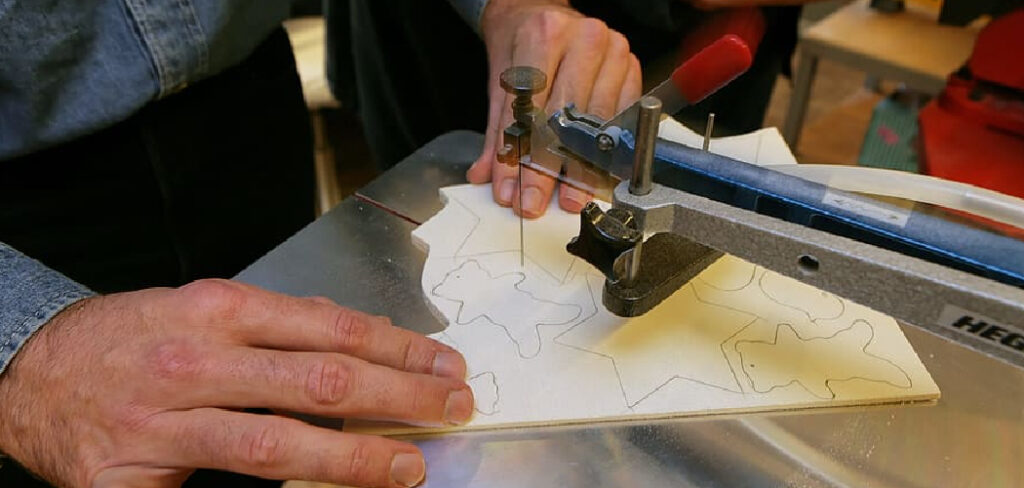
You’ve got a beautiful piece of wood and a design in your head, but every straight-cut tool you own leaves you stuck when it comes to tight curves and delicate details. That’s exactly where a scroll saw earns its place in your shop. This little machine handles intricate patterns, sharp turns, and fine fretwork that a jigsaw or band saw simply can’t manage.
Maybe you’ve bought one and it’s still sitting in the box. Or maybe you’ve tried it and ended up with wandering lines and broken blades. Either way, you’re in the right spot. In this guide, you’ll learn How to Use the Scroll Saw, choose the right blade, feed your workpiece safely, and cut clean curves with confidence. By the end, you’ll be ready to tackle your first real project without the guesswork.
What You’ll Need
Before you flip the power switch, gather everything so you’re not stopping mid-cut to hunt for supplies. Here’s your practical checklist.
- A scroll saw with a stable stand or bench mount
- A set of blades in different sizes (fine for detail, coarse for thicker stock)
- Your workpiece — thin plywood, hardwood, or softwood
- A printed pattern or template
- Painter’s tape or spray adhesive to attach the pattern
- A drill with small bits for interior cuts
- Safety glasses and a dust mask
- A push stick or scrap block for control
- A soft brush or shop vac to clear sawdust
- Sandpaper for cleaning up edges afterward
Step-by-Step Guide on How to Use the Scroll Saw
Take these steps in order, and you’ll build good habits from day one. The most common beginner mistake is rushing the feed. Slow, steady pressure gives you clean lines and saves your blades.
Step 1: Set Up a Stable Work Area
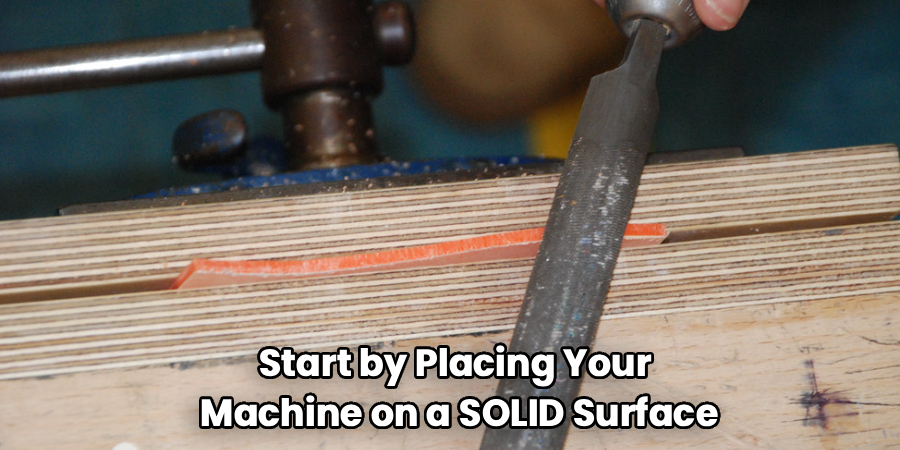
Start by placing your machine on a solid surface that won’t wobble. Vibration is the enemy of clean cuts, so bolt it to a bench or use a sturdy stand. Make sure you have good lighting directly over the table so you can follow your pattern line clearly. Give yourself enough elbow room to move the workpiece freely in every direction. A cramped space leads to awkward feeding and mistakes. Clear away clutter before you begin.
Step 2: Choose and Install the Right Blade
Your blade choice makes or breaks the whole project. Fine, high-tooth-count blades work best for delicate fretwork and thin material. Coarser blades with fewer teeth cut faster through thicker hardwood. Install the blade with the teeth pointing down and toward you, since that’s the direction that does the cutting. Double-check the mounting clamps at the top and bottom so nothing slips loose. A blade in backward or upside down will chew your wood and frustrate you fast.
Step 3: Set the Blade Tension
Proper tension keeps your blade straight and prevents wandering cuts. Tighten the tension until the blade feels firm, then pluck it like a guitar string. You want a clear, high note rather than a dull thud. Too loose, and the blade will bow and drift off your line. Too tight, and it may snap in the middle of a cut. Test the tension on a scrap piece before committing to your real workpiece.
Step 4: Attach Your Pattern to the Workpiece
Transfer your design onto the wood so you have a clear line to follow. Print your pattern, then stick it down with painter’s tape or a light coat of spray adhesive. Smooth out any bubbles so the paper lies flat against the surface. A wrinkled pattern throws off your accuracy and makes tight curves harder. If your design has interior cutouts, mark those spots now. Taking a minute here saves you from cutting blind later.
Step 5: Drill Holes for Interior Cuts
Any design with enclosed spaces needs a starter hole before you can cut inside it. Use a small drill bit to bore a hole inside each area you plan to remove. Keep the hole close to the pattern line but not on it, so you have room to steer. Thread the blade through the hole, then reattach it to the top clamp and re-tension. This technique lets you cut clean interior shapes without breaking the outer edge. It’s the secret behind detailed fretwork and layered designs.
Step 6: Position Your Hands and Feed the Wood
Rest the workpiece flat on the table with both hands guiding it. Keep your fingers off to the sides of the blade, never directly in its path. Feed the wood slowly into the blade using light, steady pressure. Let the blade do the cutting instead of forcing the wood forward. Guide the piece so the blade stays right on your pattern line. If you push too hard, you’ll bend the blade and lose your line, so ease up and stay patient.
Step 7: Cut Curves and Sharp Corners
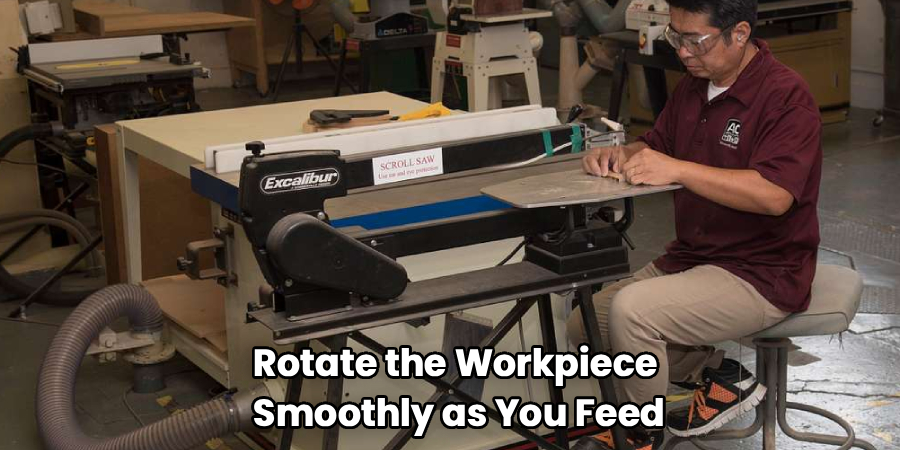
Curves are where this machine shines, so take them slowly. For gentle curves, rotate the workpiece smoothly as you feed. For tight corners, stop feeding and turn the wood in place while the blade keeps running. On very sharp points, cut a small loop into the waste area, then come back to the line from the other direction. This keeps your corners crisp without stalling the blade. Practice on scrap until turning feels natural.
Step 8: Manage the Kerf and Waste
Pay attention to the kerf — the thin slot the blade leaves behind. Staying just inside or on your line keeps your final piece accurate. Let waste pieces fall away naturally instead of yanking them, which can twist the blade. Keep the table clear of buildup so your view of the line stays sharp. A quick brush or shop vac between cuts helps a lot. Clean cuts start with a clean surface.
Step 9: Finish and Sand Your Piece
Once you’ve cut everything, turn off the machine and remove your workpiece. Peel away the pattern, and use a little adhesive remover if any residue sticks. Lightly sand the edges to smooth out any fuzz or tiny bumps left by the blade. Work with the grain and use a fine grit for delicate detail areas. Inspect your piece under good light to catch spots you missed. A few minutes of cleanup turns a rough cut into a polished project.
Tips for Best Results
These pointers go beyond the basics and help you cut like someone who’s logged plenty of hours in the shop.
- Match the blade to the material every time. Thin plywood needs a fine blade with more teeth, while thick hardwood cuts cleaner with a coarser one. Swapping blades to suit the job beats forcing one blade to do everything.
- Warm up on scrap first. Before touching your real project, run a few practice curves on a leftover piece. It confirms your tension is right and gets your hands ready for the feed rhythm.
- Slow down on tight detail. Beginners almost always feed too fast. When the pattern gets intricate, ease off and let the blade nibble through at its own pace.
- Keep spare blades within reach. Blades break, especially fine ones. Having replacements handy means you won’t lose momentum mid-project hunting for a new one.
- Reduce burn marks with steady motion. Pausing in one spot lets heat build and scorch the wood. Keep the workpiece moving smoothly to leave clean, mark-free edges.
Frequently Asked Questions
What Can I Make With a Scroll Saw?
You can create an impressive range of projects, from puzzles and ornaments to intricate fretwork and inlay designs. It excels at detailed, curvy work that other saws can’t handle. Many woodworkers use it for decorative signs, jewelry boxes, and layered wall art. Once you’re comfortable, the only real limit is your imagination and your pattern collection.
How Do I Know Which Blade to Use?
Blade choice depends on your material and the detail level of your design. Fine blades with more teeth per inch give you smooth cuts and handle tight curves in thin stock. Coarser blades cut faster and suit thicker hardwood where speed matters more than fine detail. When in doubt, test a blade on scrap and adjust based on the results.
Is It Safe to Use for Beginners?
Yes, it’s one of the safer power tools in the shop because the blade moves up and down in a small area rather than spinning exposed. Still, you should wear safety glasses, keep your fingers clear of the blade path, and stay focused. A dust mask helps with the fine sawdust these cuts produce. Take it slow, and you’ll build confidence quickly.
Why Does My Blade Keep Breaking?
Broken blades usually point to tension problems or feeding too aggressively. If the blade is too tight, it snaps under stress, and if it’s too loose, it bends and fails. Pushing the wood too hard also puts extra strain on a delicate blade. Reset your tension, ease up on the feed, and match the blade to your material thickness.
Can I Cut Materials Other Than Wood?
Absolutely, with the right blade you can cut thin plastic, soft metals, and even some acrylics. Each material needs a specific blade type and a slower feed rate for clean results. Always check that your blade is rated for the material before you start. Test on a scrap piece to dial in the right speed and pressure.
How Do I Get Cleaner, Smoother Cuts?
Clean cuts come down to correct tension, the right blade, and a steady, patient feed. Follow your pattern line closely and let the blade do the work instead of forcing it. Keep the table clear so you always see your line, and warm up on scrap first. A light sanding afterward smooths any remaining fuzz for a professional finish.
Conclusion
Getting comfortable with a scroll saw really does open up a whole new world of detailed woodworking projects. Set up a stable workspace, pick the right blade, dial in your tension, and feed the wood slow and steady. Do those things, and clean curves and crisp fretwork become second nature. If you haven’t found the right machine or blades yet, check out our recommended products above to get started with gear you can trust. Ready for more? Browse our other woodworking and tool guides for hands-on tips you can put to work on your next build.
