
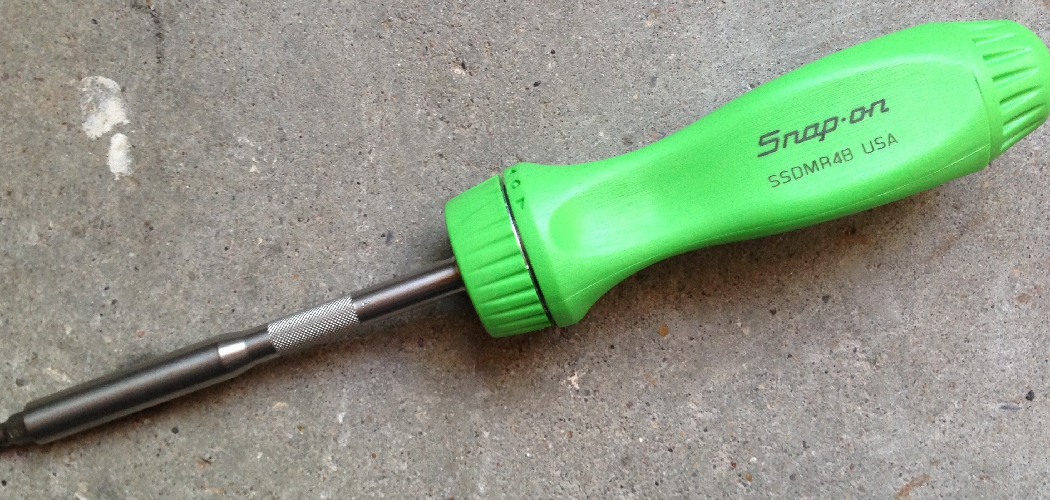
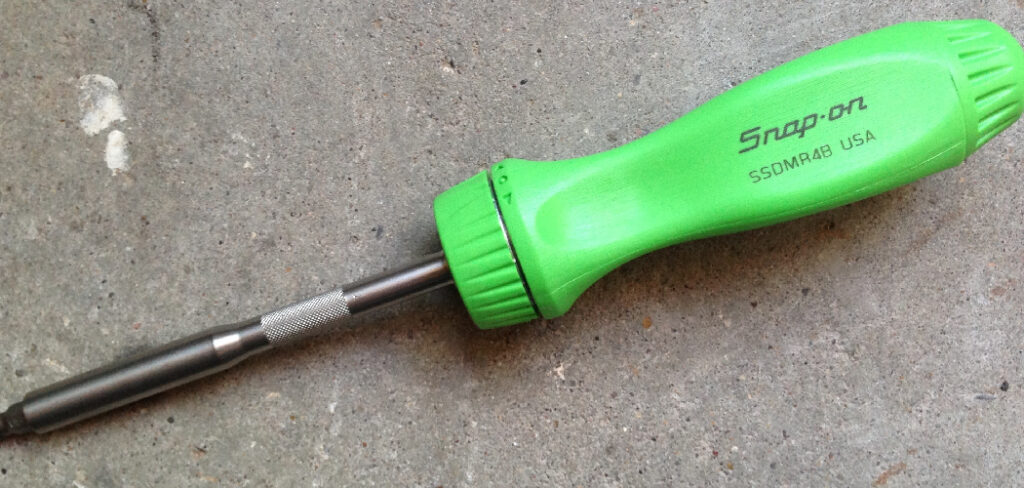
Picture this: you’re halfway through assembling a bookshelf, your wrist is aching, and you’ve still got twenty more screws to drive. Your regular screwdriver forces you to lift, reposition, and twist again and again. That slow grind wears you out fast. A ratchet screwdriver fixes all of that. It lets you keep your hand planted while the mechanism does the repetitive turning for you.
In this guide, you’ll learn exactly How to Use a Ratchet Screwdriver and how to get the most out of it. We’ll walk through the supplies you need, the step-by-step process, and a few insider tricks. Whether you’re hanging cabinets or fixing a wobbly chair, you’ll finish faster and with less strain. Let’s get your projects moving.
What You’ll Need
Grab these items before you start, so everything stays within arm’s reach.
- A ratchet screwdriver with a comfortable grip
- A set of interchangeable bits (Phillips, flathead, Torx, hex)
- The screws or fasteners for your project
- A small container or magnetic tray for loose bits
- Safety glasses for eye protection
- A clean, well-lit work surface
- A clamp or vise to hold your workpiece steady (optional)
- A pencil or awl for marking pilot points (optional)
Step-by-Step Guide on How to Use a Ratchet Screwdriver
Follow these steps in order, and you’ll be driving screws smoothly in no time. Take your time with the first couple of steps; getting comfortable with the mechanism makes everything else easier.
Step 1: Get to Know the Ratchet Mechanism
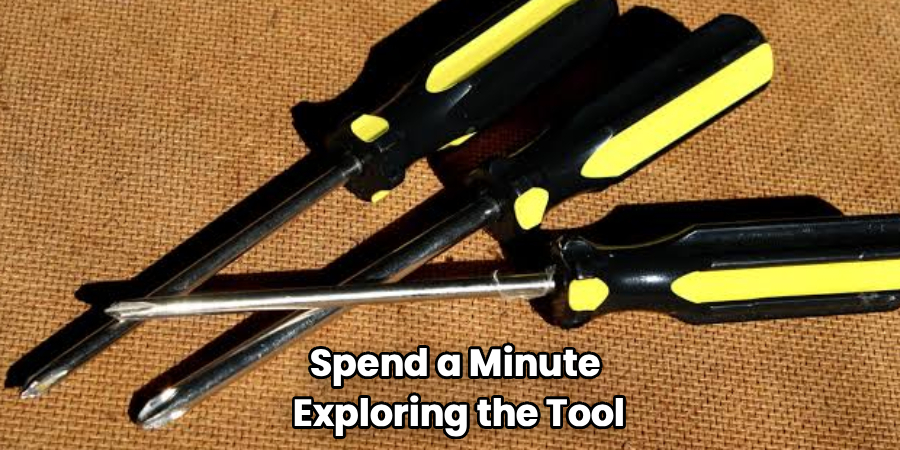
Before you touch a screw, spend a minute exploring the tool. Most models have a small switch or collar near the handle that sets the direction. Slide it one way to drive screws in, the other to back them out, and often a middle setting locks it solid like a standard driver. Turn the handle back and forth to feel how the ratchet catches in one direction and slips in the other. That clicking sound is the mechanism doing its job. Knowing these settings by feel saves you fumbling later.
Step 2: Choose and Insert the Right Bit
Match your bit to the screw head so it seats snugly without wobbling. A Phillips bit fits cross-shaped heads, a flathead fits single slots, and Torx or hex bits handle star and six-sided fasteners. Most ratchet screwdrivers use a quick-release chuck, so you just push the bit in until it clicks. Give it a gentle tug to confirm it’s locked in place. Using the wrong size bit is the fastest way to strip a screw head, so double-check before you drive.
Step 3: Set the Driving Direction
Now flip the direction switch to the “tighten” setting, which is usually clockwise. This tells the tool to grip when you turn right and release when you turn left. That release is the magic part, since it lets you reset your hand without pulling the bit out of the screw. Take a quick test turn in the air to make sure you picked the correct direction. Getting this backward means you’ll try to drive a screw and accidentally loosen it instead.
Step 4: Position and Start the Screw
Line up your screw with the spot where you want it, keeping the tool straight and square to the surface. Press the bit firmly into the screw head to keep it from slipping. Apply steady downward pressure as you begin your first few turns, since this is when screws are most likely to wander. If your material is hard, drilling a small pilot hole first makes the screw bite cleanly. Keep the tool aligned with the screw, not tilted, to avoid stripping or cam-out.
Step 5: Drive With a Back-and-Forth Motion
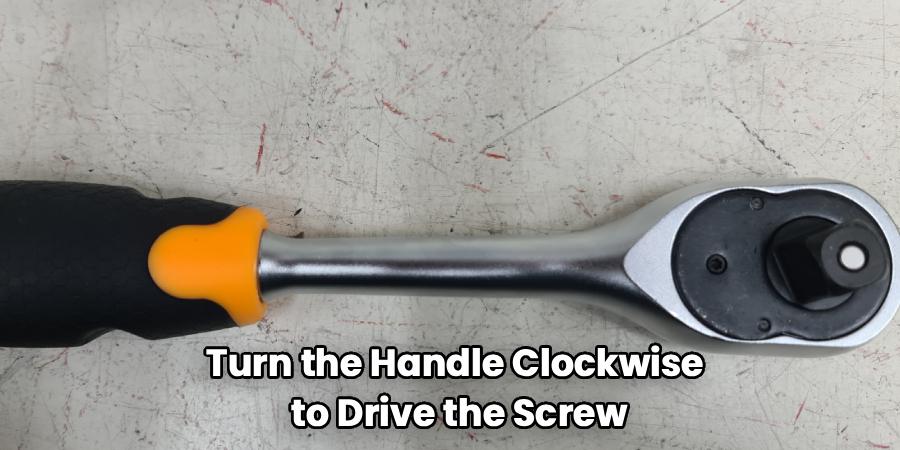
Here’s where you feel the real payoff. Turn the handle clockwise to drive the screw, then rotate your wrist back counterclockwise without lifting the bit. The ratchet slips on that return stroke, so the screw stays put while your hand resets. Repeat this smooth pumping motion and watch the screw sink in with almost no effort. Keep firm pressure the whole time so the bit doesn’t pop out. This rhythm is faster and far kinder to your wrist than a standard driver.
Step 6: Control Your Torque Near the End
As the screw gets close to fully seated, ease off your speed. Driving too hard at the finish can strip the head, snap the screw, or crack your material. Slow, deliberate turns give you better feel for when the screw is snug. Stop once the head sits flush with the surface or reaches the depth you want. Overtightening is one of the most common mistakes, so aim for firm, not forced.
Step 7: Switch Directions to Remove Screws
Removing a fastener works the same way in reverse. Flip the direction switch to the counterclockwise setting, then seat your bit firmly in the screw head. Push down hard while you turn, because backing out an old or tight screw needs extra grip. Use the same back-and-forth motion, letting the ratchet reset your hand on each stroke. If a screw refuses to budge, press harder rather than turning faster to avoid stripping it.
Step 8: Swap Bits for Different Jobs
Most projects mix screw types, so you’ll change bits often. Pull the old bit from the quick-release chuck, or slide the collar back if your model requires it. Snap in the new bit and confirm it locks with a light tug. Keep your bits organized in a magnetic tray so you’re not hunting for the right one. Many ratchet screwdrivers store spare bits right in the handle, which keeps everything together and saves time.
Step 9: Clean and Store the Tool
When you finish, wipe the tool down to remove dust, grime, and any metal shavings. Set the direction switch to the locked or neutral position before you put it away, which protects the mechanism. Store your bits in their case so none go missing. Keep the tool somewhere dry to prevent rust on the shaft and chuck. A little care after each job keeps the ratchet action smooth for years.
Tips for Best Results
These pointers come from folks who reach for this tool every single day.
- Match the bit to the screw, every time. A worn or mismatched bit causes cam-out, that annoying slip that chews up screw heads. Keep a fresh set on hand and retire bits once their tips look rounded.
- Let the tool do the work. You don’t need to muscle it. Steady downward pressure plus a smooth wrist motion drives screws better than brute force and protects the mechanism from wear.
- Use the locked setting for stubborn fasteners. When a screw is really stuck, switch to the rigid mode so the tool behaves like a solid driver. That gives you maximum leverage to break it loose before you ratchet the rest of the way.
- Keep bits magnetized. Run a magnet along your bits or buy a magnetized set. A magnetic tip holds the screw in place, which is a lifesaver when you’re working one-handed or in tight corners.
- Pre-drill in hardwoods. A quick pilot hole stops screws from splitting the wood and lets the ratchet action glide. It takes ten seconds and saves you from cracked boards.
Frequently Asked Questions
What Is a Ratchet Screwdriver Good For?
It shines anywhere you drive lots of screws by hand, like furniture assembly, cabinet installs, or electronics repair. The ratcheting action lets you keep the bit in the screw while your hand resets, so you work faster with less fatigue. It’s also great in tight spots where a power drill won’t fit. Think of it as the middle ground between a plain screwdriver and a cordless drill.
How Do I Switch Between Tightening and Loosening?
Look for the direction switch, collar, or dial near the top of the handle. Slide or turn it one way to drive screws clockwise, and the other way to back them out counterclockwise. Many models include a center position that locks the shaft for standard use. Test a quick turn in the air first to confirm you set it correctly.
Can I Use It Instead of a Power Drill?
For most light to medium tasks, yes, and you’ll enjoy more control and no charging. It’s quieter, lighter, and less likely to overdrive delicate screws. That said, big jobs with dozens of long screws or dense material go faster with a drill. Many people keep both and grab the ratchet tool for finish work and quick fixes.
Why Does My Screw Head Keep Stripping?
Stripping usually means the bit doesn’t match the screw, or you’re not pressing down hard enough. When the bit slips out under load, it grinds away the head, a problem called cam-out. Fix it by choosing the exact right bit size and applying firm, steady pressure straight into the screw. Slowing down near the end also protects the head.
Is It Safe to Use on Electronics?
It can be, as long as you use precision bits and go slow. The manual control gives you a delicate touch that a power tool can’t match, which helps with tiny screws. Always unplug or power down the device first and wear eye protection. For very small fasteners, look for a compact precision model built for detailed work.
How Do I Keep the Ratchet Mechanism Working Smoothly?
Wipe the tool clean after each use to keep grit out of the moving parts. Every so often, add a drop of light machine oil to the mechanism if it starts to feel stiff. Store it in a dry place so the shaft and chuck don’t rust. Set the switch to neutral before storage to reduce strain on the internal parts.
Conclusion
Driving screws no longer has to leave your wrist sore and your patience thin. With a little practice, a ratchet screwdriver turns tedious fastening jobs into quick, satisfying work. Just remember the essentials: pick the right bit, set your direction, keep steady pressure, and ease off near the end. Nail those habits, and every project goes smoother.
If you haven’t picked one up yet, check out our recommended picks above to find your perfect match. Ready to build your skills further? Browse our other DIY tool guides and tackle your next project with confidence.
