
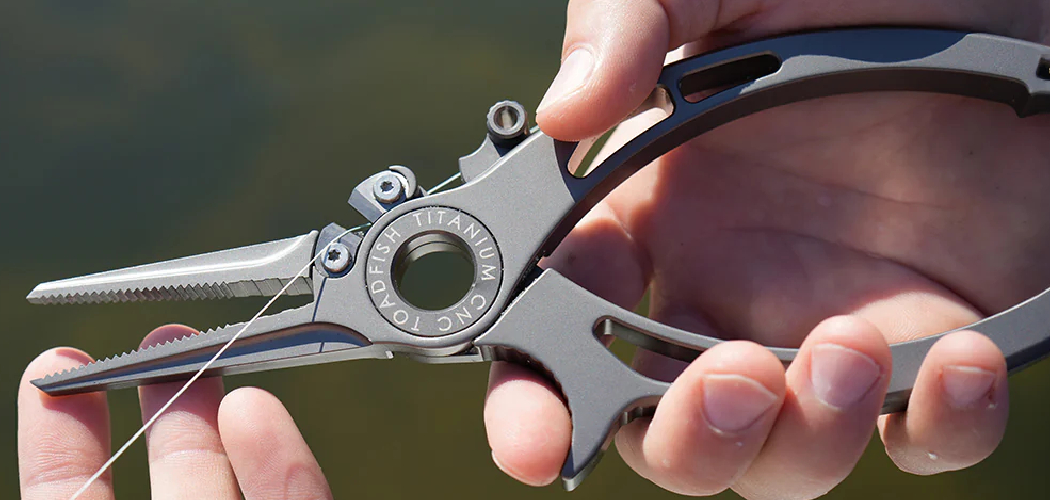
You’re standing at the workbench, trying to swap a rusty treble hook on your favorite lure. Your fingernails are bent, the split ring won’t open, and you’re one slip away from a nasty jab. Sound familiar? This is exactly where split ring pliers come to the rescue. These clever little tools pop open those tight coiled rings in seconds, so you can attach hooks, swivels, or charms without the struggle.
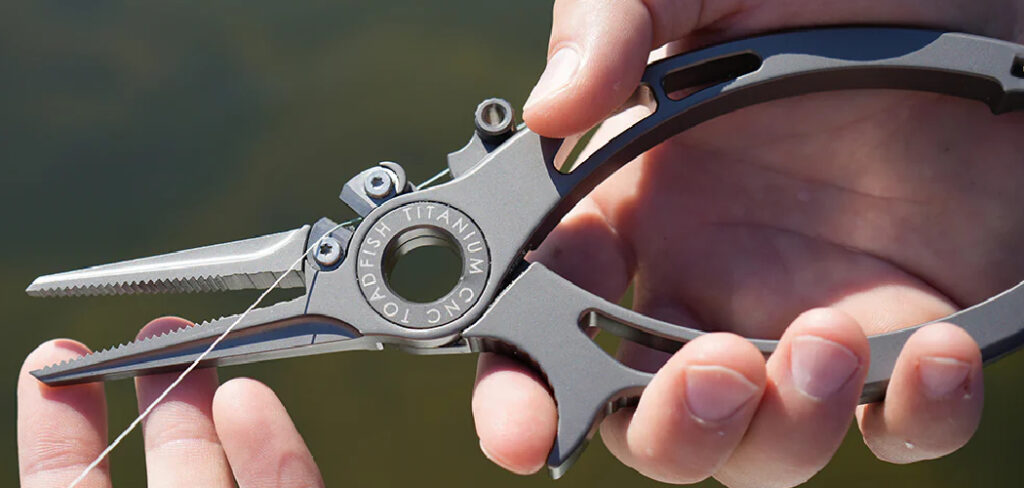
In this guide, you’ll learn how to use split ring pliers, what you’ll need to get started, and a clear step-by-step process for using them. We’ll also cover insider tips and answer the questions people ask most. Whether you’re rigging tackle or fixing a key ring at home, you’ll finish feeling confident and ready to work.
What Are Split Ring Pliers?
Split ring pliers are specialized hand tools designed to open small coiled metal rings without damaging them or your fingers. They feature a curved tip or a small protruding tooth that slips between the coils of a split ring and pries it apart.
Anglers use them constantly for swapping hooks and swivels on fishing lures, but they’re just as handy for jewelry making and key rings. The tool’s spring action keeps the handles open between uses, making repetitive work quick and painless.
What You’ll Need
Before you dive in, gather a few basics so you’re set up for smooth work. Here’s your quick checklist:
- A pair of split ring pliers (fishing or jewelry style)
- The split rings you plan to open or close
- The item you’re attaching (a hook, swivel, charm, or key)
- Good lighting or a magnifier for tiny rings
- A clean, flat work surface or bench mat
- A small container to hold loose rings and parts
- Needle-nose pliers for a backup grip (optional)
- A soft cloth to wipe away grime or moisture
Most jobs only need the pliers and your rings. The extras just make fiddly tasks easier and keep small parts from rolling away.
Step-by-Step Guide on How to Use Split Ring Pliers
Take these steps slowly the first few times. Once you build a little muscle memory, the whole process takes just a few seconds.
Step 1: Get to Know the Tool
Pick up the pliers and study the tip before you start. You’ll notice one jaw has a small hooked point or curved tooth that sticks out slightly. That little feature is the secret to the whole design. The other jaw usually has a flat or grooved surface that grips the ring steady.
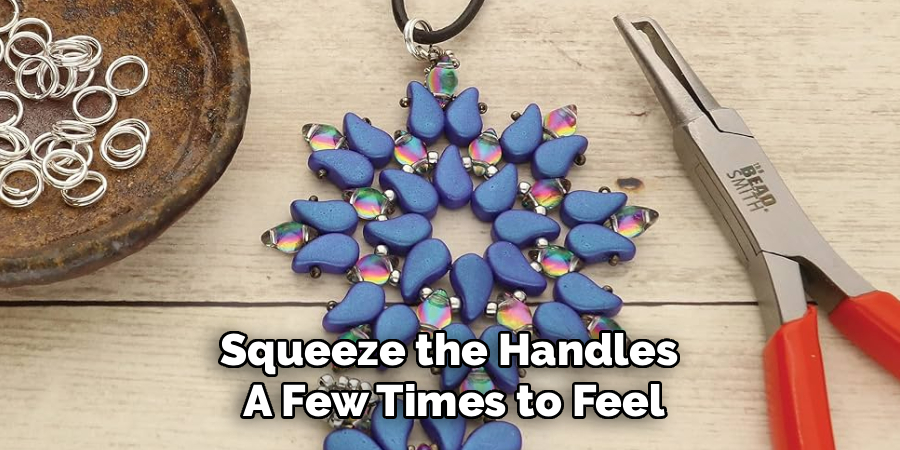
Squeeze the handles a few times to feel the spring action. Notice how they snap back open on their own. Understanding these parts now saves you fumbling later. A quick once-over builds real confidence.
Step 2: Set Up Your Workspace
Clear a flat spot and lay down a mat or cloth to catch tiny parts. Split rings and hooks love to bounce and vanish, so a contained area saves headaches. Good lighting matters more than you’d think, especially with small tackle or jewelry rings. Position a lamp or sit near a window.
Keep a small dish nearby for loose pieces. If you’re working with tiny rings, grab a magnifier too. A tidy setup means less frustration. It also keeps sharp hooks from surprising you.
Step 3: Position the Split Ring
Hold the split ring between your fingers so you can see where the two coil ends overlap. That overlap is your target. Line up the hooked tooth of the pliers right at the gap where one coil sits on top of the other. Getting the tip in the right spot is half the job.
Don’t rush this part. A steady grip on the ring keeps everything from twisting. If the ring is too small to hold comfortably, rest it on your work mat. Precision here makes the next step effortless.
Step 4: Open the Ring with the Tooth
Slide the hooked point between the coils and gently squeeze the handles. The tooth wedges the ring open, creating a small gap. You don’t need much force at all, so ease into it. Squeezing too hard can bend or distort the ring.
Keep the gap just wide enough to slip your attachment through. Watch the plier jaw as it works to avoid overspreading the metal. If the tip slips out, reset and try again with a slightly different angle. Patience beats brute force every time.
Step 5: Slide On Your Attachment
With the ring held open, thread your hook, swivel, charm, or key onto the exposed coil. Guide it along the coil, following the spiral toward the center of the ring. This is where the ring’s design does the work for you. Take it slow so the attachment doesn’t pop off.
For a fishing lure, this is how you swap a dull treble for a fresh one. Make sure the item seats fully onto the ring before you let go. A rushed slide can leave your hook only half attached. Double-check that it’s riding both coils.
Step 6: Release and Let the Ring Close
Once your attachment is seated, slowly ease off the handles. The spring action opens the pliers, and the split ring snaps back to its natural shape. The coils close around your attachment, locking it in place. This tight closure is what makes these rings so secure.
Wiggle the pliers free from the coils gently. Avoid yanking, which can nick the metal or reopen the gap. A smooth release keeps the ring round and strong. That clean finish means a reliable connection.
Step 7: Test the Connection
Give your finished piece a firm tug to make sure everything holds. The attachment should stay put with no gaps in the ring. If you spot a bend or a coil sticking out, the ring may be weakened. Swap it for a fresh one rather than risking a lost fish or a broken key ring.
This quick test takes two seconds and saves real trouble. On tackle, a failed ring means a lost lure at the worst moment. Trust your check, not your luck. A solid connection is worth the extra beat.
Step 8: Clean and Store the Tool
Wipe the pliers down after each session, especially after saltwater fishing trips. Salt and moisture cause rust that dulls the tip and stiffens the spring. A quick dry with a cloth goes a long way. Add a tiny drop of oil to the pivot now and then to keep the action smooth.
Store the tool in a dry tackle box or drawer. Keep the tip protected so it stays sharp and precise. A well-kept pair lasts for years. Good habits now mean fewer replacements later.
Tips for Best Results
Want to level up your technique? These insider tips go beyond the basic steps:
- Match the pliers to the ring size. Tiny jewelry rings and heavy saltwater rings need different tools. A fine-tipped pair handles delicate charms, while a beefier tool tackles thick tackle rings. Using the right size prevents bent tips and sloppy work.
- Buy corrosion-resistant pliers for fishing. If you fish saltwater, stainless steel or coated tools resist rust far better. That small upgrade saves you from a seized spring after a few trips. Your future self will thank you.
- Keep spare split rings on hand. Rings weaken after repeated opening, so never reuse a bent one. Stocking a few sizes means you’re always ready to make a clean swap. Fresh rings hold stronger and last longer.
- Work over a container, not open air. Dropped rings and hooks disappear fast. Doing your work above a bowl or tray catches anything that slips. It’s a simple trick that saves a lot of crawling on the floor.
- Don’t overspread the ring. Open it just enough to slide your attachment through. Forcing the gap too wide permanently distorts the coil and ruins the ring’s grip.
Frequently Asked Questions
What Are Split Ring Pliers Used For?
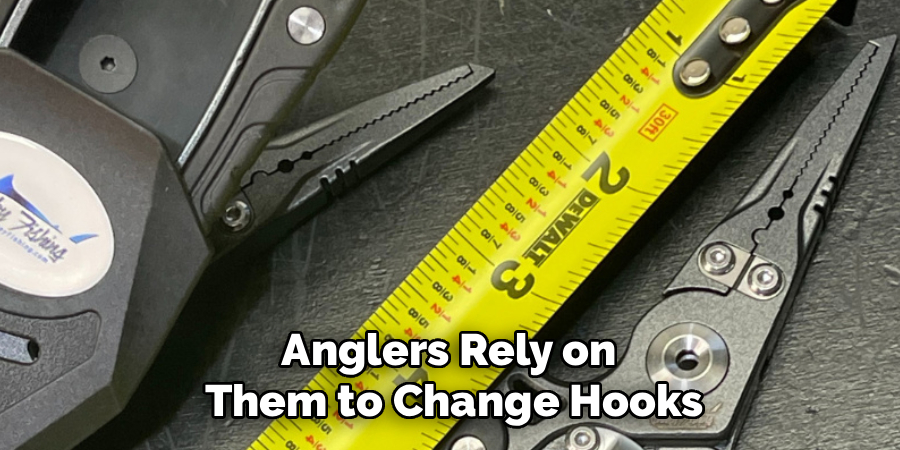
These tools open small coiled rings so you can attach or swap items without hurting your fingers. Anglers rely on them to change hooks and swivels on fishing lures quickly. Crafters use them for jewelry making and repairs, and plenty of people keep a pair for stubborn key rings. Anywhere you find a split ring, these pliers make the job faster and safer.
How Do I Open a Split Ring Without Bending It?
Slide the pliers’ hooked tooth between the two coils and squeeze gently. Only open the gap wide enough to slip your attachment through, then release slowly. The trick is easing into the squeeze rather than forcing it. Too much pressure distorts the coil, so a light touch keeps the ring perfectly round.
Can I Use Regular Pliers Instead?
You can try, but it’s frustrating and risky. Standard needle-nose pliers lack the special tooth that wedges the coils apart, so you’ll likely bend the ring or slip and jab yourself. The purpose-built design saves your fingers and your rings. For anything beyond an occasional emergency, a proper pair is well worth it.
Are Split Ring Pliers Only for Fishing?
Not at all. While they’re a staple in every tackle box, they shine in plenty of other spots too. Jewelry makers use them for opening jump rings and split rings on bracelets and keychains. They also make swapping items on a crowded key ring painless, so they earn their place in any toolbox.
Is It Safe to Use Them on Small Jewelry Rings?
Yes, as long as you pick a fine-tipped pair sized for delicate work. Fishing-style pliers can be too bulky for tiny charms, so choose a smaller tool for precision. Work under good light and go slow to avoid scratching soft metals. With the right pair, you’ll open jewelry rings cleanly every time.
Conclusion
Using split ring pliers is far easier than wrestling rings with your fingernails, and once you get the hang of it, you’ll wonder how you managed without them. Just remember to line up the tooth, open the ring gently, slide on your attachment, and let the coils close tight. That simple rhythm gives you secure, reliable connections every time.
If you haven’t added a pair to your kit yet, check out our recommended picks above to find the right fit. Ready to rig up your next lure or fix that key ring? Explore our other DIY guides for more hands-on tips. Happy tinkering!
