
Winter is coming, and that pile of logs in your yard won’t split itself. If you’ve ever spent an afternoon swinging an axe until your arms felt like jelly, you already know the struggle. A log splitter changes everything. It turns hours of sweaty, frustrating work into a smooth, satisfying process that anyone can handle.
In this guide, you’ll learn exactly How to Use a Log Splitter and get the most out of every session. We’ll cover the gear you need, walk through each step, and share a few tricks the pros use. Whether you’re prepping firewood for the season or clearing storm debris, you’ll feel confident by the time you finish reading. Let’s get that wood ready for the fire.
What You’ll Need
Before you fire anything up, gather your supplies. Having everything ready makes the whole job faster and safer.
- A log splitter (electric, gas, or manual — whatever suits your workload)
- Safety glasses to shield your eyes from flying chips
- Heavy-duty work gloves for grip and protection
- Steel-toe boots in case a log rolls the wrong way
- Ear protection if you’re using a loud gas model
- Hydraulic fluid for topping off gas and electric units
- Logs cut to the right length (usually 16 to 24 inches)
- A sturdy, level work surface or the ground cleared of debris
- A wheelbarrow or cart to move split firewood
- A helper (optional, but handy for larger jobs)
Keep everything within arm’s reach. You don’t want to walk away from a running machine to grab a forgotten tool.
Step-by-Step Guide on How to Use a Log Splitter
Step 1: Set Up on Solid, Level Ground
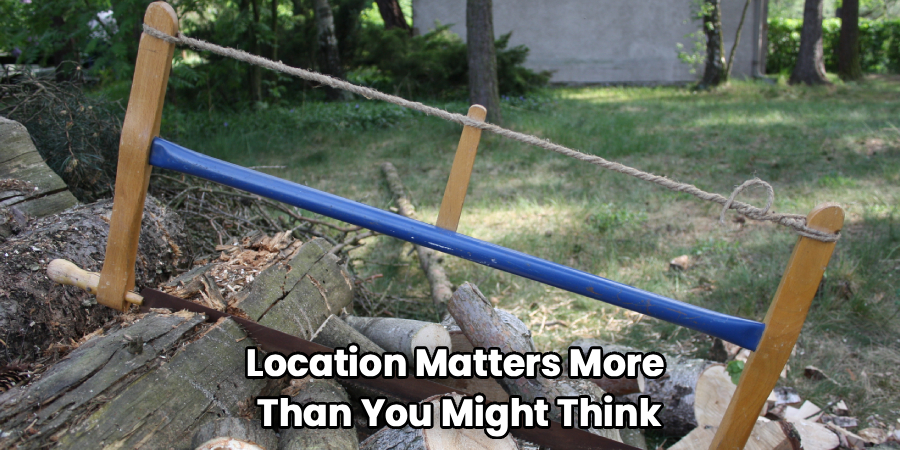
Location matters more than you might think. Place your machine on flat, firm ground where it won’t wobble or tip. A shaky surface makes the work dangerous and sloppy. Clear away rocks, sticks, and anything that could trip you up. If you’re using a gas model, work outdoors or in a well-ventilated space since these units produce fumes. Give yourself plenty of room to move logs in and stack them once they’re split.
Step 2: Inspect the Machine Before You Start
A quick check saves you from headaches later. Look over the hydraulic hoses for cracks or leaks, and confirm the fluid level sits where it should. Test that the control lever moves freely and returns on its own. Check that the wedge is sharp and firmly attached. On gas models, make sure you’ve got enough fuel and oil. Catching a small issue now beats dealing with a breakdown halfway through a big pile of wood.
Step 3: Suit Up in Your Safety Gear
Never skip this part, no matter how quick the job seems. Slip on your safety glasses first, since wood chips can fly without warning. Pull on your work gloves for a firm grip and to protect your hands from splinters. Wear steel-toe boots because a rolling log can do real damage to your feet. If your machine roars, add ear protection too. Avoid loose clothing and dangling jewelry that could catch on moving parts.
Step 4: Prepare and Position Your Logs
Good prep makes wood splitting far smoother. Cut your logs to a length that fits your machine’s capacity, usually between 16 and 24 inches. Try to slice the ends as flat as possible so the log sits steady. Look for knots or twists and set those aside for a second pass, since they resist splitting. Place one log at a time onto the beam or cradle, centering it against the plate. Keep your hands well clear of the wedge before you engage anything.
Step 5: Power On and Warm Up
Start the machine according to its type. For electric models, plug into a grounded outlet and flip the switch. For gas units, prime the engine, set the choke, and pull the starter cord. Let the motor idle for a minute so the hydraulic system builds proper pressure. This warm-up helps the ram push with full force. Rushing this step can lead to weak, uneven splits that jam the blade.
Step 6: Engage the Ram and Split the Wood
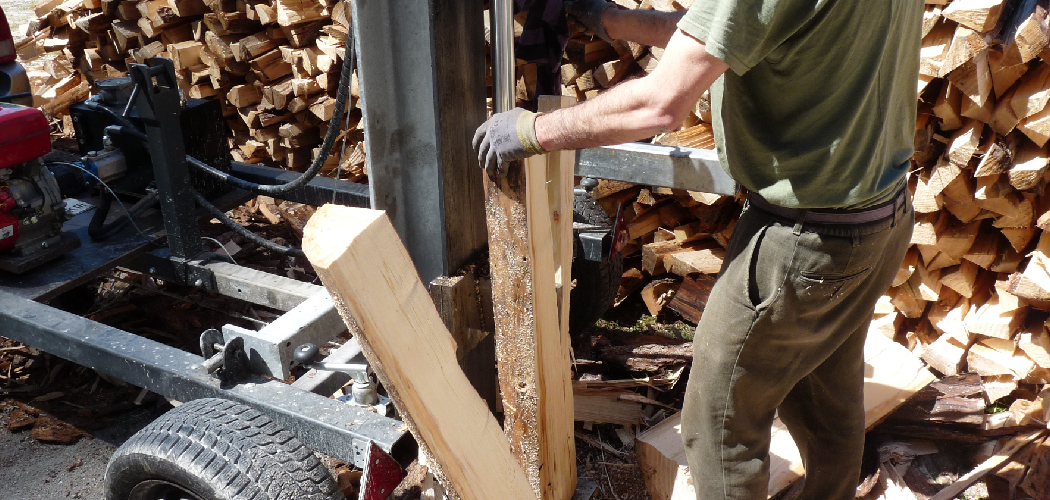
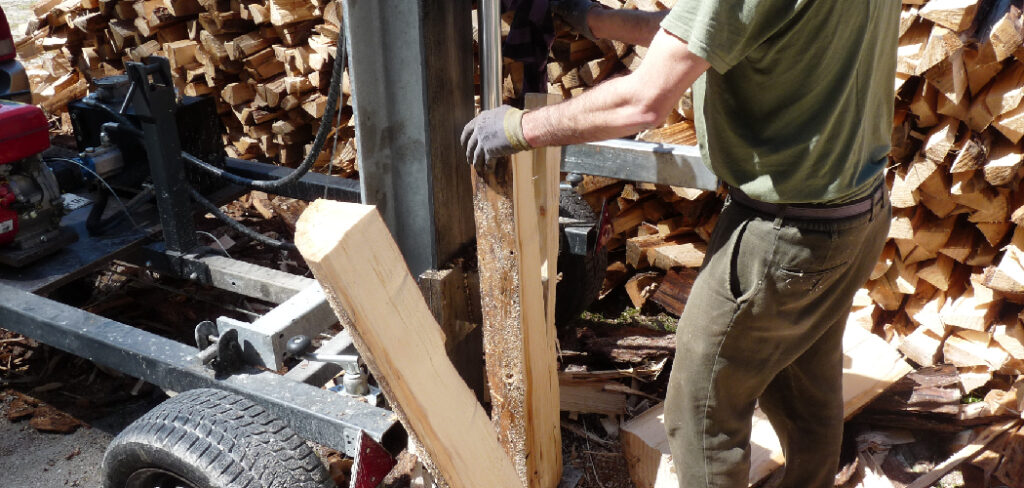
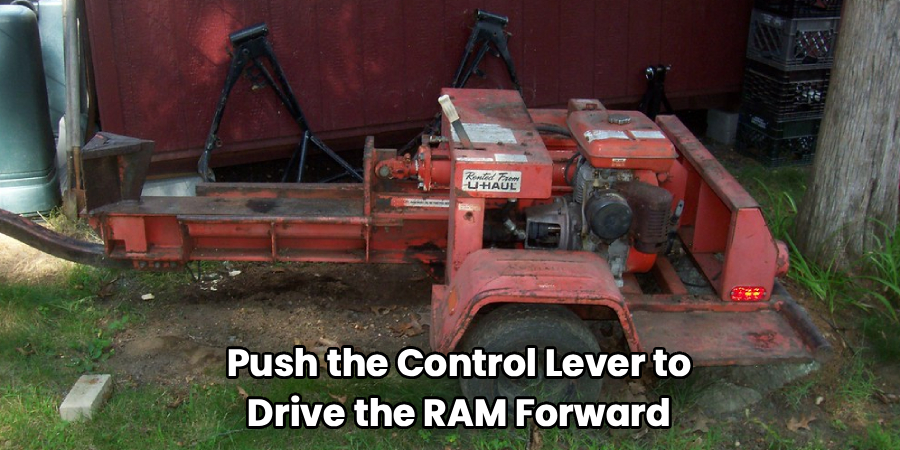
Here comes the satisfying part. With the log centered and your hands clear, push the control lever to drive the ram forward. The hydraulic force pushes the wood into the wedge, splitting it cleanly. Hold the lever until the piece breaks apart, then release it so the ram retreats. Never reach in to adjust a log while the ram is moving. If a piece splits only partway, let the ram fully return before you reposition it.
Step 7: Clear and Reset Between Splits
Between each log, take a moment to reset. Remove the split pieces and toss them into your wheelbarrow or stacking pile. Brush away loose chips and bark that build up around the wedge. This keeps the surface clean and prevents logs from sitting crooked. A tidy work zone also lowers your risk of tripping. Load your next log only after the ram has fully returned to its starting spot.
Step 8: Tackle Stubborn Logs Carefully
Some logs just don’t want to cooperate. Knotty or twisted pieces often stall the ram midway. When that happens, back off the lever, let the ram reset, and rotate the log a quarter turn. Try hitting it from a different angle where the grain runs cleaner. For really tough rounds, a splitting maul can help you start a crack before feeding it into the machine. Patience beats force every time here.
Step 9: Shut Down and Store Properly
When the last log is done, power everything down the right way. Turn off the engine or unplug the electric unit before you touch anything. Let the machine cool before you cover it or move it. Wipe down the beam and wedge to keep them free of sap and rust. Store your splitter in a dry, sheltered spot, and coil the hoses loosely to avoid kinks. A little care now means it starts right up next season.
Tips for Best Results
- Split wood when it’s green or freshly cut. Damp wood often breaks more easily than fully dried logs, and it seasons faster once it’s split into smaller pieces.
- Match the log to the machine’s tonnage. A 20-ton unit handles most hardwoods, but oak and elm may need more force. Know your limits before you fight a stubborn round.
- Keep the wedge sharp. A dull wedge crushes wood instead of slicing it, which wastes power and strains the hydraulic system. A quick file sharpening every so often works wonders.
- Stack as you go. Building your firewood pile during the session saves a second round of hauling and keeps your work area clear.
- Work with the grain. Position logs so the wedge follows the natural grain lines. You’ll get cleaner splits with far less effort.
Frequently Asked Questions
Is It Safe to Use a Log Splitter Alone?
Yes, you can safely operate one by yourself with the right precautions. Most machines are built for single-person use, with controls that keep your hands away from the wedge. Just move slowly, stay focused, and never rush the process. If you’re handling very large or heavy rounds, though, a helper makes the job easier and safer.
How Many Cords of Wood Can I Split in a Day?
That depends on your machine, your wood, and your stamina. With a decent hydraulic unit, many people split one to two cords of wood in a solid afternoon. Softer woods go faster, while dense hardwoods and knotty pieces slow you down. Take breaks to stay sharp, since fatigue leads to careless mistakes.
Can I Split Wet or Frozen Wood?
You can, and sometimes it’s easier. Frozen wood tends to crack cleanly because the moisture inside becomes brittle. Wet or green wood also splits well, though it needs time to dry before you burn it. Very sappy or waterlogged pieces may gum up the wedge, so wipe it down often when working with them.
What’s the Difference Between an Electric and Gas Model?
Electric units run quietly, need less upkeep, and work great for light to medium jobs near an outlet. Gas models pack more power and go anywhere, which suits big firewood projects far from electricity. Your choice comes down to how much wood you split and where you split it. For occasional backyard use, electric usually does the trick.
Do I Still Need a Splitting Maul?
A splitting maul isn’t required, but it’s a handy backup. You can use it to start a crack in a tough round before feeding it into the machine. It’s also useful for small jobs when hauling out the big equipment feels like overkill. Think of it as a helpful sidekick rather than a replacement.
Conclusion
Splitting firewood doesn’t have to wreck your back or eat up your weekend. With a log splitter and a little know-how, you’ll turn a daunting woodpile into neat, stackable firewood in no time. Remember to gear up, take your time, and respect the machine’s power. Every session gets easier as you build confidence and rhythm.
If you haven’t picked one up yet, check out our recommended products above to find the right fit. Ready to learn more? Explore our other guides for tips on seasoning wood, stacking firewood, and keeping your gear in top shape.
