
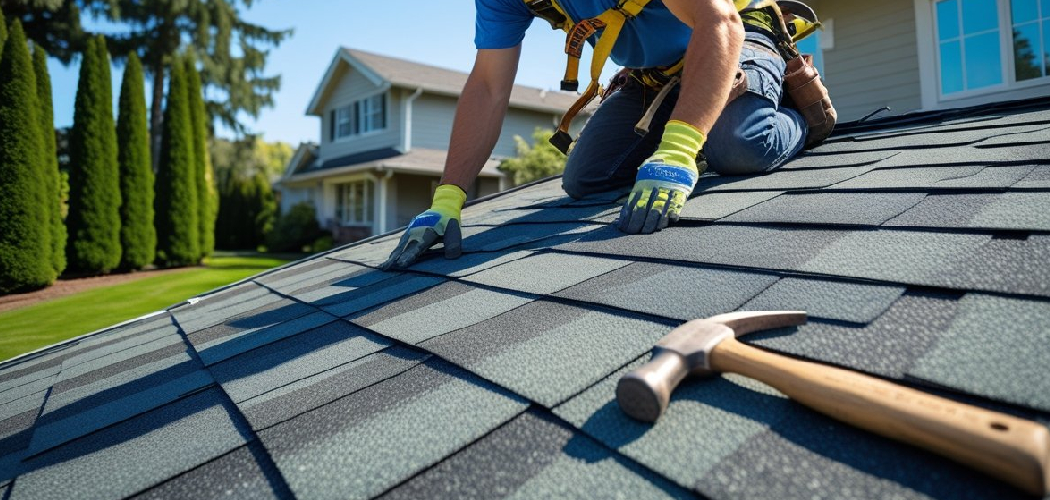
Picture yourself up on a ladder, a bundle of shingles waiting nearby, and a fresh roofing hammer gripped in your hand. You want the job done right, but the tool feels a little foreign compared to your trusty claw hammer. Learning how to use a roofing hammer changes everything about the way you approach roofing work. This one tool handles nailing, cutting, and even measuring shingle spacing.
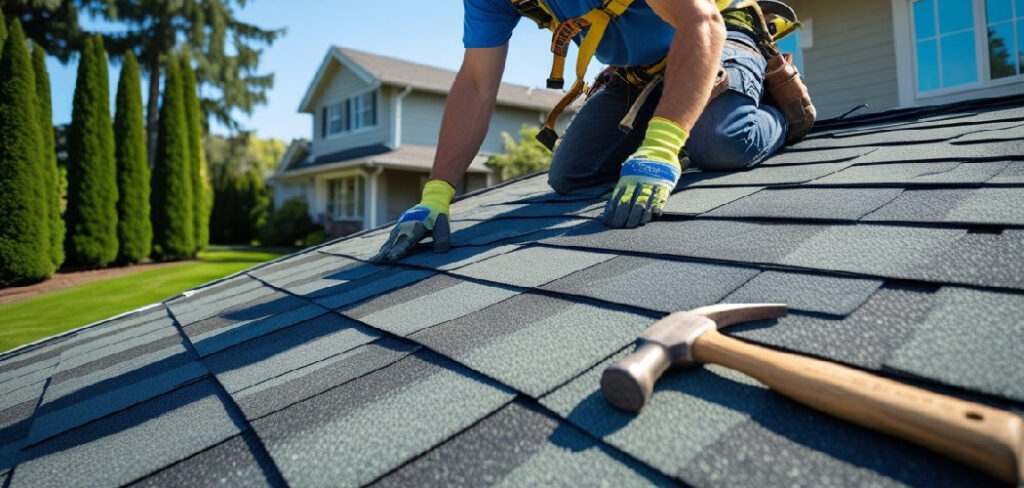
In this guide, you’ll learn what makes this hammer special, what supplies to gather, and a clear step-by-step process for using it safely. We’ll also cover insider tips and answer the questions beginners ask most. By the end, you’ll swing with confidence and lay shingles like you’ve done it for years.
What Is a Roofing Hammer?
A roofing hammer, sometimes called a roofing hatchet, is a specialty tool built for installing shingles and shakes. It combines several features in one: a flat striking face for driving nails, a sharp hatchet blade for splitting wood shakes, and an adjustable gauge bar for measuring consistent shingle exposure.
Many models also include a small nail-pulling notch and a milled face to reduce slipping. It’s a workhorse designed to speed up roofing work while keeping your nail placement accurate.
What You’ll Need
Before you climb up, gather everything you need. A little prep keeps you safe and saves trips up and down the ladder.
- A roofing hammer (with a gauge bar if possible)
- Roofing nails (correct length for your shingles)
- Shingles or wood shakes
- Roofing underlayment or felt
- Chalk line for straight guide marks
- Utility knife for trimming
- Tape measure
- Sturdy extension ladder
- Roofing safety harness and rope
- Non-slip work boots
- Work gloves and safety glasses
- A nail pouch or tool belt
Grab a small magnetic tray for loose nails too. Chasing dropped nails off a roof is a hassle nobody enjoys.
Step-by-Step Guide on How to Use a Roofing Hammer
Follow these steps in order. Each one builds on the last, so by the time you finish, you’ll handle the tool smoothly and safely.
Step 1: Inspect Your Roofing Hammer First
Start by giving your tool a quick once-over. Check that the head sits tight on the handle with no wobble. A loose head is dangerous and throws off your nail placement. Look at the hatchet blade to make sure it’s sharp enough to split shakes cleanly.
If your model has a gauge bar, slide it back and forth to confirm it moves freely. Tighten any bolts that feel loose. A well-maintained tool makes every swing safer and more accurate. This habit takes thirty seconds and prevents big headaches later.
Step 2: Set Up Your Safety Gear and Ladder
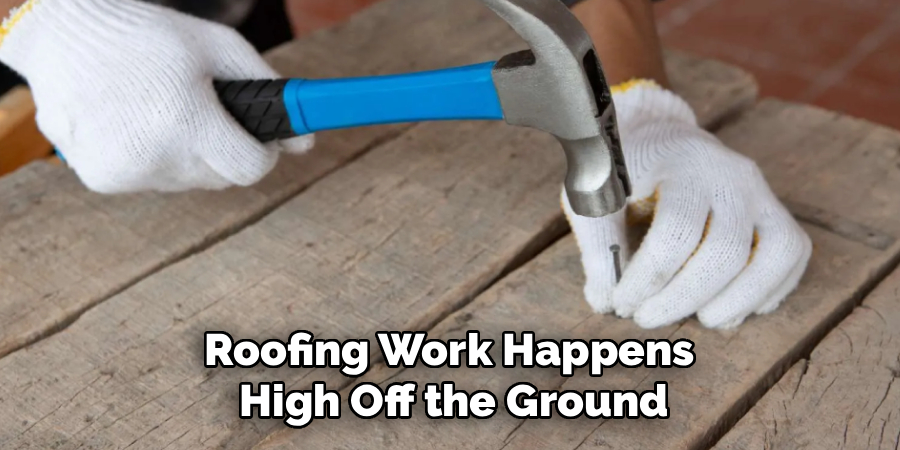
Roofing work happens high off the ground, so safety comes first. Strap on your harness and anchor the rope to a secure point before you climb. Position your extension ladder on firm, level ground and have someone hold the base. Wear non-slip boots to keep steady footing on the deck.
Never rush this setup, even for a quick fix. Most roofing injuries come from falls, not tools. Keep your tool belt snug so your hammer stays within reach. A stable, secure work zone lets you focus on the task instead of your balance.
Step 3: Prep the Roof Deck and Snap Chalk Lines
Before any nailing begins, prepare the surface. Lay down your underlayment or felt across the clean roof deck, smoothing out wrinkles as you go. Wrinkles create bumps that show through finished shingles. Once the felt is down, snap chalk lines to mark straight rows.
These lines act as your guide, keeping every course level and neat. Measure carefully so your spacing stays consistent from edge to edge. Straight lines make the whole roof look professional. Take your time here; it pays off in every row above.
Step 4: Load and Grip the Hammer Correctly
How you hold the tool affects both accuracy and stamina. Grip the handle near the end, not up by the head, for more power and control. Keep your wrist loose and let the weight of the hammer do the work. Tucking a few nails in your free hand speeds up the rhythm.
Hold each nail steady between your fingers before the first tap. A relaxed grip prevents fatigue during long roofing work sessions. Squeezing too hard tires your hand fast and hurts your aim. Practice a few gentle swings before your first real nail.
Step 5: Position the Shingle and Set the First Nail
Line up your shingle along the chalk line you snapped earlier. Hold it firmly with one hand so it doesn’t shift. With the other hand, place a roofing nail in the correct spot, usually just above the exposure line. Give it a light tap to set it, then a firmer strike to drive it home.
Correct nail placement matters more than speed. Drive nails flush with the surface, not so deep that they tear the shingle. An angled or overdriven nail weakens the whole roof. Steady, even strikes give you clean, secure results every time.
Step 6: Use the Gauge Bar for Consistent Spacing
Here’s where a roofing hatchet really shines. Slide the adjustable gauge bar to match your desired shingle exposure. Hook the bar on the edge of the shingle below to instantly position the next one. This built-in measuring trick keeps every course perfectly even.
No more stopping to measure each row by hand. Consistent spacing gives the roof a clean, uniform look and better weather protection. Double-check the gauge setting after the first few shingles. Once it’s dialed in, your pace picks up fast.
Step 7: Split Wood Shakes With the Hatchet Blade
If you’re working with wood shakes instead of asphalt shingles, the hatchet edge becomes your best friend. Line up the shake where you need to cut it. Strike firmly along the grain with the blade to split it cleanly. This saves you from switching to a separate cutting tool.
Always keep your free hand clear of the blade’s path. A sharp edge cuts smoothly, but a dull one can slip and cause injury. Split slowly until you get a feel for the wood grain. Knowing how to use a roofing hammer for cutting speeds up the whole job.
Step 8: Pull Bent or Misplaced Nails
Mistakes happen, and that’s fine. When a nail bends or lands in the wrong spot, use the pulling notch on the hammer head. Slide the notch under the nail head and rock the tool back to lift it out. Work gently so you don’t tear the shingle around it.
Replace the pulled nail with a fresh one in the right position. Reusing bent nails leads to loose shingles down the road. Keep a few extras handy so a mistake never slows you down. Clean corrections now prevent leaks later.
Step 9: Work in Rows and Stagger the Seams
Move across the roof one course at a time, working from the bottom up. Stagger the seams between rows so no two joints line up directly. Offset seams stop water from finding a straight path underneath. This overlap is what keeps a roof watertight for decades.
Check your chalk lines as you climb to stay straight. Lean on the gauge bar to keep spacing steady across every course. A consistent pattern looks sharp and performs better in heavy rain. Slow, careful rows beat fast, sloppy ones every time.
Step 10: Inspect Your Work and Clean Up
Once you finish a section, step back and review it. Look for raised nails, crooked shingles, or gaps in your rows. Press down any high spots and reset loose nails right away. A quick inspection now saves a callback later.
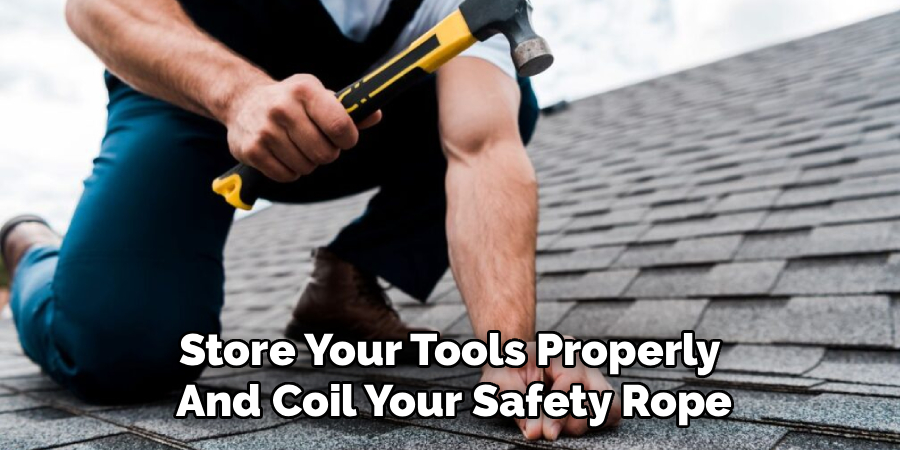
Gather every stray nail from the roof and ground below with a magnetic sweeper. Loose nails cause flat tires and injuries. Store your tools properly and coil your safety rope. A clean finish is the mark of careful, quality roofing work.
Tips for Best Results
Want to level up your skills? These pointers go beyond the basics and come from real experience on the roof.
- Keep the blade sharp. A sharp hatchet edge splits shakes cleanly and safely. A dull blade forces you to swing harder, which invites slips and mistakes. Touch it up with a file when it starts to drag.
- Match nail length to your material. Too-short nails won’t hold, and too-long nails poke through the deck. Check the shingle manufacturer’s spec and pick nails that penetrate the deck by about three-quarters of an inch.
- Rest your swinging arm. Roofing work is repetitive, and fatigue leads to sloppy nail placement. Take short breaks and switch up your posture to protect your wrist and shoulder.
- Set the gauge bar before you climb. Adjusting it on the ground is far easier than fiddling with it on a slope. Lock it in, then test it on a scrap shingle.
- Work when it’s cool. Midday heat softens asphalt shingles and tires you out fast. Early morning offers better grip and steadier hands.
Frequently Asked Questions
What Is the Difference Between a Roofing Hammer and a Regular Hammer?
A regular claw hammer only drives and pulls nails, while a roofing hammer does much more. It adds a hatchet blade for splitting shakes and an adjustable gauge bar for measuring shingle spacing. The milled face also grips nail heads better to prevent slipping. That combination makes it a true specialty tool for roofing work.
How Do I Use the Gauge Bar for Shingle Spacing?
Slide the adjustable gauge bar to the exposure measurement your shingles require. Then hook it on the edge of the shingle in the row below. This instantly positions your next shingle at the correct distance. It keeps every course even without stopping to measure each one by hand.
Is It Safe to Use a Roofing Hatchet as a Beginner?
Yes, as long as you respect the tool and follow safe practices. Keep your free hand clear of the sharp blade, and always wear gloves and safety glasses. Start slow to get a feel for the weight and swing before picking up speed. A little practice on scrap material builds confidence fast.
What Nail Length Should I Use for Shingles?
The right length depends on your shingle type and roof deck thickness. As a rule, the nail should pass through the shingle and into the deck by about three-quarters of an inch. Check the manufacturer’s guidelines printed on the shingle bundle. Correct nail placement keeps your roof secure and leak-free.
Can I Use a Roofing Hammer on Metal or Tile Roofs?
Not really, since this tool is designed mainly for asphalt shingles and wood shakes. Metal and tile roofs need specialized fasteners and installation methods. Using the hatchet blade on those materials could crack tiles or dent panels. Stick to shingle nailing and shake work for the best results.
How Do I Keep My Roofing Hammer in Good Shape?
Wipe it down after each job to remove sap, tar, and grit. Keep the hatchet blade sharp with an occasional pass of a file. Check that the head stays tight on the handle and that the gauge bar slides freely. A little care keeps the tool safe and accurate for years.
Conclusion
Getting comfortable with this tool is easier than it looks. Once you know how to use a roofing hammer, nailing, splitting shakes, and spacing shingles all start to feel natural. Remember the basics: gear up for safety, snap straight chalk lines, and lean on that gauge bar for even rows. Careful nail placement gives you a roof that lasts.
If you haven’t picked one up yet, check out our recommended picks above to find the right fit. Ready for your next project? Browse our other DIY tool guides and keep building your skills with confidence.
