
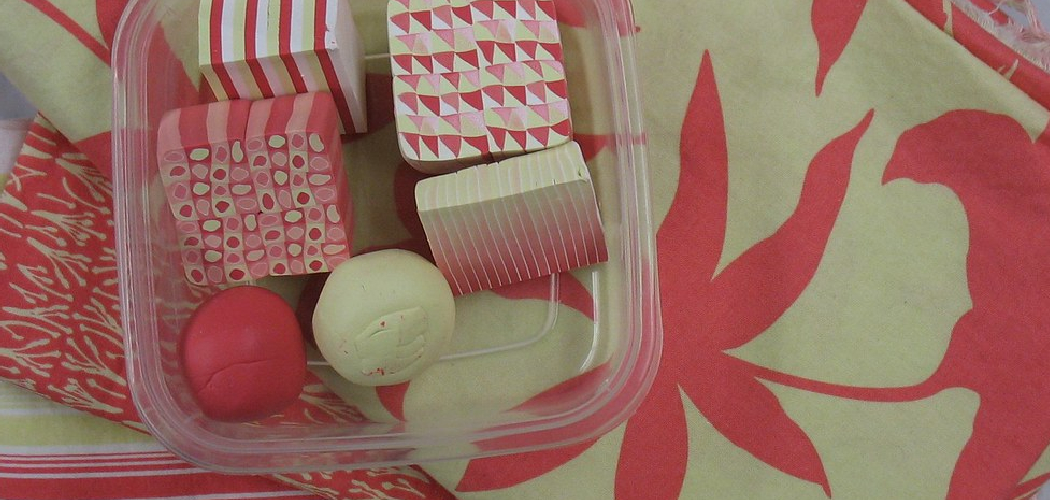
You’ve got a fun project idea in your head — a tiny charm, a custom keychain, maybe a little figurine — but you’re staring at a block of clay with no clue where to start. That’s exactly where most people begin with sculpey clay. The good news? It’s one of the friendliest crafting materials out there, and you don’t need fancy skills to make something you’re proud of.
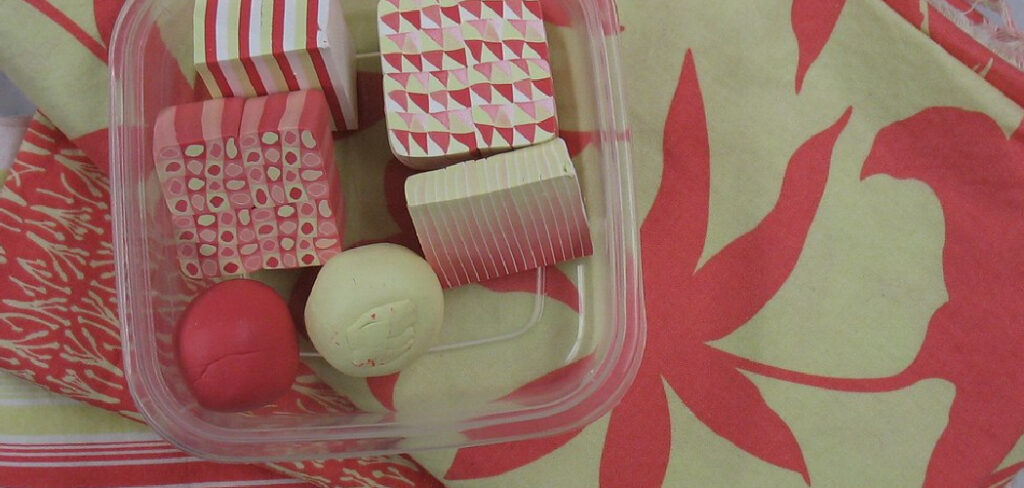
In this guide, you’ll learn How to Use Sculpey Clay. We’ll cover the tools you need, a clear step-by-step process, and a few pro tricks that save you from common rookie mistakes. Whether you’re a total beginner or a weekend hobbyist, you’ll walk away ready to sculpt with confidence. Let’s dig in.
What Is Sculpey Clay?
Sculpey is a brand of polymer clay, a soft modeling material made from PVC and plasticizers. Unlike air-dry clay, it stays workable until you cure it in a regular home oven. Once baked, it hardens into a durable, plastic-like finish you can paint, sand, or drill. Crafters love it for jewelry, miniatures, home decor, and all kinds of small sculptures.
What You’ll Need
Grab these basics before you start. Most are cheap and easy to find.
- A block of Sculpey (Original, Premo, or Souffle for beginners)
- A smooth work surface (glass, ceramic tile, or wax paper)
- An acrylic roller or a smooth glass jar
- A set of clay tools or basic household items (toothpicks, knives, cookie cutters)
- Baby wipes or rubbing alcohol for cleanup
- An oven or toaster oven
- An oven thermometer (trust me on this one)
- Parchment paper or a ceramic baking tile
- Fine-grit sandpaper (optional, for smoothing)
- Acrylic paint and sealer (optional, for finishing)
Step-by-Step Guide on How to Use Sculpey Clay
Follow these steps in order. After your first project, the whole routine clicks into place.
Step 1: Set Up a Clean Work Area
Start with a smooth, clean surface like a glass cutting board or a ceramic tile. Polymer clay grabs dust, lint, and pet hair like a magnet, so wipe everything down first. Wash your hands well, since oils and dirt transfer straight into light-colored clay. Keep a pack of baby wipes nearby to clean your fingers between colors. A tidy setup now means fewer specks in your finished piece. It’s a small habit that makes a big difference.
Step 2: Condition the Clay
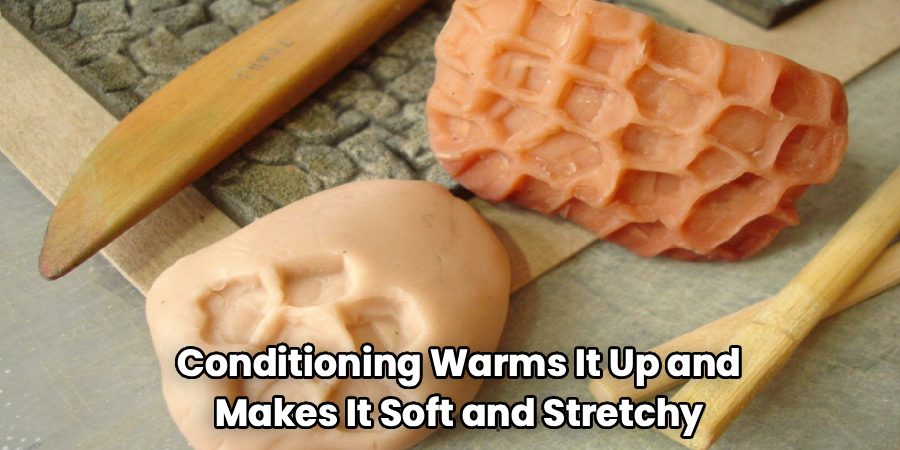
Fresh from the package, the clay feels stiff and crumbly. Conditioning warms it up and makes it soft and stretchy. Knead a chunk in your hands, roll it into a snake, fold it, and repeat for a few minutes. You’ll feel it turn smooth and pliable, which means it’s ready to shape. Skipping this step leads to cracks and weak spots after baking. Proper conditioning is the secret to strong, professional-looking results.
Step 3: Mix Your Colors
You don’t need to buy every shade under the sun. Just like paint, you can blend two colors to create new ones. Roll two conditioned pieces together, twist, fold, and knead until the color turns even. Want a marbled look instead? Stop kneading early to keep those swirls. Start with small amounts so you can nail the shade before committing to a big batch. Color mixing is where your projects really start to feel like yours.
Step 4: Shape and Sculpt Your Design
Now for the fun part. Roll the clay flat with an acrylic roller, or sculpt it freehand into your shape. Use cookie cutters for clean edges, or toothpicks and knives for fine details. Work slowly and build your piece in stages, joining sections by pressing them firmly together. If a shape isn’t working, just ball it up and start fresh — that’s the beauty of oven-bake clay. Keep pieces at an even thickness so they cure properly.
Step 5: Smooth Out Imperfections
Before baking, take a moment to clean up your piece. Rub gently with a fingertip to blend seams and soften rough spots. A cotton swab dipped in a little rubbing alcohol erases fingerprints and smudges. Check the whole surface under good light so nothing sneaks past you. This is much easier to fix now than after curing. A few minutes of smoothing gives your work that polished, store-bought look.
Step 6: Bake at the Right Temperature
Curing is where beginners trip up most, so pay close attention. Check the package for your exact temperature, usually around 275°F (130°C). Place your piece on parchment paper or a ceramic tile, never bare metal. Use an oven thermometer, because most ovens run hotter or cooler than the dial says. Bake for 15 minutes per quarter-inch of thickness, and don’t rush it. Underbaking leaves pieces brittle, while overbaking scorches and darkens the clay.
Step 7: Cool Your Piece Completely
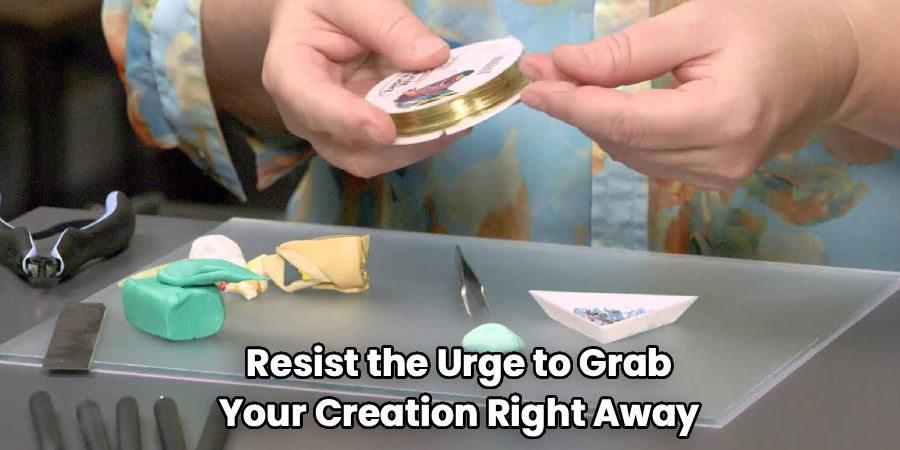
Resist the urge to grab your creation right away. Let it cool fully inside or on the tray before handling. Warm polymer clay stays a bit soft and bends easily, so it can lose its shape. As it cools, it hardens into its final durable form. This is also when you’ll notice the true strength of properly baked clay. Patience here protects all the work you just put in.
Step 8: Sand, Paint, and Seal
Once cool, you can refine and decorate. Wet-sand rough edges with fine-grit sandpaper for a super smooth finish. Add details with acrylic paint, letting each layer dry before the next. Finish with a clear sealer or glaze to protect the surface and add shine. Not every project needs paint — many colored clays look great as-is. This final stage turns a good piece into a great one.
Tips for Best Results
These extra pointers come from real hands-on experience. They’ll level up your projects fast.
- Keep a dedicated oven thermometer. Home ovens lie about their temperature all the time. An accurate reading is the single best fix for cracked or burnt pieces.
- Use translucent clay to fix cracks. If a baked piece cracks, fill the gap with a little raw clay and re-bake. Small repairs blend right in.
- Store leftover clay properly. Wrap unused clay in wax paper or a zip bag away from heat and sunlight. This keeps it soft and workable for months.
- Bake a test piece first. Before curing a big project, bake a small scrap to check your oven’s true behavior. It saves you from ruining hours of work.
- Support delicate shapes while baking. Prop thin arms or curves with balled-up foil or cotton so they hold their form in the heat.
Frequently Asked Questions
Is Sculpey Clay Safe to Bake at Home?
Yes, it’s safe when you follow the package directions. Bake it at the recommended low temperature and never exceed it, since overheating can release fumes. Use good ventilation and avoid using the same tools for food afterward. If a piece burns, open a window and let the room air out before continuing.
Can I Air-Dry Polymer Clay Instead of Baking It?
No, this type of clay needs heat to cure properly. Air-drying won’t harden it, so your piece will stay soft and eventually fall apart. If you don’t have an oven handy, a toaster oven works fine for small projects. For a true no-bake option, you’d need to buy air-dry clay instead.
Why Did My Clay Crack After Baking?
Cracks usually point to two culprits: poor conditioning or the wrong temperature. Under-conditioned clay traps weak spots that split during curing. An oven running too hot or too cold also causes breakage, which is why a thermometer helps so much. Try conditioning longer and double-checking your heat next time.
How Long Does Sculpey Take to Cure?
Bake time depends on thickness, not weight. The general rule is 15 minutes for every quarter-inch of thickness. A thin charm might need just 15 minutes, while a chunky figure needs longer. When in doubt, err toward a little more time at the correct low temperature rather than cranking up the heat.
Can I Paint Over My Finished Piece?
Absolutely, and acrylic paint works best. Make sure the piece is fully cooled and clean before you start. Apply thin layers and let each one dry to avoid streaks. Finish with a clear sealer to lock in the color and give your project a professional shine.
Conclusion
Making something by hand feels amazing, and sculpey clay makes that easier than you’d expect. Just remember the essentials: condition well, shape with care, bake at the right temperature, and cool completely before handling. Nail those basics and you’ll turn a plain block into charms, figures, and gifts you’re genuinely proud of.
If you haven’t stocked up yet, check out our recommended picks above to find the right starter set and tools. Ready for your next project? Browse our other how-to guides on the site for more hands-on crafting tips. Happy sculpting.
