
You’ve got a paint project going, and something feels flat. Maybe your miniature looks too smooth, or that wooden shelf lacks the aged, worn charm you saw online. The fix might be simpler than you think. Learning how to use a dry brush can add texture, highlights, and depth to almost anything you paint. It’s a favorite trick among model builders, furniture flippers, and artists alike.
In this guide, you’ll learn exactly what tools to grab, how to master the technique step by step, and the insider tips that make your results look professional. Whether you’re brand new or brushing up on old skills, you’ll walk away ready to create beautiful, textured finishes with confidence.
What You’ll Need
Before you start, gather a few basics. Having everything within reach keeps the process smooth and stress-free.
- A stiff-bristled brush (a flat or round brush with firm bristles works best)
- Acrylic paint in your chosen highlight color
- A paper towel or old rag for wiping
- A palette or scrap piece of paper or cardboard
- Your project piece (miniature, model, furniture, or craft item)
- A cup of water for cleaning brushes afterward
- Good lighting so you can see your progress clearly
- A dedicated old brush (optional, but ideal since this technique wears bristles down)
That’s it. No fancy gear required. Once you have these on hand, you’re ready to begin.
Step-by-Step Guide on How to Use a Dry Brush
Step 1: Prep Your Surface and Workspace
Start with a clean, dry surface. Any dust, grease, or loose paint can ruin your finish, so wipe your piece down first. Lay out an old towel or newspaper to catch stray flecks of paint. Make sure your project has a fully cured base coat before you begin.
If the base layer is still tacky, your highlights will smear and lose their crispness. A tidy setup now saves you frustration later.
Step 2: Choose the Right Brush
Your brush choice matters more than you’d expect. Pick a stiff, flat brush for broad surfaces and a smaller round one for detailed work. Soft watercolor brushes won’t work here, since they hold too much paint and bend too easily. This technique is tough on bristles, so use a brush you don’t mind wearing out. Many hobbyists keep a set of “sacrificial” brushes just for this. The firmer the bristles, the better the control you’ll have.
Step 3: Load a Small Amount of Paint
Dip just the tip of your brush into the paint. You want a tiny amount, not a heavy scoop. Too much paint defeats the whole purpose and leaves blobs instead of subtle highlights. Think of it like adding seasoning to food, a little goes a long way.
Use acrylic paint since it dries fast and cleans up easily. If you grab too much, don’t worry, the next step fixes that.
Step 4: Wipe Off the Excess
Here’s the heart of the whole method. Drag your loaded brush across a paper towel or rag until almost no paint comes off. The bristles should feel nearly dry to the touch, hence the name of the technique. This step feels wasteful at first, but trust the process. When you think you’ve wiped off enough, wipe a little more. The drier the brush, the more control and subtlety you get.
Step 5: Test Your Brush First
Before touching your actual project, do a quick test swipe on scrap paper or cardboard. This shows you how much paint will transfer and helps you judge the coverage. If the color comes out too heavy, wipe the brush again. If barely anything shows, that’s usually perfect for a first pass. This tiny habit prevents costly mistakes on your good piece. Skip it, and you risk overloading your project.
Step 6: Apply With Light, Quick Strokes
Now for the fun part. Sweep your brush lightly and quickly over the raised areas of your piece. Use gentle, flicking motions rather than pressing down hard. The idea is to let the paint catch only on the high points and textured edges. This creates natural-looking highlights and depth without covering the base color. Work in one direction when possible for a consistent look. Keep your touch feather-light throughout.
Step 7: Build Up in Layers
Resist the urge to get full coverage in one go. Instead, add color gradually with several light passes. Each layer deepens the highlight and gives you more control over the final effect. Let each pass guide the next, and stop when you’re happy with the contrast. Building slowly means you can always add more, but you can’t easily take paint away. Patience here separates a good finish from a great one.
Step 8: Step Back and Assess
Every so often, pause and look at your work from a distance. Up close, effects can look uneven, but stepping back reveals the true result. Check that your highlights hit the right spots and create the depth you wanted. If an area looks too heavy, blend it with a clean, dry brush. This is your chance to fix small issues before the paint fully sets. Take your time and enjoy the transformation.
Step 9: Clean Your Brush Properly
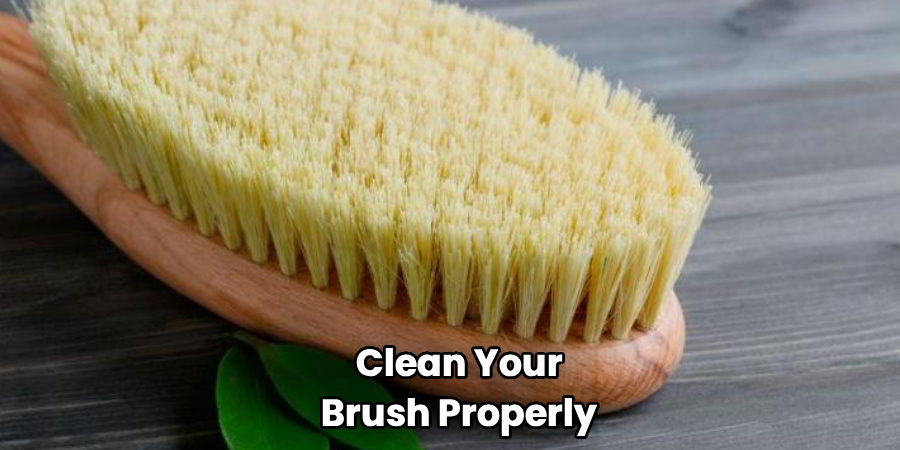
Once you finish, don’t let acrylic dry in your bristles. Rinse the brush in water right away, working out any paint near the base. Gently reshape the bristles and let it dry flat or hanging down. Even a “sacrificial” brush lasts longer with good care. Clean tools make your next project easier and your results more consistent. A little maintenance goes a long way.
Tips for Best Results
Ready to level up? These insider pointers make a real difference.
- Lighter is always better. When in doubt, use less paint and more passes. You can build up, but removing excess is a headache.
- Contrast is your friend. Pick a highlight color a few shades lighter than your base for the most striking, dimensional effect.
- Warm the brush up on scrap first. Your first stroke often carries the most paint, so waste that initial swipe on cardboard, not your project.
- Match brush size to your surface. A big brush on tiny details creates a mess, while a tiny brush on large areas takes forever and looks patchy.
- Store paint-crusted brushes separately. Over time, stiff bristles become perfect for this method, so don’t toss your worn-out brushes too soon.
FAQ Section
What Is the Dry Brush Technique Used For?
The dry brush technique adds highlights, texture, and a weathered or aged look to painted surfaces. Model makers use it to bring out fine details on miniatures, while furniture restorers use it for a rustic, distressed finish. Artists also rely on it to create texture in landscapes and portraits. It’s a versatile method that works across many crafts and skill levels.
Can I Use Any Brush for This?
You can technically use most brushes, but stiff-bristled flat or round brushes work best. Soft brushes hold too much paint and bend under pressure, which reduces your control. Older, slightly worn brushes are actually ideal since their firm, splayed bristles grab less paint. Just avoid your good detail brushes, as this method wears bristles down quickly over time.
How Much Paint Should Be on the Brush?
Almost none, and that surprises most beginners. After dipping the tip in paint, wipe nearly all of it off onto a rag or paper towel. The bristles should feel dry, leaving only a faint trace of color when swiped. If you see thick streaks or blobs, you’re using far too much and should wipe again.
Is It Safe to Dry Brush Over Any Type of Paint?
For best results, apply this technique over a fully cured base coat. Acrylics work wonderfully because they dry fast and layer cleanly. You can dry brush over enamel or spray paint too, as long as the base is completely dry and set. Testing a small hidden area first is a smart move if you’re unsure about compatibility.
How Do I Fix Mistakes While Dry Brushing?
If an area looks too heavy, gently blend it with a clean, dry brush to soften the effect. For bigger errors, let the paint dry, then reapply your base color over the spot and start again. Since you build in thin layers, most mistakes are easy to correct. Working slowly and checking often prevents major issues in the first place.
Do I Need Special Paint for This?
No special paint is required, though acrylics are the most beginner-friendly choice. They dry quickly, clean up with water, and layer beautifully for gradual highlights. Oil and enamel paints work too, but they take longer to dry and need solvents for cleanup. Stick with acrylics while you’re learning, then experiment as you gain confidence.
Conclusion
You now have everything you need to master the dry brush and add stunning texture to your projects. Remember the golden rule: use less paint than you think, and build your highlights up slowly. With a little practice, you’ll create finishes that look polished and professional. If you haven’t picked up the right brushes yet, check out our picks above to get started.
Ready for more? Explore our other guides on painting techniques and tool care to keep leveling up your DIY skills. Happy painting!
