
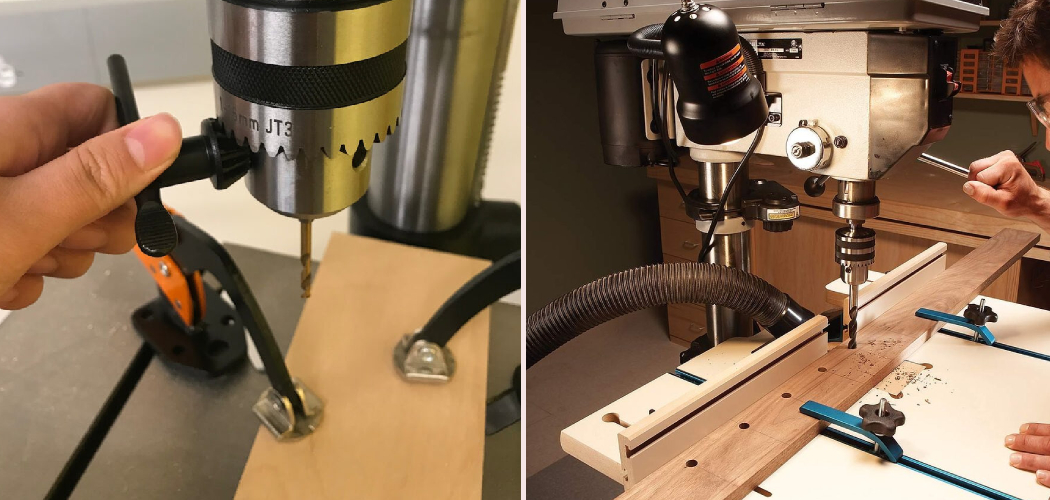
Picture this: you’re trying to drill a clean, straight hole through a piece of hardwood with a handheld drill. The bit wanders, the hole comes out crooked, and your project looks a little off. Frustrating, right? That’s exactly where a drill press earns its keep. This sturdy, stationary tool holds your bit perfectly perpendicular, so every hole lands where you want it, at the depth you want, with far less effort.
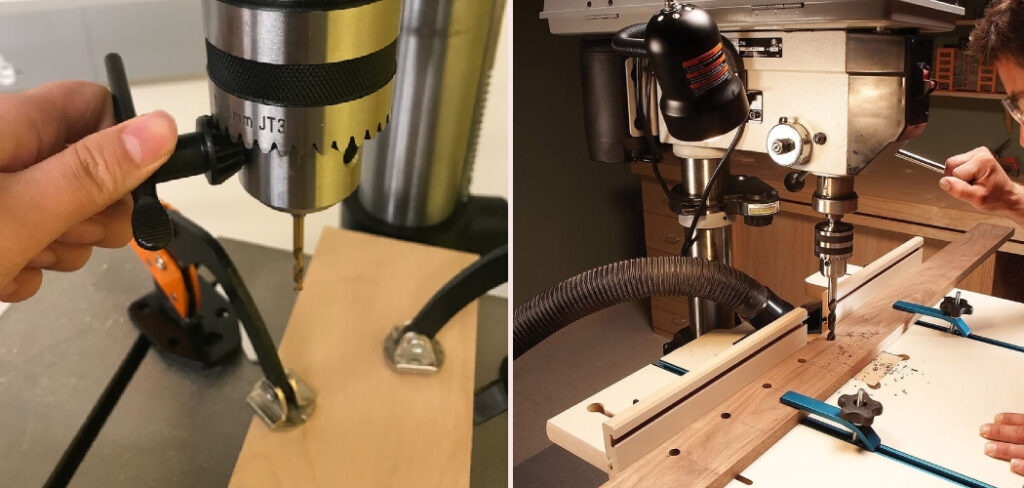
In this guide, you’ll learn How to Use a Drill Press , choose the right speed, secure your material, and drill accurate holes every time. We’ll cover the supplies you need, walk through each step, and share pro tips that make a real difference. Whether you’re a curious beginner or a weekend hobbyist, you’ll finish knowing how to get clean, repeatable results. Let’s get into it.
What You’ll Need
Before you flip the power switch, gather your gear. Having everything ready keeps the job smooth and safe.
- A drill press (benchtop or floor-standing both work fine)
- Drill bits suited to your material (twist bits for metal, brad-point or Forstner bits for wood)
- Safety glasses to protect your eyes from flying chips
- Clamps or a drill press vise to hold your workpiece steady
- A backing board (scrap wood) to prevent tear-out and protect the table
- A chuck key to tighten the bit securely
- A center punch and hammer for marking metal
- A pencil or marker to mark your drilling spot
- Cutting oil or lubricant for metalworking
- A shop vacuum or brush for cleanup
Once your kit is set, you’re ready to drill with confidence.
Step-by-Step Guide on How to Use a Drill Press
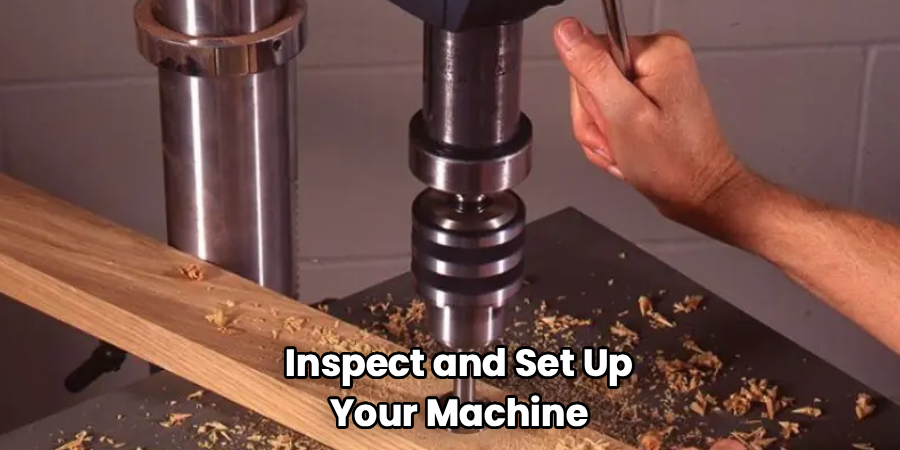
Step 1: Inspect and Set Up Your Machine
Start by giving your tool a quick once-over. Make sure it sits on a stable surface, and if it’s a benchtop model, bolt it down so it can’t tip. Check that the power cord is in good shape and the on/off switch works smoothly.
Look over the belt tension and confirm the work table is clean and free of debris. A stable, well-maintained machine gives you accurate holes and keeps you safe. Never rush this check, since a wobbly setup leads to sloppy results and possible injury.
Step 2: Install the Right Drill Bit
Choosing the correct drill bit matters as much as the machine itself. Match your bit to your material: twist bits for metal, and brad-point or Forstner bits for clean holes in wood. Insert the bit into the chuck, then hand-tighten it before locking it firmly with the chuck key. Make sure the bit sits straight and centered so it won’t wobble at high speed. Always remove the chuck key before turning the machine on, since a forgotten key can launch like a projectile. Give the bit a gentle spin by hand to confirm it runs true.
Step 3: Set the Correct Speed
Speed makes a huge difference in your results. Most drill presses let you adjust the RPM by moving a belt across a set of pulleys or turning a dial. As a rule, use slower speed settings for large bits and hard materials like metal, and faster speeds for small bits and softer woods.
Too fast, and you’ll burn the wood or dull the bit; too slow, and the cut gets rough. Check the speed chart on your machine or a quick reference guide for guidance. Getting this right protects your bits and gives you cleaner cuts.
Step 4: Mark and Position Your Workpiece
Accuracy begins with a clear mark. Use a pencil for wood or a center punch for metal to mark exactly where you want the hole. The center punch also creates a small dimple that stops the bit from wandering on smooth surfaces.
Place a scrap backing board under your material to prevent tear-out and protect the table. Line up your mark directly beneath the bit, then lower the bit by hand to confirm it lands right on target. A little care here saves you from off-center holes and ruined pieces.
Step 5: Clamp Your Material Securely
Never hold your workpiece with just your hands. Clamping is one of the most important safety habits you can build. As the bit bites in, it can grab the material and spin it violently, especially with metal. Secure your piece with a drill press vise or clamps anchored to the work table. This keeps everything steady, protects your fingers, and gives you a cleaner, more precise hole. If you feel tempted to skip clamping for a quick hole, resist it, since that’s exactly when accidents happen.
Step 6: Set the Depth Stop for Consistent Holes
If you need holes at a specific depth, the depth stop is your best friend. This adjustable feature limits how far the spindle travels, so you can’t drill deeper than you intend. Lower the bit until it just touches your marked depth, then lock the stop in place.
This is perfect for drilling repeatable holes or creating flat-bottomed recesses without punching all the way through. Test it on scrap first to confirm the setting. Consistent depth makes your projects look polished and professional.
Step 7: Drill With Steady, Even Pressure
Now for the main event. Turn on the machine, then slowly pull the feed lever to lower the spinning bit into your material. Apply steady, moderate pressure and let the bit do the work rather than forcing it.
For deep holes in metal, back the bit out occasionally to clear chips and add a drop of cutting oil. Pushing too hard overheats the bit and can crack your material, while going too slow causes friction and burning. Ease off as the bit breaks through the bottom for a clean exit.
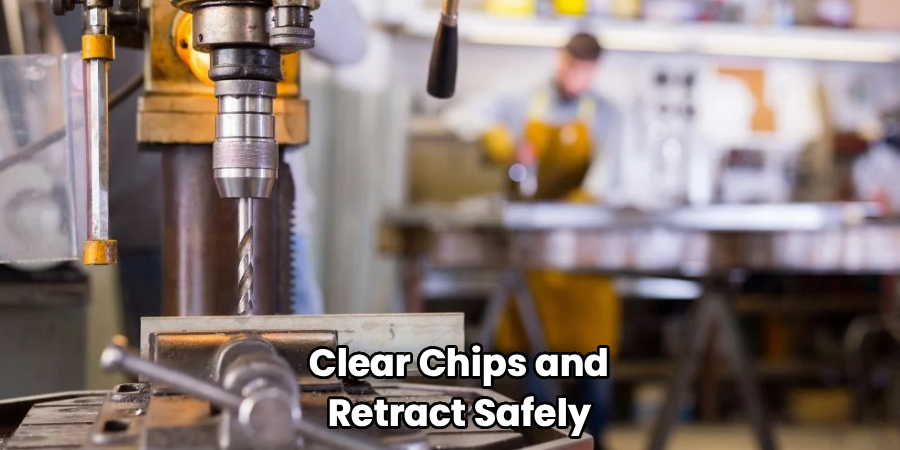
Step 8: Clear Chips and Retract Safely
Once the hole is complete, keep the machine running and slowly raise the bit back out. This helps clear debris and gives you a smoother finish. Turn off the power and wait for the spindle to stop completely before touching anything.
Brush away chips or use a shop vacuum instead of your fingers, since fresh cuttings can be sharp and hot. Inspect your hole to make sure it’s clean and the right size. Then loosen your clamps and check the workpiece.
Step 9: Clean and Store Your Tool
Finishing well means caring for your equipment. Wipe down the work table and remove any sawdust, metal shavings, or oil residue. Retract the chuck, store your bits in a protected case, and cover the machine if it sits in a dusty shop.
A quick cleanup keeps your machine running smoothly and extends the life of every part. Regular care also means it’s always ready for your next project. Treat your tool well, and it’ll reward you with accurate holes for years.
Tips for Best Results
Want to drill like a seasoned pro? These insider pointers go beyond the basics.
- Always use a backing board. A piece of scrap wood under your workpiece prevents ugly tear-out on the exit side and protects the table. It’s a tiny habit that instantly improves the quality of every hole.
- Match your speed to the material. Slow down for metal and large bits, speed up for small bits in wood. Getting the speed settings right prevents burning, keeps bits sharp, and gives you a cleaner cut every time.
- Peck-drill deep holes. For deep or metal holes, drill partway, then back out to clear chips before continuing. This “pecking” motion stops the bit from clogging, overheating, or binding.
- Keep bits sharp and clean. A dull bit forces you to push harder and produces rough, wandering holes. Sharpen or replace worn bits, and your machine will feel twice as capable.
- Use cutting oil on metal. A few drops of lubricant reduce friction and heat, protecting both your bit and your workpiece. It also makes the drilling smoother and quieter.
FAQ Section
What Can You Use a Drill Press For?
A drill press handles far more than simple holes. You can drill perfectly straight, repeatable holes in wood, metal, and plastic, which is tough to do with a handheld drill. With the right accessories, it also tackles sanding, mortising, and even light reaming. Both woodworking and metalworking hobbyists rely on it for accuracy and consistency.
How Do I Choose the Right Speed?
Speed depends on your bit size and material. Use slower speeds for large bits and hard materials like metal, and faster speeds for small bits in softwood. Most machines include a speed chart or pulley diagram to guide you. When in doubt, start slower, since a slower speed protects your bit and reduces the risk of burning.
Is It Safe to Hold the Workpiece by Hand?
No, holding your material by hand is one of the most common and dangerous mistakes. As the bit engages, it can suddenly grab and spin the piece, causing serious injury. Always secure your workpiece with a vise or clamps anchored to the table. This keeps your hands clear and gives you far more accurate, cleaner holes.
Why Does My Bit Wander Off the Mark?
Wandering usually happens on smooth or hard surfaces where the bit can’t grip. To fix this, use a center punch to create a small starting dimple that guides the bit. Make sure your bit is sharp and locked tightly in the chuck. Lowering the bit slowly at the start also helps it bite exactly where you want.
Can I Drill Metal With the Same Setup as Wood?
You can, but a few adjustments make a big difference. Slow the speed down considerably for metal, and clamp the piece extra securely since metal grabs harder. Add a drop of cutting oil to reduce heat and protect the bit. Backing the bit out to clear chips also keeps the hole clean and prevents overheating.
How Do I Get Consistent Hole Depths?
Use the depth stop, an adjustable feature that limits how far the bit travels down. Lower the bit to your desired depth, then lock the stop in place so every hole matches. Test the setting on scrap material first to confirm it’s right. This trick is perfect for shelf pins, dowels, and any project that needs uniform holes.
Conclusion
You now have everything you need to use a drill press with real confidence. Remember the essentials: set up on a stable base, match your speed to the material, clamp your workpiece securely, and let the bit do the work with steady pressure.
With a little practice, this tool becomes the backbone of accurate, professional-looking projects. If you haven’t added one to your workshop yet, check out our picks above to find the right fit.
Ready to keep building your skills? Explore our other guides on power tools and shop techniques to make every project easier. Happy drilling!
