
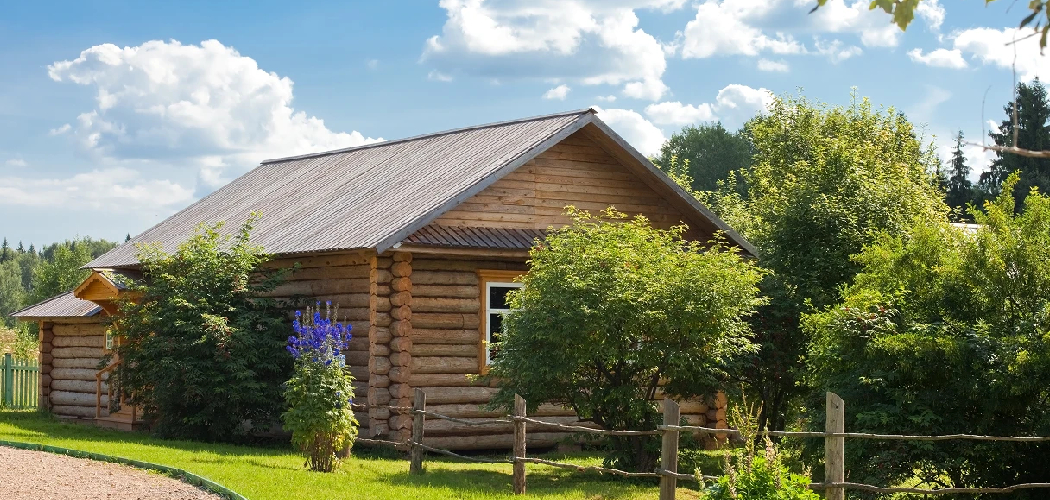
Step into your shed on a hot afternoon and it can feel like opening an oven door. The air is thick, the walls radiate heat, and spending more than five minutes inside turns into a sweaty ordeal. If you use your shed as a workshop, gym, office, or storage for heat-sensitive items, that trapped warmth is a real problem. Learning how to cool a shed makes the space usable again, no matter how high the temperature climbs outside.

The good news? You don’t need a huge budget or fancy equipment to fix it. A mix of smart shade, better airflow, and a few affordable upgrades can drop the indoor temperature dramatically. In this guide, you’ll learn practical steps to beat heat buildup, from quick fixes to longer-term solutions. Let’s turn that stuffy shed into a comfortable spot you actually want to spend time in.
What You’ll Need
Grab these supplies before you start. You won’t need every item, so pick the ones that match your budget and how far you want to go.
- Reflective roof paint — light-colored, heat-reflecting coating for the roof and walls
- Insulation boards or rolls — foam panels or fiberglass batts for walls and ceiling
- Solar-powered vent or exhaust fan — pulls hot air out without running up your electric bill
- Passive vents or louvers — for steady, natural airflow
- Cooling fans — box fans, pedestal fans, or a wall-mounted fan
- Shade cloth — UV-blocking fabric to cover windows or the roof
- Weatherstripping and caulk — to seal gaps and control drafts
- Portable air conditioner or mini split — for serious, on-demand temperature control
- Thermometer or temperature sensor — to track your progress
- Basic tools — drill, screwdriver, measuring tape, and a ladder
Set aside an afternoon for the bigger jobs. Some steps take minutes, while insulation and venting need a little more effort.
9 Step-by-Step Guide on How to Cool a Shed
Work through these steps in order when you can. Tackling shade and ventilation first often solves most of the problem before you spend on powered cooling.
Step 1: Find Out Where the Heat Comes From
Before you fix anything, figure out how heat gets in. Place a thermometer inside and check readings at different times of day. Most sheds bake because the roof soaks up direct sunlight and there’s nowhere for hot air to escape.
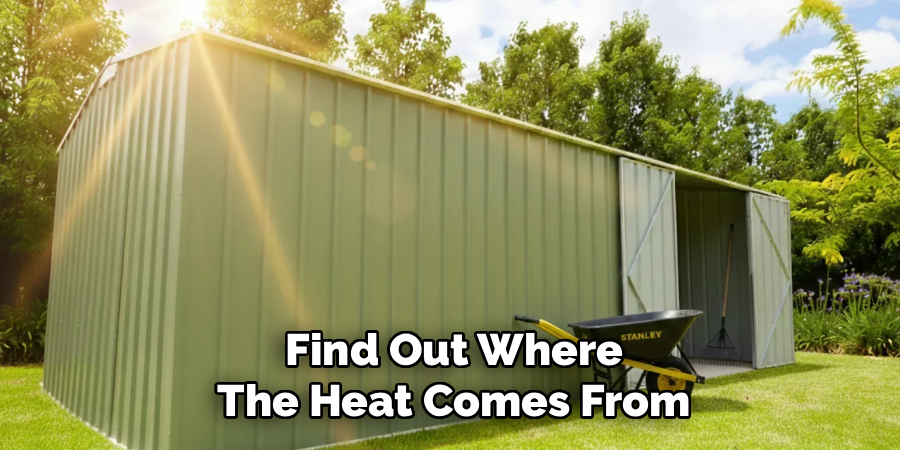
Touch the walls and roof from inside during peak afternoon heat. The hottest surfaces show you where to focus your efforts. Notice whether sun pours through windows too, since glass turns into a heat magnet. Understanding the source saves you from wasting money on the wrong solution.
Step 2: Block the Sun With Shade
Shade is your cheapest and fastest win. Position shade cloth over the roof or hang it across sunny windows to stop heat before it enters. You can also plant trees, install an awning, or move the shed under a natural canopy if you’re still in the planning stage.
Even a simple tarp stretched a few inches above the roof creates an air gap that blocks radiant heat. Aim for light colors that reflect sunlight rather than absorb it. A common mistake is draping cloth flat against the surface, which traps warmth instead of deflecting it. Leave breathing room for the best results.
Step 3: Paint the Roof With Reflective Coating
A dark roof can push indoor temperatures way up. Coat it with reflective roof paint in white or a light shade to bounce sunlight away. This simple upgrade can lower surface temperatures by 20 to 40 degrees on a sunny day.
Clean the roof first so the paint bonds well and lasts. Apply two thin coats rather than one thick layer for even coverage. Don’t forget the walls that face the sun, since they collect heat too. This one-time job pays off every summer with noticeably cooler air inside.
Step 4: Add Insulation to Walls and Ceiling
Insulation isn’t just for winter. It slows the transfer of heat through walls and the roof, keeping the inside temperature steadier all day. Install foam boards or fiberglass batts against the walls and ceiling, then cover them with plywood or panels for a clean finish.
Focus on the ceiling first, since heat rises and collects up top. Measure carefully and cut snugly so there are no gaps that let warmth sneak through. Foam boards are easy to handle and great for beginners. Well-insulated sheds stay cooler in summer and warmer in winter, so it’s a smart long-term move.
Step 5: Improve Shed Ventilation
Trapped hot air needs an escape route. Good shed ventilation lets warm air out and pulls cooler air in, which makes a huge difference. Install passive vents low on one wall and high on the opposite side to create natural airflow.
Hot air rises and exits through the high vent while cooler air is drawn in through the low one. This gentle cross-breeze works even without electricity. Avoid placing both vents at the same height, which kills the airflow loop. Ridge vents along the roofline work wonders for letting rising heat escape fast.
Step 6: Install a Solar-Powered Exhaust Fan
Passive vents help, but a powered fan supercharges your cooling. Solar vents run on sunlight, so they cost nothing to operate and work hardest exactly when the sun is strongest. Mount one high on a wall or in the roof to actively push hot air out.
Pair it with a low intake vent so fresh air replaces the hot air being expelled. Choose a fan rated for your shed’s square footage for the best effect. Mounting it too low is a common slip-up, since heat pools near the ceiling. Position it high to clear out the hottest air first.
Step 7: Set Up Cooling Fans for Airflow
Moving air feels cooler on your skin, even when the temperature stays the same. Place cooling fans to keep air circulating while you work inside. A box fan in a window or a wall-mounted fan aimed across the room does the job nicely.
For an extra chill, set a pan of ice in front of a fan to create a cheap, breezy cool-down. Point one fan toward an open door or vent to push hot air out. Position a second fan to draw fresh air in from the shaded side. This push-pull setup keeps the airflow steady and refreshing.
Step 8: Seal Gaps and Control Drafts
Cracks around doors, windows, and joints let hot outside air leak in. Run a bead of caulk along stationary gaps and add weatherstripping around the door. This keeps your cooling efforts from slipping away and improves temperature control.
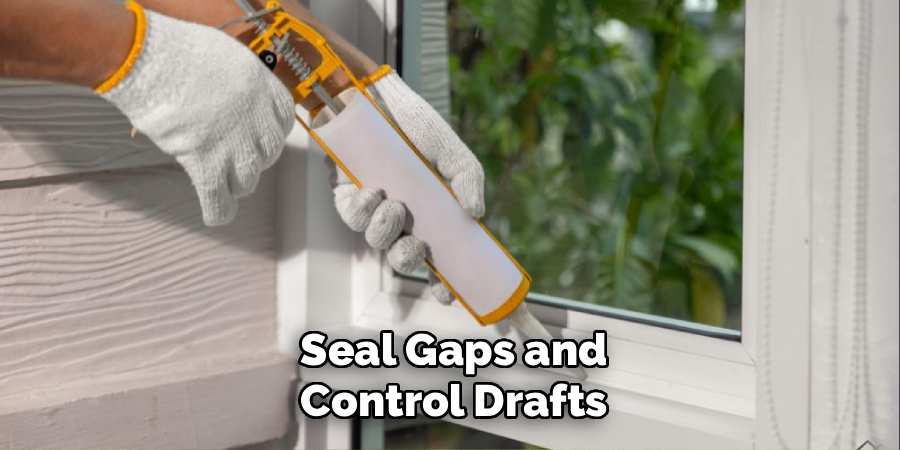
Sealing matters even more if you install a portable air conditioner later, since leaks waste cool air fast. Check corners and where the walls meet the floor and roof. On the flip side, don’t seal your intentional vents, since those airflow paths are doing important work. Balance tight sealing with smart ventilation.
Step 9: Add a Portable AC or Mini Split for Serious Cooling
If shade and airflow still aren’t enough, powered cooling seals the deal. A portable air conditioner is easy to set up and vents hot air through a window or wall kit. For a permanent, energy-efficient option, a mini split delivers strong, quiet cooling with precise temperature control.
Match the unit’s capacity to your shed size so it isn’t overworked. Insulate and seal the space first, or you’ll be cooling air that leaks straight out. A mini split costs more upfront but runs efficiently and lasts for years. For occasional use, a portable unit gives you flexible, on-demand comfort.
Tips for Best Results
These extra pointers come from real-world experience and can push your results even further.
- Combine passive and active methods. Shade and ventilation do the heavy lifting, so powered cooling has far less work to do. Layering solutions is far cheaper than relying on an air conditioner alone.
- Cool in the early morning. Open vents and run fans before the day heats up to flush out overnight warmth. Then close things up midday to keep the cooler air trapped inside.
- Go light on every surface. Light-colored roofs, walls, and even a pale interior reflect heat instead of soaking it up. Every reflective surface chips away at heat buildup.
- Mind your electronics and materials. Store paint, batteries, and sensitive tools away from the hottest zones near the roof. Consistent temperature control protects your gear from warping or degrading.
- Track before and after. Keep a thermometer inside and note readings as you add each upgrade. Seeing the numbers drop tells you which fixes deliver the biggest payoff.
FAQ Section
What Is the Cheapest Way to Cool a Shed?
Shade and airflow are your most budget-friendly options. Hang shade cloth over sunny windows, add passive vents for natural airflow, and run a box fan to keep air moving. Painting the roof with reflective roof paint is also affordable and delivers lasting results. Combine these low-cost fixes and you’ll feel the difference without spending much.
Does Insulation Really Help Keep a Shed Cool?
Yes, insulation works in both directions. It slows heat from entering during summer and keeps warmth inside during winter, so your shed stays more comfortable year-round. Focus on the ceiling first, since that’s where heat collects. Pairing insulation with good shed ventilation gives you the steadiest indoor temperature.
How Do Solar Vents Work?
Solar vents use a small solar panel to power a built-in fan that pulls hot air out of your shed. They run entirely on sunlight, so they cost nothing to operate and work hardest on the sunniest days. Mount one high, where heat naturally rises, and add a low intake vent for fresh air. Together they create a steady flow that clears out heat buildup.
Can I Use a Portable Air Conditioner in a Shed?
Absolutely, a portable air conditioner is a great choice for on-demand cooling. Just vent the hot exhaust air outside through a window or wall kit so it doesn’t recirculate. Seal gaps and add insulation first, or the cool air will leak out and waste energy. For the space size, match the unit’s cooling capacity so it runs efficiently.
Is It Safe to Run a Fan in a Shed All Day?
Running quality cooling fans all day is generally safe as long as they’re rated for continuous use and kept clear of debris. Make sure cords aren’t frayed and the fan sits on a stable surface away from flammable materials. Solar-powered fans are ideal, since they only run when the sun powers them. Give any electric fan room to breathe so it doesn’t overheat.
How Do I Cool a Shed Without Electricity?
You have plenty of options that need no power at all. Reflective roof paint, shade cloth, and solid insulation cut heat buildup before it starts. Add passive vents or louvers high and low to create natural airflow. A solar-powered vent works without grid electricity too, giving you active cooling straight from sunlight.
Conclusion
Beating the heat in your shed comes down to a smart mix of shade, airflow, and insulation. Start by blocking the sun, improve your shed ventilation, then add powered cooling only if you still need it. Learning how to cool a shed the right way turns a stuffy space into one you’ll actually enjoy using all summer long.
If you haven’t gathered your gear yet, check out our recommended picks above to get started. Ready to keep improving your space? Explore our other DIY guides for more handy tips on tools, upgrades, and shed maintenance.
