
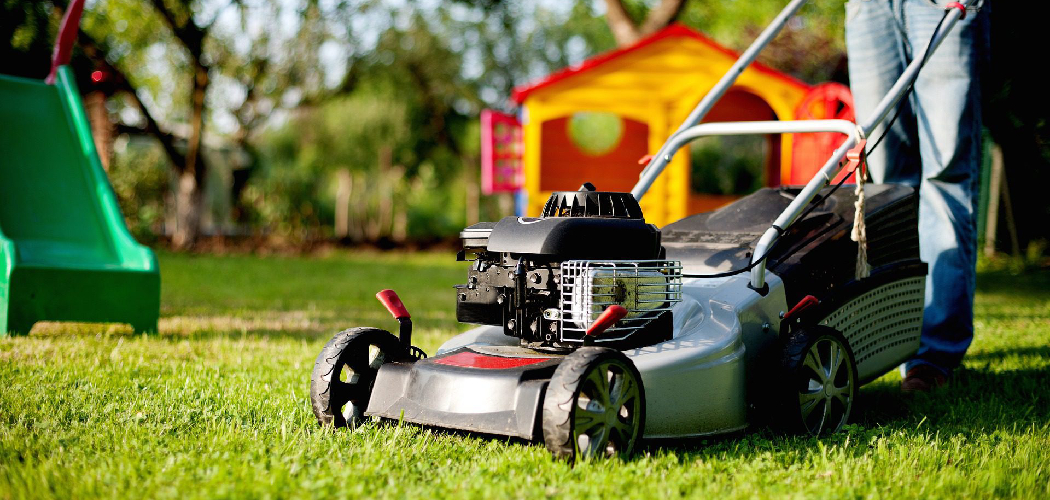
Your mower sputters, coughs, and struggles up the smallest slope. Maybe it takes three or four pulls to start, or it belches gray smoke while you push. More often than not, the culprit is a dirty engine caked in grass clippings, oil, and grime. Learning how to clean a lawn mower engine can bring that tired machine roaring back to life without a trip to the repair shop.
In this guide, you’ll walk through the exact tools you need, a clear step-by-step process, and a few insider tricks the pros use. We’ll cover the air filter, spark plug, cooling fins, and more. By the end, your mower will run cooler, start easier, and last for years longer. Let’s dig in.
What You’ll Need
Grab your supplies before you start so you’re not running back to the garage mid-job. Everything here is affordable and easy to find.
- Work gloves and safety glasses
- A socket wrench or spark plug wrench
- A stiff-bristle brush and an old toothbrush
- A plastic putty scraper
- Compressed air or an air compressor
- Engine degreaser or a mild soap solution
- Clean rags or shop towels
- A garden hose with a spray nozzle (used sparingly)
- A replacement air filter and spark plug (optional)
- A drip pan or cardboard to catch mess
- A bucket of warm, soapy water
Lay everything out on a workbench. A little prep saves a lot of hassle later.
9 Step-by-Step Guide on How to Clean a Lawn Mower Engine
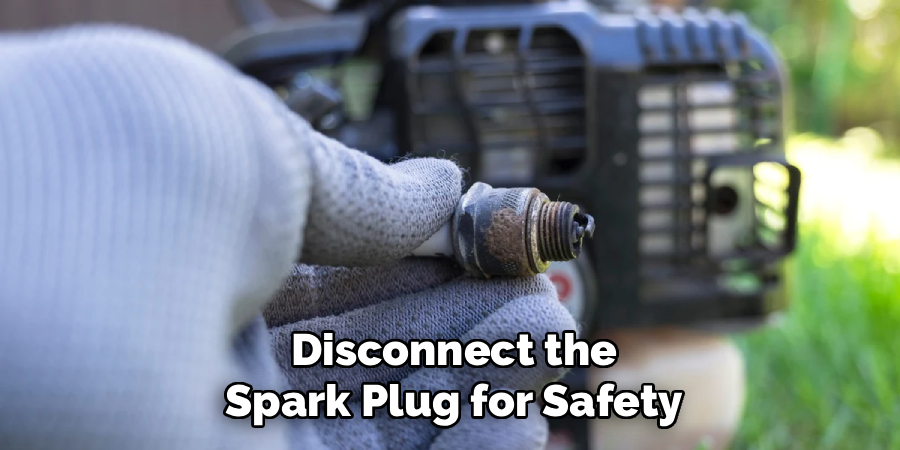
Step 1: Disconnect the Spark Plug for Safety
Before you touch anything, pull the spark plug wire off the plug. This one move stops the engine from accidentally starting while your hands are near the blade. Safety always comes first with any small engine maintenance. Set the wire aside where it can’t flop back onto the plug.
Take a moment to let the engine cool completely if you’ve just been mowing. A hot engine can burn you and makes degreaser evaporate too fast. Never skip this step, no matter how quick the job feels.
Step 2: Drain or Secure the Fuel
A full fuel tank can slosh and leak once you start tilting the mower. Either run the tank nearly empty before you begin or siphon the gas into an approved container. If you can’t drain it, at least make sure the cap is tight and keep the mower level. Fuel and cleaning solvents don’t mix well, so handle this carefully.
Work in a well-ventilated area, away from any open flame or sparks. Gasoline fumes build up fast in a closed garage. This small precaution protects both you and your fuel system.
Step 3: Clear Away Loose Debris
Start with the easy stuff. Use your stiff-bristle brush to knock off dried grass, dirt, and caked mud from the engine housing. A plastic scraper helps lift stubborn clumps without scratching the metal. Pay special attention to the area around the base, where clippings love to pack in tight.
Avoid metal scrapers, which can gouge the surface and create rust spots. Brush from top to bottom so debris falls away instead of settling deeper. This first pass makes the rest of the job far cleaner.
Step 4: Clean the Engine Cooling Fins
The engine fins are those thin metal ridges that pull heat away from the motor. When grass and grime clog them, your engine overheats and wears out faster. Use compressed air to blast dirt from between each fin, then follow up with your old toothbrush for tight spots. Angle the air nozzle to push debris outward rather than deeper.
Clogged cooling fins are one of the most overlooked causes of mower trouble. Take your time here, because clean fins mean a cooler, longer-lasting engine. Wear your safety glasses, since compressed air kicks up plenty of dust.
Step 5: Remove and Clean the Air Filter
Locate the air filter housing, usually a plastic cover held by a screw or clip. Pop it open and pull out the filter. If it’s a foam filter, wash it in warm, soapy water, rinse it, and let it dry fully before reinstalling. Paper filters can’t be washed, so tap them gently to release dust or simply replace them if they look gray and clogged.
A dirty air filter chokes your engine and wastes fuel. Never run the mower with the filter out, since dust will pour straight into the cylinder. When in doubt, a fresh filter is cheap insurance.
Step 6: Inspect and Clean the Spark Plug
Use your spark plug wrench to remove the plug carefully. Look at the tip: a light tan color means healthy, while black soot or oil signals trouble. Wipe the electrode clean with a rag, and use a wire brush to remove carbon buildup if needed. Check the gap with a feeler gauge and adjust it to your manual’s spec.
If the plug looks cracked, corroded, or heavily fouled, just replace it. A clean, properly gapped spark plug gives you smoother starts and steadier power. Always tighten it snugly by hand first, then a small turn with the wrench.
Step 7: Degrease Oily Buildup
Now tackle the greasy grime that a brush alone won’t remove. Spray engine degreaser onto oily patches around the housing and let it soak for a few minutes. Scrub gently with a rag or toothbrush, then wipe everything clean. Keep the degreaser away from the air intake and electrical parts.
Work in small sections so the product doesn’t dry before you wipe it. Heavy oil buildup often points to a leak, so check your gaskets and oil cap while you’re down there. A clean surface makes future leaks easy to spot.
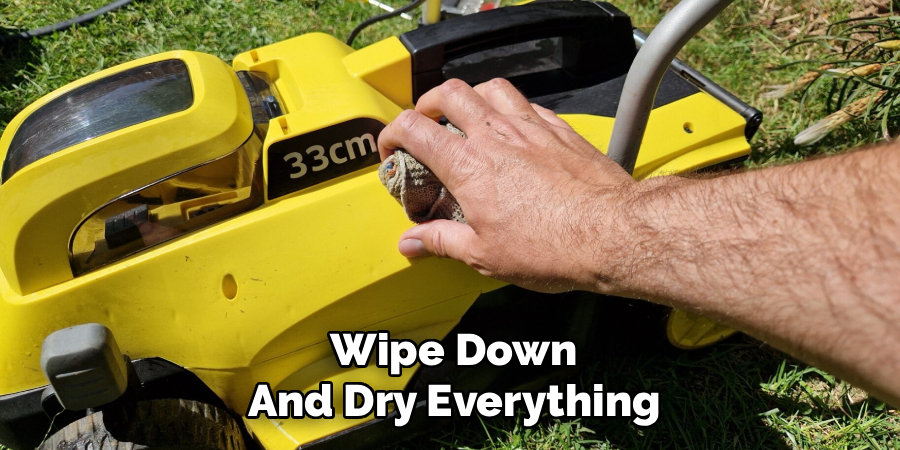
Step 8: Wipe Down and Dry Everything
Once the degreaser is gone, go over the whole engine with a dry, clean rag. If you used any water or soap, dry every surface thoroughly to prevent rust. Use compressed air to blow moisture out of tight crevices and around bolts. Pay attention to the recoil starter area, where trapped water can cause corrosion.
Give the engine a few minutes in the sun or fresh air to finish drying. Moisture left behind is the enemy of good small engine maintenance. A bone-dry engine reassembles cleanly and starts reliably.
Step 9: Reassemble and Reconnect
Put everything back in reverse order. Reinstall the dry air filter, secure the housing cover, and thread the spark plug back in. Reconnect the spark plug wire firmly so it clicks into place. Double-check that every screw and clip is snug but not overtightened.
Take a quick look around to confirm you haven’t left any rags or tools on the engine. A forgotten shop towel can melt onto a hot motor. This final check prevents a frustrating do-over.
Step 10: Test Run Your Mower
With the fuel topped off, give the starter a pull. The engine should catch faster and idle smoother than before. Listen for any odd knocks or sputters, and watch for smoke that lingers longer than the first few seconds. Let it run for a minute or two to confirm everything works.
If it runs rough, recheck your spark plug connection and air filter seating. Most issues trace back to a loose part or a filter that isn’t seated right. Enjoy the reward of a machine that finally starts on the first try.
Tips for Best Results
These extra habits separate a quick wipe-down from a truly clean, long-lasting engine.
- Clean after every few mows, not once a year. A light brush-off of the cooling fins and housing after mowing prevents heavy buildup. Small, regular cleanups beat one massive scrub-down every season.
- Keep water away from the carburetor and electrical parts. Water in the fuel system or wiring causes hard starts and corrosion. Stick to compressed air and degreaser near those areas, and save the hose for the deck underside.
- Change the oil while everything’s apart. Since you’ve already got tools out, fresh oil rounds out your maintenance perfectly. Clean oil and a clean engine work hand in hand.
- Snap a photo before you disassemble. A quick picture of the air filter housing and spark plug wire makes reassembly foolproof. It saves you from guessing where each clip goes.
- Stabilize your fuel before storage. Old gas gums up the carburetor over winter. A fuel stabilizer keeps the system clean and ready for spring.
Frequently Asked Questions
How Often Should I Clean My Lawn Mower Engine?
A quick debris brush-off after every few mows keeps things running well. Plan a deeper clean, including the air filter and cooling fins, at least once per season. If you mow thick or dusty grass often, clean more frequently. Regular attention prevents overheating and extends your engine’s life.
Can I Use Water to Clean a Lawn Mower Engine?
You can use a little water on the deck and housing, but keep it away from the carburetor, air intake, and electrical parts. Water in those spots leads to rust and hard starts. Compressed air and degreaser are safer choices for the engine itself. If you do use water, dry everything completely afterward.
Is It Safe to Use Degreaser on a Small Engine?
Yes, engine degreaser is designed for exactly this job. Spray it on oily areas, let it soak briefly, then scrub and wipe clean. Just avoid the air filter, spark plug opening, and any wiring. Always work in a ventilated space and wear gloves to protect your skin.
Why Does My Mower Still Run Rough After Cleaning?
Check the spark plug gap and make sure the wire is firmly connected. A clogged carburetor or stale fuel can also cause rough running that cleaning alone won’t fix. Confirm the air filter is seated correctly and clean. If problems persist, the carburetor may need a deeper cleaning or rebuild.
Do I Need to Remove the Spark Plug Every Time?
For a light surface cleaning, you can leave it in and just disconnect the wire for safety. But pulling the plug during a full clean lets you inspect and gap it properly. It’s a small step that reveals a lot about your engine’s health. Reinstall it snugly and reconnect the wire when you finish.
Conclusion
A clean engine is a happy engine, and now you know exactly how to clean a lawn mower engine from start to finish. Clear the debris, tend the cooling fins, service the air filter and spark plug, and dry everything before reassembly. Do this regularly, and your mower will start faster and run cooler for years. If you haven’t stocked up on brushes, degreaser, or a fresh filter yet, check out our recommended picks above. Browse our other DIY maintenance guides to keep all your outdoor tools in top shape.
