
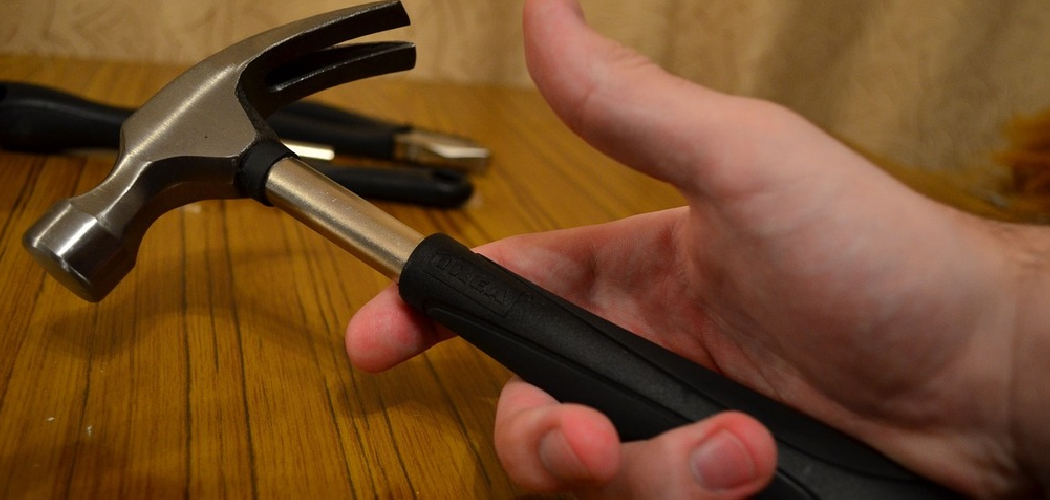
You’ve got a picture frame in one hand, a nail in the other, and a hammer that suddenly feels awkward and heavy. We’ve all been there. Learning how to use a hammer sounds simple, but doing it well—without bent nails, dented walls, or sore thumbs—takes a little know-how. The good news? Anyone can master it in an afternoon.
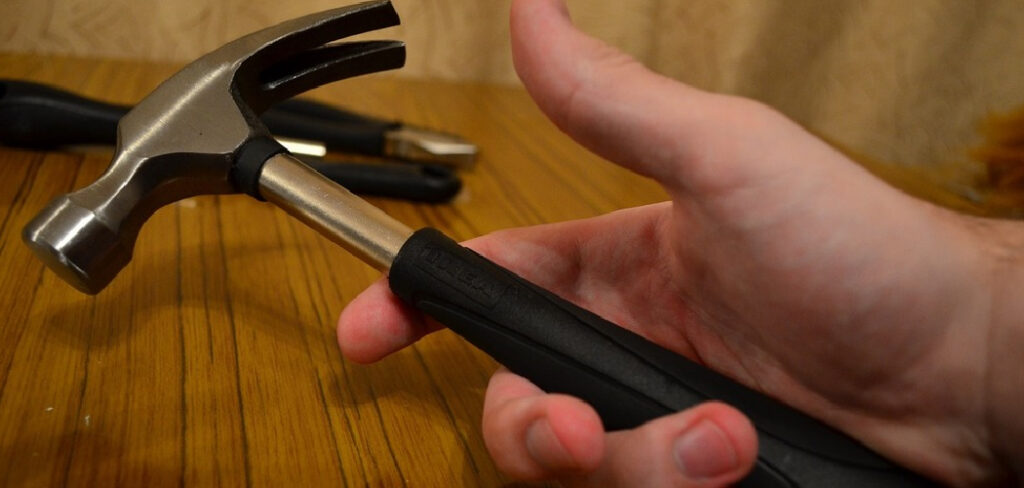
In this guide, you’ll learn how to grip a hammer properly, drive nails straight, and avoid the mistakes that trip up beginners. Whether you’re hanging art, building a shelf, or tackling your first repair, these steps will make you feel confident with a hammer in hand. Let’s get you swinging like a pro.
What You’ll Need
Before you start, gather a few basics. Having everything ready makes the job smoother and safer.
- A claw hammer (16 oz is great for most home projects)
- The right nails for your task (finishing nails, common nails, etc.)
- Safety glasses to protect your eyes
- A pencil for marking your spot
- A block of scrap wood (for pulling nails or protecting surfaces)
- A tape measure or ruler
- A stud finder (if you’re nailing into a wall)
- Work gloves (optional, but nice for comfort)
Keep these within arm’s reach. Nothing kills your rhythm like hunting for a nail mid-project.
Step-by-Step Guide on How to Use a Hammer
Step 1: Choose the Right Hammer and Nail
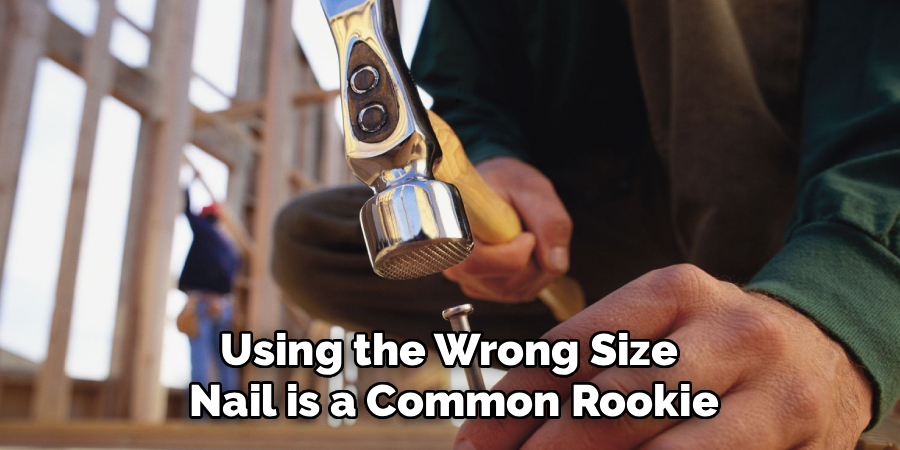
Not every hammer suits every job. For general home use, a claw hammer is your best friend. The rounded head drives nails, while the split “claw” end pulls them out. Match your nail to the task—smaller finishing nails for trim, thicker common nails for framing. Using the wrong size nail is a common rookie mistake that leads to split wood or loose fittings.
Step 2: Put On Your Safety Glasses
This step takes two seconds and saves you a world of trouble. Nails can snap, and small metal or wood chips can fly toward your face. Safety glasses shield your eyes from these surprises. It might feel like overkill for a quick job, but accidents happen fast. Make eye protection a habit every single time you pick up a hammer.
Step 3: Grip the Handle Correctly
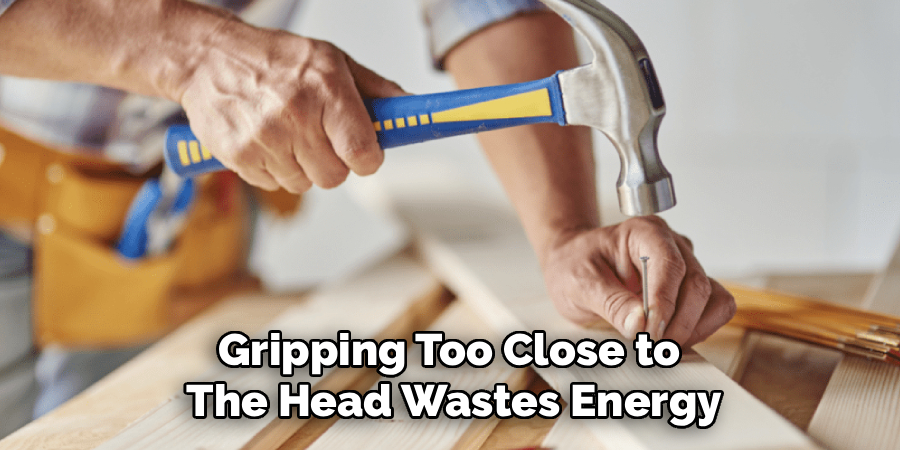
How you hold the hammer changes everything. Grab it near the end of the handle, not close to the head. This gives you more leverage and power with less effort. Wrap your fingers firmly around the grip, but don’t strangle it—a relaxed hold lets the hammer’s weight do the work. Think of it like a handshake: firm and confident, not white-knuckle tight.
Step 4: Mark Your Spot
Precision starts before the first swing. Use your pencil to mark exactly where the nail should go. If you’re working on a wall, run a stud finder to locate solid wood behind the drywall—nails hold best in studs. Measure twice so your shelf, frame, or fixture ends up level and secure. A quick mark now prevents crooked results and wasted effort later.
Step 5: Set the Nail in Place
Hold the nail steady between your thumb and forefinger. Position it straight up and down at your marked spot. Pinch it near the top, keeping your fingers clear of the head. Give it a couple of light taps to sink the tip into the surface. Once it stands on its own, you can pull your hand safely away and swing with more force.
Step 6: Start With Gentle Taps
Resist the urge to swing hard right away. Begin with soft, controlled taps to guide the nail and check your aim. This helps the nail bite into the material without bending. Light strikes also give you a feel for the hammer’s balance. Once the nail is secure and standing straight, you’re ready to add more muscle.
Step 7: Drive the Nail With Full Swings
Now let the hammer work for you. Swing from your elbow and wrist in a smooth arc, aiming for the center of the nail head. Keep your eye on the nail, not the hammer—you go where you look. Let the tool’s weight generate the power instead of forcing each hit. A few confident strikes should sink most nails flush with the surface.
Step 8: Finish Flush (or Slightly Below)
Stop hammering once the nail head sits level with the surface. For a clean finish on trim or furniture, you can sink it just below using a nail set. Be careful with your last few taps—overdriving can dent the wood or crack delicate materials. If you’re working with softwood, ease up as you near the end. A tidy finish makes your whole project look professional.
Step 9: Pull Out Mistakes With the Claw
Bent a nail? No worries, it happens to everyone. Flip the hammer and slide the claw under the nail head. Pull back on the handle to lever it out. Slip a block of scrap wood under the head for extra leverage and to protect your surface from dents. This trick also boosts your pulling power for stubborn nails.
Tips for Best Results
Ready to level up? These insider tips separate the beginners from the pros.
- Let the hammer do the work. A relaxed swing using the tool’s weight beats muscling every hit. You’ll drive nails faster and your arm won’t tire out.
- Keep your wrist loose but controlled. A slight snap at the end of your swing adds power without strain. Stiff wrists lead to weak, off-target hits.
- Use a nail holder for tricky spots. A simple push pin, comb, or a piece of cardboard keeps your fingers safe when starting nails in tight areas.
- Match your hammer weight to the job. A lighter hammer suits finishing work, while a heavier one drives big nails faster. The right tool makes all the difference.
- Practice on scrap first. A few swings on spare wood build muscle memory and confidence before you touch your real project.
Frequently Asked Questions
What Is the Correct Way to Hold a Hammer?
Hold the hammer near the end of the handle for maximum leverage and power. Keep your grip firm but relaxed, so the tool’s weight does most of the work. Gripping too close to the head wastes energy and reduces control. With a little practice, the right grip will feel natural and comfortable.
How Do I Stop Bending Nails When I Hammer?
Bent nails usually come from crooked strikes or hitting off-center. Start with gentle taps to set the nail straight before adding force. Always aim for the center of the nail head and keep your eye on it as you swing. Using the correct nail size for your material also helps prevent bending.
Is It Safe to Hammer Nails Into a Wall?
Yes, but locate the studs first with a stud finder for the strongest hold. Nailing into drywall alone won’t support much weight and may crumble over time. For heavier items, use wall anchors along with your nails. Always wear safety glasses, since bits of plaster or paint can chip off during the process.
Can I Use a Hammer to Remove Nails?
Absolutely—that’s what the claw end is for. Slide the claw under the nail head and pull back on the handle to lever it out. Place a scrap wood block beneath the hammer head for extra leverage and to avoid denting the surface. This simple technique works on most stuck or bent nails.
What Size Hammer Should a Beginner Use?
A 16-ounce claw hammer is the sweet spot for most beginners. It’s heavy enough to drive nails efficiently but light enough to control easily. This versatile size handles everything from hanging pictures to light building projects. As you take on bigger jobs, you can add specialized hammers to your kit.
Why Does My Arm Get Tired When Hammering?
Fatigue usually means you’re gripping too tight or muscling each swing. Let the hammer’s weight and a loose wrist generate the force instead. Hold the handle near the end and swing from your elbow in a smooth motion. Once you relax your technique, you’ll work longer without soreness.
Conclusion
Learning how to use a hammer is one of those skills that pays off for life. With the right grip, a steady aim, and a little patience, you’ll drive nails straight and clean every time. Don’t stress about a few bent nails along the way—every pro started exactly where you are now. If you haven’t picked up a solid claw hammer yet, check out our recommended picks above to get started.
Ready for your next project? Explore our other beginner-friendly guides and keep building your DIY confidence.
