
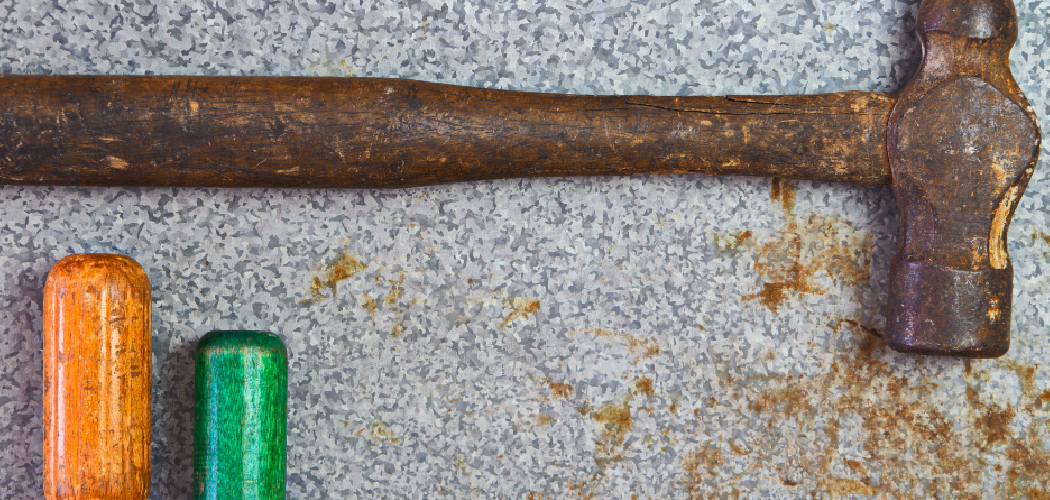
That satisfying thwack turns into a wobbly disappointment the moment your hammer head starts to shift. Maybe the handle cracked mid-swing, or the head flew off and left you holding a bare wooden stick. Either way, you don’t need to toss it in the trash. In most cases, you can fix a hammer yourself with a few basic supplies and about 30 minutes of your time.
This guide walks you through the whole process. You’ll learn how to fix a hammer, replace a broken handle, and keep your favorite tool swinging strong for years. Whether you own a claw hammer, a mallet, or something in between, the steps are simple. Let’s get that trusty tool back in working shape.
What You’ll Need
Before you start, gather your supplies. Having everything within reach makes the job smoother and faster.
- A replacement handle (if yours is cracked or broken) — match the size to your hammer
- Wooden or metal wedges (often included with new handles)
- A wood or rubber mallet
- A bench vise or sturdy clamp
- A hacksaw or coping saw
- A drill with bits (for stubborn heads)
- Coarse and fine sandpaper
- Linseed oil or a similar wood treatment
- Safety glasses and work gloves
- A pencil and a utility knife
You may not need every item on this list. It depends on whether you’re tightening a head or swapping out the entire handle. Grab what fits your repair.
Step-by-Step Guide on How to Fix a Hammer
Follow these steps in order. Take your time with each one, and don’t rush the drying stages.
Step 1: Inspect the Damage Closely
Start by figuring out what’s actually wrong. Hold the hammer and give it a gentle shake. If the head rattles or slides, you’ve got a loose hammer head. If you see splits running along the wood, the handle needs replacing.
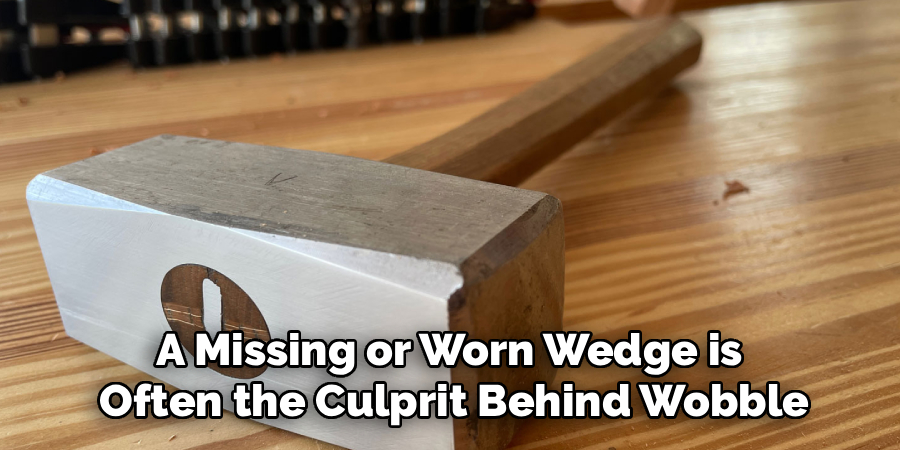
Look at the top of the head where the wood meets the metal. A missing or worn wedge is often the culprit behind wobble. Knowing the problem before you begin saves you from wasted effort. Put on your safety glasses now, since wood chips can fly.
Step 2: Secure the Hammer in a Vise
Clamp the hammer head firmly into your bench vise. This keeps everything steady while you work and protects your hands. A wobbling hammer during repair leads to slips and frustration.
Position it so the head sits at a comfortable working height. Don’t overtighten the vise, or you might dent the metal. If you don’t have a vise, a sturdy clamp attached to your workbench does the trick. A stable setup is the foundation of every good repair.
Step 3: Remove the Old or Broken Handle
If your handle is cracked, you’ll need to get it out completely. Saw off the handle just below the head using your hacksaw. Then drill several holes into the remaining wood stuck inside the eye of the head.
Once the wood is weakened, push or knock it out with a punch or a thick nail. Take your time here, since old wood can be stubborn. A common mistake is forcing it too hard and scratching the metal. Patience wins this round.
Step 4: Clean Out the Hammer Head
With the old wood gone, clean the eye of the head thoroughly. Scrape away any leftover wood fibers, rust, or old glue. A clean opening helps the new handle fit snugly and stay put.
Use sandpaper or a small file to smooth rough spots inside the eye. Wipe it down with a dry cloth when you’re done. Skip this step and your new handle may sit crooked. A little cleanup now prevents wobble later.
Step 5: Fit the New Handle
Slide the new handle into the head from the bottom. It should feel tight, so you may need to shave a little wood off with your utility knife. Check the fit often and remove only a sliver at a time.
Tap the head down onto the handle using your mallet. The wood should poke up slightly through the top of the eye. Never trim too much, or the connection will feel loose. A snug fit is the heart of a strong hammer.
Step 6: Insert the Wedge
The wedge is what locks the head in place for good. Set the wooden wedge into the slot at the top of the handle. Then drive it down firmly with your mallet until it sits flush.
For extra hold, add a small metal wedge across the wooden one at an angle. This spreads the wood outward and grips the eye tightly. Forgetting the wedge is the number-one reason repairs fail. Don’t skip it, no matter how tight the handle feels.
Step 7: Tighten a Loose Head Without Replacing It
Sometimes the handle is fine and only the head is loose. In that case, soak the head end in linseed oil overnight. The wood swells slightly and grips the metal better.
If soaking isn’t enough, drive a new wedge deeper into the existing slot. You can also add a second wedge for a firmer hold. This quick trick often saves a hammer that seems beyond help. It’s the easiest way to fix a hammer when the handle is still solid.
Step 8: Trim and Sand the Excess
Once the head is secure, saw off any handle wood sticking out above the eye. Cut it close but leave a tiny bit of material around the wedges. Then sand the top smooth so nothing snags your hand.
Run your fingers over the whole handle to check for splinters. Sand any rough patches until the grip feels comfortable. A smooth finish isn’t just about looks. It keeps your hands safe during every swing.
Step 9: Treat and Finish the Wood
Rub a coat of linseed oil into the entire wooden handle. This protects the wood from moisture and helps prevent future cracks. Let it soak in, then wipe off the excess with a clean rag.
Apply a second coat after the first dries if you want extra durability. Proper hammer maintenance like this extends the life of your tool dramatically. Let everything cure fully before you use it. Rushing the drying time can loosen your hard work.
Step 10: Test Your Repair
Give your handiwork a proper trial run. Tap a few nails into scrap wood and pay attention to how the head feels. It should stay firm with no rattle or shift.
If anything moves, drive the wedges a bit deeper or add another. Better to catch a problem now than mid-project. A solid test gives you confidence that your repair will hold. Once it passes, your hammer is ready for real work again.
Tips for Best Results
These extra pointers go beyond the basic steps and come straight from experience.
- Choose the right handle wood. Hickory is the gold standard for strength and shock absorption. Cheaper woods crack faster, so spend a little more upfront.
- Angle your metal wedge across the grain. Driving it perpendicular to the wooden wedge locks the head far more securely than a parallel placement.
- Store your hammer indoors. Humidity swings cause wood to expand and contract, which loosens the head over time. A dry spot keeps repairs lasting longer.
- Reoil the handle twice a year. A quick wipe of linseed oil during routine hammer maintenance prevents drying and splitting before they start.
- Keep the old wedges as templates. They help you cut new ones to the exact right size if replacements aren’t handy.
Frequently Asked Questions
How Do I Know If My Hammer Head Is Too Loose to Use?
Give the hammer a firm shake and listen for rattling. Any side-to-side movement in the head means it’s unsafe to swing. A loose hammer head can fly off mid-use and cause injury. Fix it before your next project rather than risking it.
Can I Fix a Broken Handle Without Buying a New One?
If the crack is small and near the bottom, you might reinforce it temporarily with wood glue and clamps. However, a truly broken handle should always be replaced for safety. Swinging a cracked handle risks it snapping under pressure. Handle replacement is quick and inexpensive, so it’s usually the smarter choice.
Is It Safe to Use Linseed Oil on a Hammer Handle?
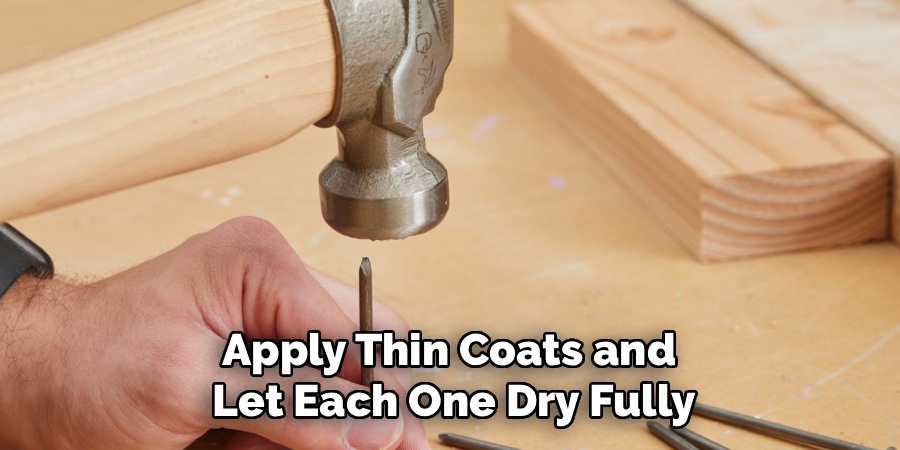
Yes, linseed oil is one of the best treatments for wooden handles. It protects against moisture, reduces cracking, and improves your grip. Apply thin coats and let each one dry fully. Just store your oily rags safely, since they can be a fire hazard if bunched up.
What Kind of Wedge Should I Use to Secure the Head?
Most repairs use a wooden wedge first, then a metal one for reinforcement. The wooden wedge spreads the handle outward inside the eye. The metal wedge, driven in at an angle, adds a permanent lock. Using both together gives the strongest, longest-lasting hold.
Does the Same Method Work for a Mallet?
The basic approach is similar, since a mallet also has a head fitted onto a handle. You’ll still remove the old handle, clean the eye, and add wedges. The main difference is that mallet heads are often wood or rubber. Adjust your fitting technique to match the softer material.
Conclusion
Bringing a broken tool back to life feels genuinely rewarding, and now you know exactly how to do it. With the right handle, a solid wedge, and a little patience, you can fix a hammer in an afternoon and save yourself a trip to the store. Regular hammer maintenance keeps that head tight and your swings true for years to come.
If you haven’t picked up the supplies yet, check out our recommended products above to get started. Ready for your next project? Explore our other tool repair guides and keep building your DIY skills.
